6mm Wargaming

Napoleonic Game report

Introduction

This was about our 4th game of Fast Play Grand Armee. We had a new player who had just finished painting some units as part of a Prussian army. The combined the Austrian and Prussian armies totalled 45 stands and the French had 38 stands including artillery. The Austrians and Prussians were split into 5 corps and the French had 4 corps.

The game itself went pretty quickly considering the size and that we had a new player and had also forgotten most of the rules.


Click on the thumbnails to see the full sized image


Starting positions

This photo shows the initial starting positions with some labels to make it easy to tell who is who! The game was played on a 8 x 6 foot table. The mat was a Hotz mat which looks nice but isn't quite 8 x 6 (although they advertise it as 8 x 6!) so we had to use some fields to cover the closest edge of the table.

One of the Austrian commands was given to the Prussian player as he only had about 9 bases in his command and thats why the commands are mixed up.


The opening turns

The left allied flank advanced quite quickly while the right flank did nothing (we rolled a -2 general so he couldn't activate his command), while the French advanced except for their right flank. Since there was no fighting the first couple of phases progressed pretty fast.


The second turn

In FPGA a turn is made up of a number of phases and there can be anywhere from 1-4 pahses in a turn.

The Austrian command moved up to support the Prussian flank while the right Austrian command still failed to activate. Meanwhile the French moved up in a steady line with the reserve cavalry holding back. Some artillery duels started but there wasn't any heavy casualities or close combat.


The French right flank

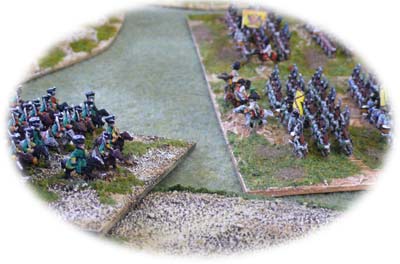
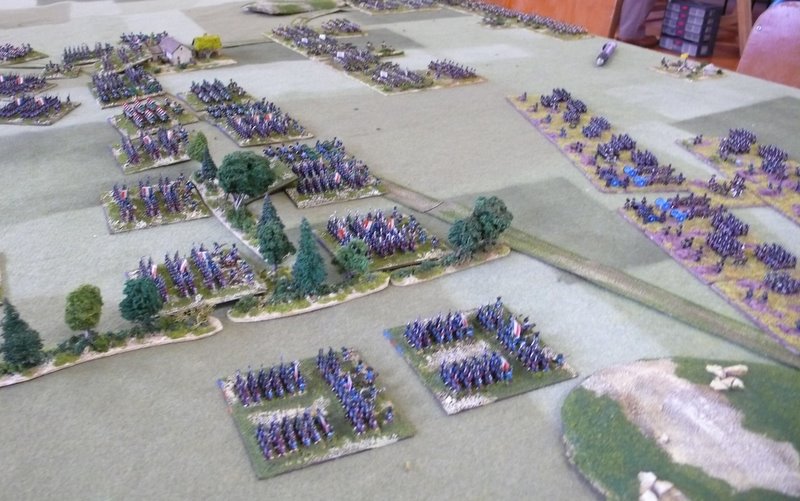
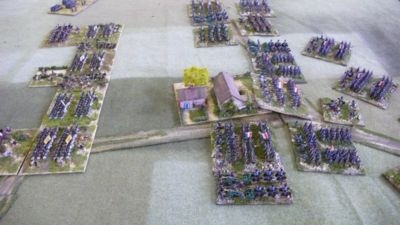
The French forces advanced quite quickly to catch the Austrian before they could straighten up their line. You can see a French cavalry brigade in the bottom of the picture and an Austrian mixed brigade with attached artillery advancing past the tree line.

Also on the French bases, you can see on the back of each base, the different colours used to identify each brigade.


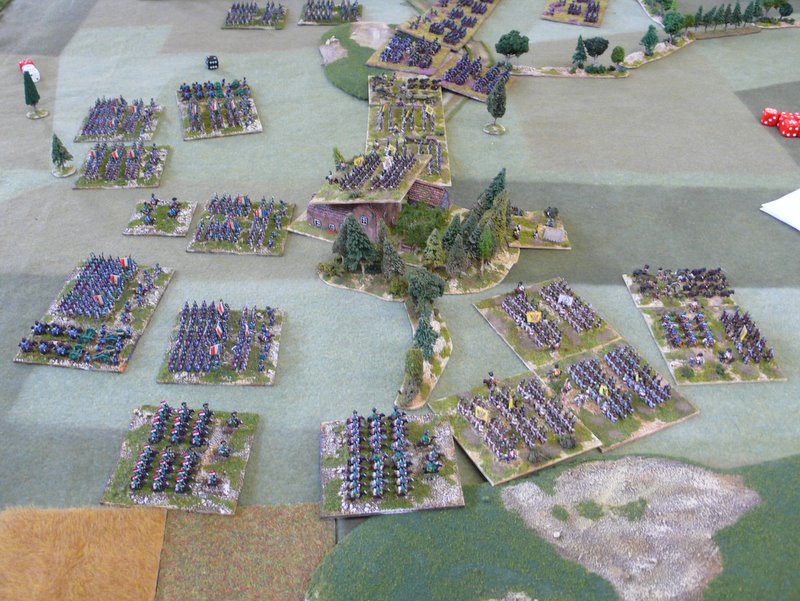
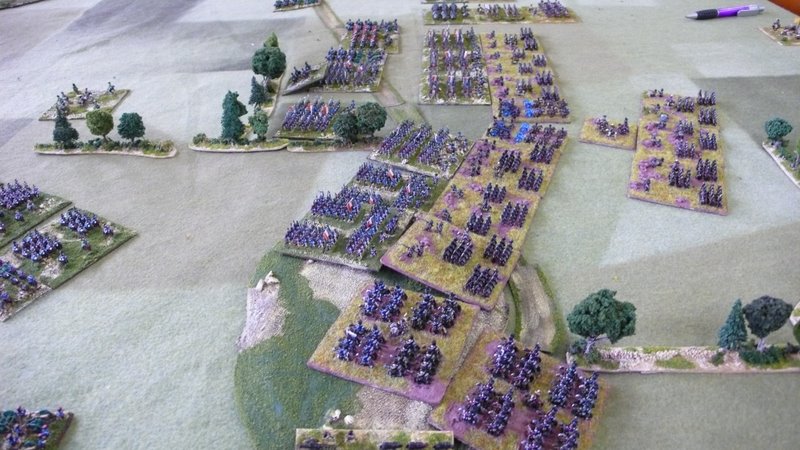
The Austrian flank crumbles

The French on the same flank have attacked the Austrians forcing them to fall back. The mixed brigade lost the combat and bounced back through the units behind, causing hits on those as well. We forgot to leave gaps for units falling back from combat and fresh Austrian units behind suffered a casualty each.


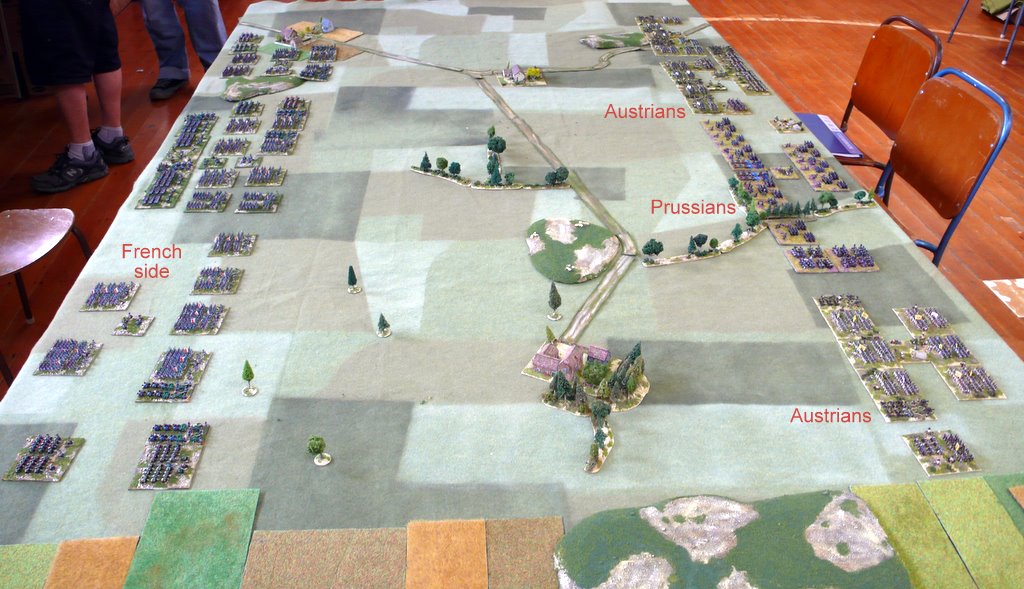
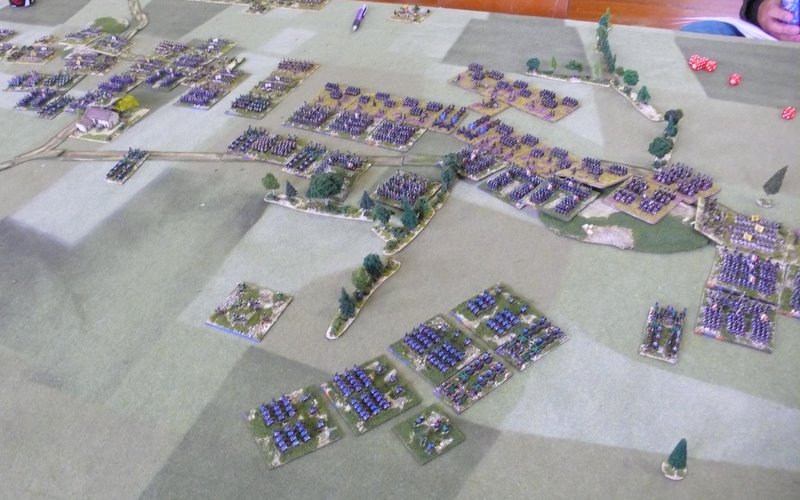
Meanwhile on the other flank

The French and Austrians face off. The Austrians are reluctant to advance until the command next (outside of picture but at the bottom) get off defend orders! The French realise they are out numbered so that arent keen to attack either.


Back into the center

The Prussians command with a mix of Landwehr and Line infantry wait for the French. The Allied turn came next and the Prussians advanced to cover the flank of the Austrians (in the top of the picture).


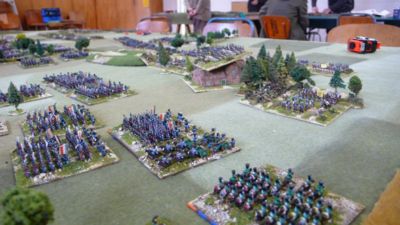
Prussians and French fight in the middle

The Prussians advanced and are engaging the French line. At this point of the game we were fighting along most of the line except for the Austrain right flank of course!


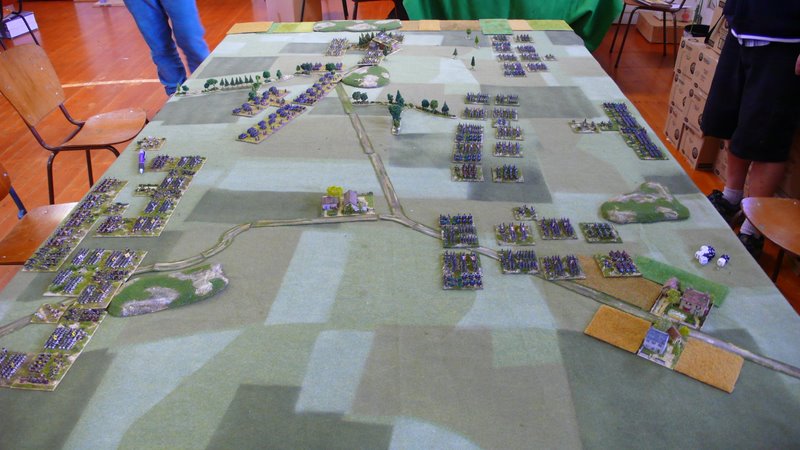
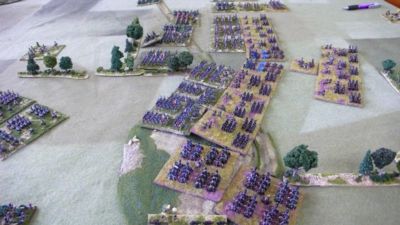
Mid game from the French players side

A wider view of the action from the French players side. In the bottom of the picture you can see the French heavy cavalry reserve moving up into the gap in the French line.


Onto the second half of the report

Click here to view the second half of this report.


.