6mm Wargaming

Road making Tutorial

Introduction

This is first in a series of making simple but very useful wargaming terrain. A lot of battles were focused around roads and they are/were useful for troop movement and linking urban areas, so what wargames table would be complete without some roads. This tutorial covers both tarmac and dirt roads.

There is a good selection of resin and rubber roads available from various manufacturers with some very good quality pieces, so why make your own? Making your own gives you a cheap and flexible alternative to buying terrain. Buying large quantities of roads can get expensive and somehow the lengths are never quite the right size, angle or position.

The materials below are relatively cheap and available from most Hardware/DIY shops. I prefer my roads to be thin and flexible so that they aren't raised up (a problem with resin road sections) and flexible enough to follow the shape of a feature such as hills and contours.

The roads I used for this article were for a 6mm Waterloo game and a little bit rushed.


Materials list
  • Thin plastic sheets. I use "Copy Safe Pockets" which are a thin plastic sleeve used for holding documents and available from Staionery shops. They come in A4 (letter) and larger A3 size which is great for longer pieces.

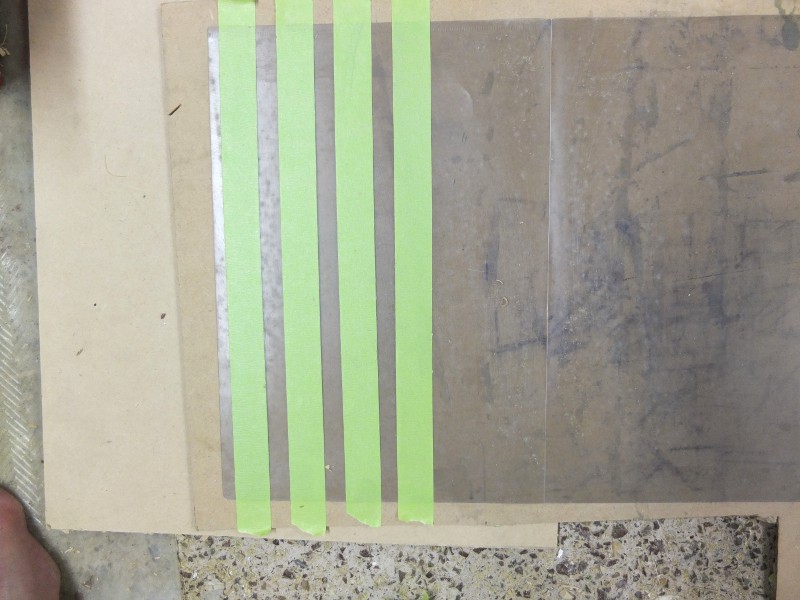
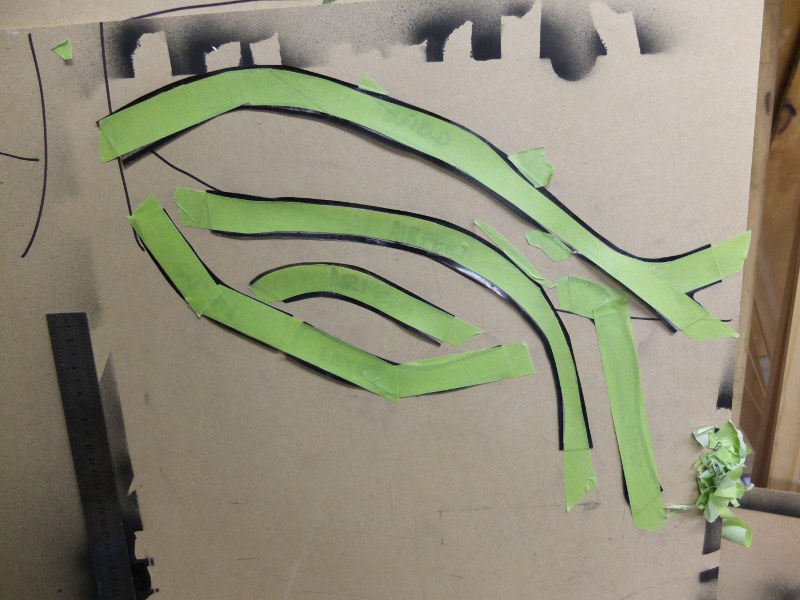
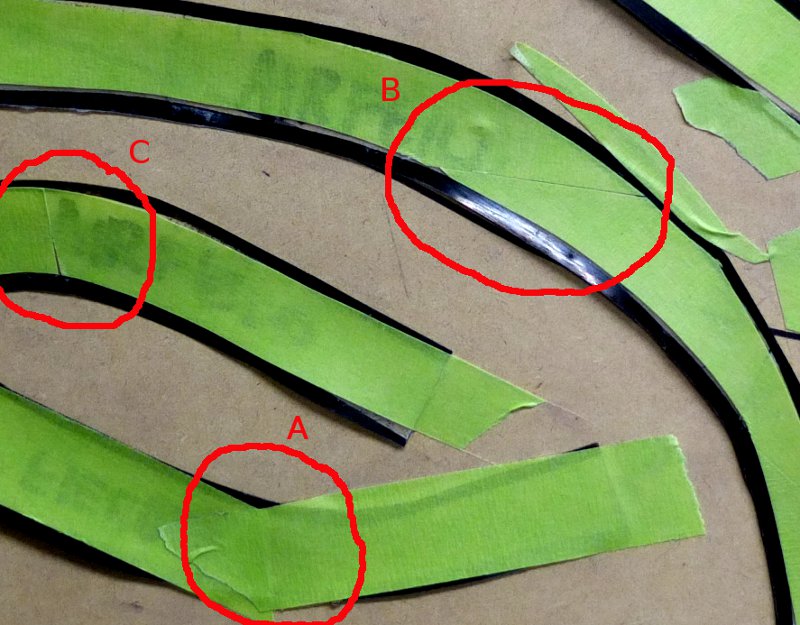
  • Masking tape about 24-25mm wide. "3M Masking tape 233+ Premium Masking Tape" is the stickiest I could find locally. You dont want the tape to peel off so buy some good stuff. larger widths are also useful for curves or highways

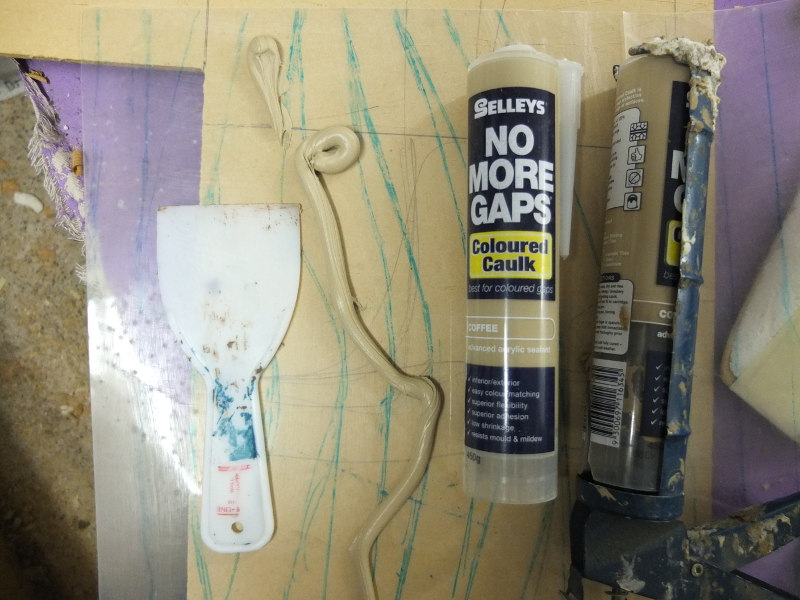
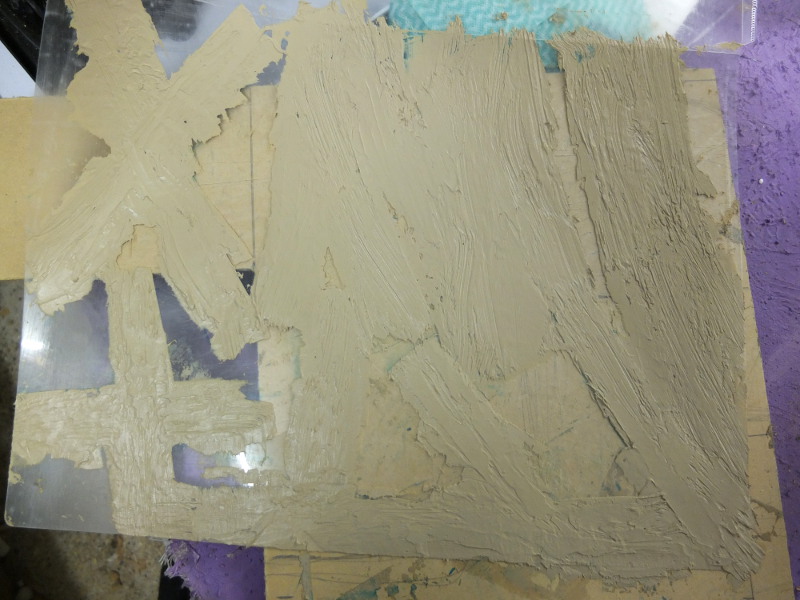
  • A tube of Sealer (caulk used for bathrooms and DIY. For this a coffee coloured caulk was used as it saves a lot of hassle painting it.

  • Cheap paint for the base colour. I use a browny-ochre poster paint as that is my preferred ground colour

  • Cream paint (I mixed some white and yellow paint together) for drybrushing the bases

  • Medium grey paint. I use Tamiya paint for this as I spray it through an airbrush.

  • Flock (I use a mix of static grass and woodlands scenics)

  • A good quality white gel fine tip art pen. Mine is a "Artline" brand and it will cover balck paint very well.

  • Airbrush or some weathering powders.

  • PVA Glue

  • Black spray paint

  • A sharp knife (with new blade), a metal straight edge, some draughting curves, paint brushes, marker pen, sisscors

  • A large old piece of board (MDF or similar)


Making Asphalt roads


Step One

First lightly sand the sheet on the side you want to make the roads on. The plastic is quite thin so don't sand too hard or you will make a hole.

Then use a marker pen and draw/ mark out the shapes of the roads. I usually allow about 4-5mm on each side for the edges and the total width of the road is about 30mm but this can be reduced later. As long as the over piece is straight I don't worry if the edges are a not straight. The edges depend a alot on the terrain you are going to place the road on. For curves I use the draughting curves or free hand draw the curves. Tins are useful if you would like to create a roundabout or curved corners.


Step Two

Next I place the plastic sheet on to a piece of cheap MDF board (or similar). Then get some tape strips about 4-5cm longer than the entire length of the road piece, (the excess tape helps hold the plastic sheet down) and stick them down starting at one end. I put a little bit of tension on the tape to avoid wrinkles and then smooth the tape with my hand or something soft like a piece of card. Be careful not to stretch the tape too much, otherwise the tension may cause the road to curl up, once released. Start with shorter pieces until you get then hang of it before starting on the longer pieces.

For shorter pieces or curves cut the tape to length or stick it down and trim carefully with a knife or sisscors.For curves I run the tape length ways but sometimes one strip of tape will not cover the road. I use additional pieces laid parallel to the main piece to cover the road area and trim with a knife. Sometimes it is better to make the curve by laying one piece, trimming that at an angle and then, overlap with a second and more pieces.

For corners I lay one length of tape and then overlap with the other piece of tape, but don't push down on the tape where it overlaps another peice of tape..


Step Three

Next use a knife to cut the tape off the extra pieces except at the ends. For the curves You can freehand them or trace using the same curves that were used to mark the section. I try to cut the tape back to allow for a 3-4mm clear section on each side of the road and peel off the excess masking tape, but it is easier to just leave the tape on and cover it. This can be tricky as the tape hides the lines you have drawn, so it is a bit of guess work to get the curves looking good. Also you don't want to press to hard othewise you will go right through the road! I recommend a sharp blade and light pressure and let the blade do the cutting (rather than ripping).

Where two pieces of tape intersect (eg on a T junction), cut the excess tape off. You should be able to see the ridge of the peice underneath and follow that with a knife. Press gently so that you only cut through the tape and not the plastic sheet underneath. If the blade is a blunt you will find the tape tears or catches on the blade.

If you see any noticeable joins, use a very small amount of filler or putty to fill the gaps and smooth over the join.


Step Four

Next I spray them with a cheap flat black spray can and let it dry for 24hours. After that I cut the sections out of the sheet as I find it easier to work with them individually for the remaining steps. I use sicssors to cut the lengths and a sharp knife to cut the tape off the ends of the roads. Sometimes, on the ends of some roads that the masking tape was visible, so it was given a quick spray of black paint to cover this and with for the paint to dry again.

Next I airbrush the roads with a dark grey giving the whole road a light dusting , followed by a heavier coat in the middle section of the road. If you dont have an airbrush then you can use a wide brush and brush this on in 2-3 layers.

Now is most the tedious part of making roads. I use a fine white gel pen, a ruler and some old draughting curves and draw the road markings. The important part is to make sure that the centre line and edge lines are the same width on all the pieces so that they join in the same place. My masking tape is 24mm wide so I make the roads 20mm wide with each lane 10mm and that's a nice easy number to remember. You can also get yellow gel pens but I haven't tried those. I use the curves to try and make smooth and consistent curves otherwise you will have to freehand it.


Final step (5)

Then I paint the edges of the roads where I want to grass section to be. The grass probably shouldn't be this close to the edge of a road but it looks good and provides a nice contrast. Sometimes I use filler to hide any joins all the side of the roads between the edge of the road. Next flock the edges of the road. I prefer to have some dead grass on the edge on the tarmac and you can use a different flock for this or airbrush the edge with a straw coloured paint.

Next touch any areas where the white pen has smudged. I paint over it with the dark grey I used to airbrush with. Don't worry if it look patchy as most roads do and the next step will hide it.

The final step (before varnishing) is to airbrush a light thin coat of a dusty colour (I use Tamiya Buff) onto the roads. I spray a strip of this colour down each lane of the road and then sometimes an overall dusting of buff. The picture shows the left hand roads which haven't been airbrushed with dust vs the ones on the right which have.

A couple of optional extras (before the final airbrushing) is to draw some cracks in the roads with a fine black pen, and you could also shade different sections of the road to look like the road was repaired at different times.


Making Dirt roads


Dirt roads Step 1

Step 1 is the same as above for asphalt roads. Then I tape the plastic sheet to a board to prevent warping or curling during the next steps.

Next get the caulk and smear it onto the plastic covering each of the road pieces (sometimes it is quicker to cover the whole sheet than pick out separate road sections) to about a thickness or 1-2mm. If you don't have coloured caulk, mix some ground coloured paint into the caulk before applying it to the plastic, as it will save a lot of time and effort later on.

Once the caulk has fully dried, cut out the road strips from the plastic using strong sicssors or a sharp craft knife.


Painting the roads

In this step take some cheap brown-cream paint and use a large old brush to lightly drybrush the road and edge. base. Progress to a lighter creamy colour and then a very light almost white drybrushing layer. For the main track part I tend to repeat the creamy drybrush to make it much heavier on the track part, compared to the road edges.

I find that cream is better than white for drybrushing, as white is a bit too stark. Alternatively you could use a much lighter shade of your base colour.

I used to use expensive modelling paint and inks for the bases, but I found that craft or poster paint is fine and about 1/10th of the price.


Flocking the edges

This stage is optional but I prefer to flock the edges to help the road blend into the surrounding green mat/cloth. For the flock, use a mixture of static grass and Woodlands Scenics fine flock. You can mix together a number of different shades, and then use PVA to glue the flock on.


Extra detailing the tracks

It you look at most tracks or roads you will see that there is often a strip of yellow or dead grass on the edges between the road and the surrounding country. Depending on the wide of your roads you can glue a thin strip of yellow flock between the grass flock and the track. This can be difficult so another option is to paint the edge of the green grass with yelow paint. I use a acrylic Ochre paint and paint the edge by drybrushing and daubing the colour one. Then follow this with a lighter shade (use ochre and white mixed together) while trying to avoid getting too much on the dirt part of the road.

Finally you can glue a strip of grass down (and dead grass) the middle of the track to show the wheel tracks. This is more for 20th century gaming with motorised forces.

If you want to keep the flock from coming off then you can seal the roads with a coat of varnish or hair spray. Because the dirt part of the road is already coloured, there won't be any different colours coming through as the pieces wear.