6mm Wargaming

Sabre Squadron Airborne Game Report

Introduction

In what has become a regular tradition, a bunch of like minded gamers getting together in a place for a weekend of Moderns gaming. We are mostly ex-WRG players but have now moved onto Sabre Squadron and find it a very faster game and much more playable, especially Infantry and aircraft.

The game was set in a fictional cold war period with US, Dutch and West Germans defending a canal against advanced Soviet forces. This was a game that we played all day. The Soviets were not using frontline forces (due to the players choices) and had 3 separate forces - Soviet Airborne, Soviet Category 3 armoured and some Khazahstan allies! Reinforcements for both sides were limited and the lack of forces on both sides made for a tight game.


Click on the thumbnails to see the full sized image


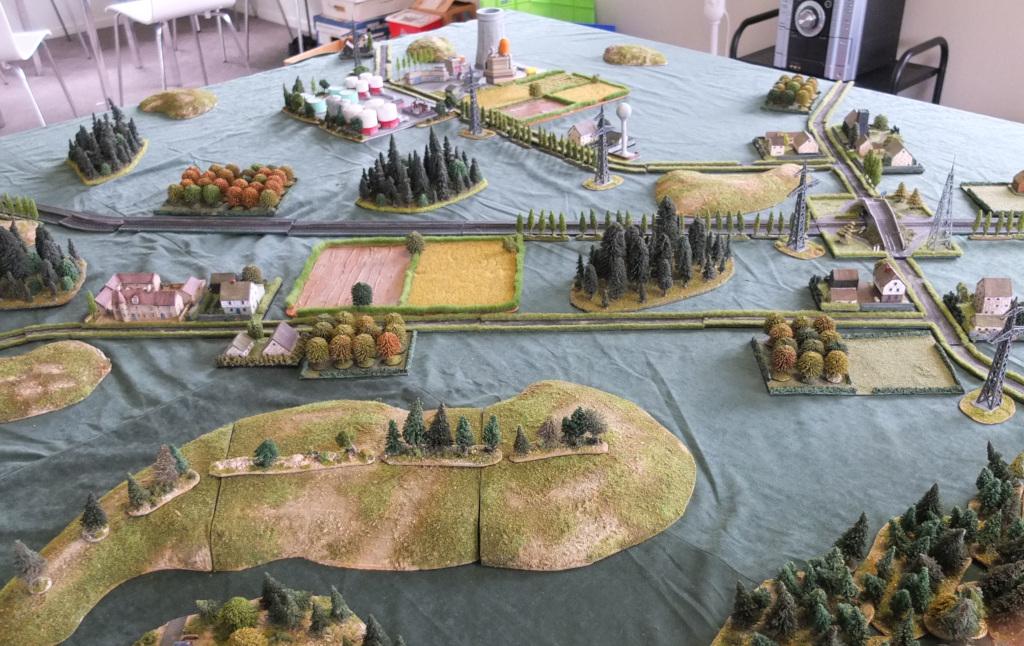
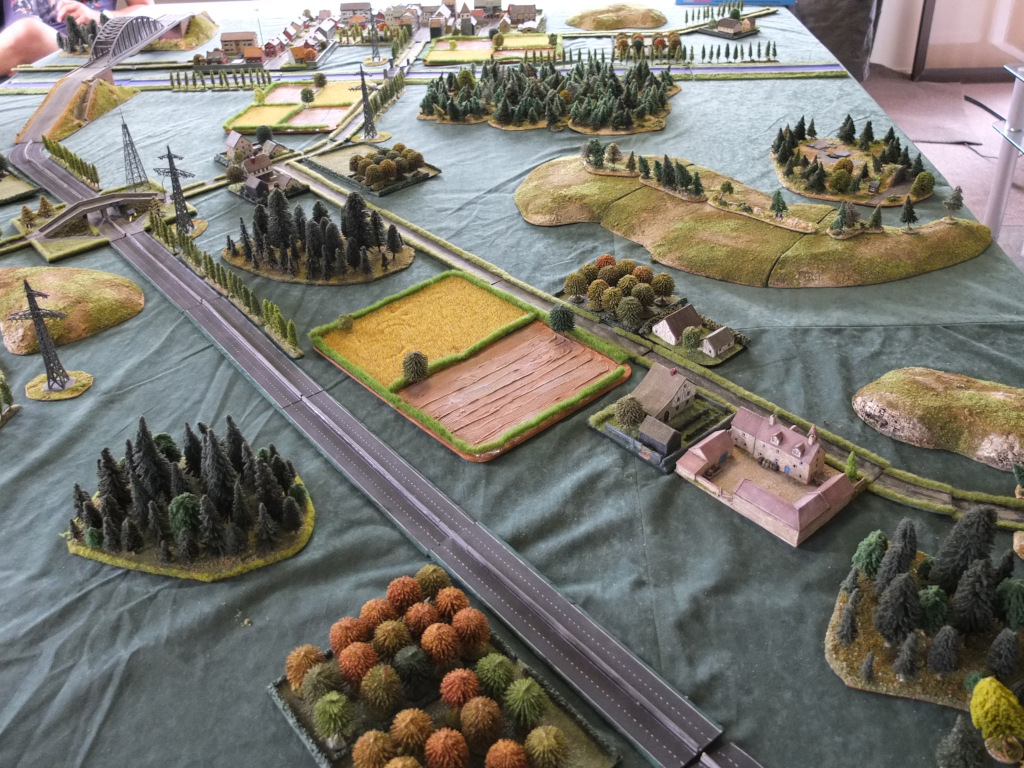
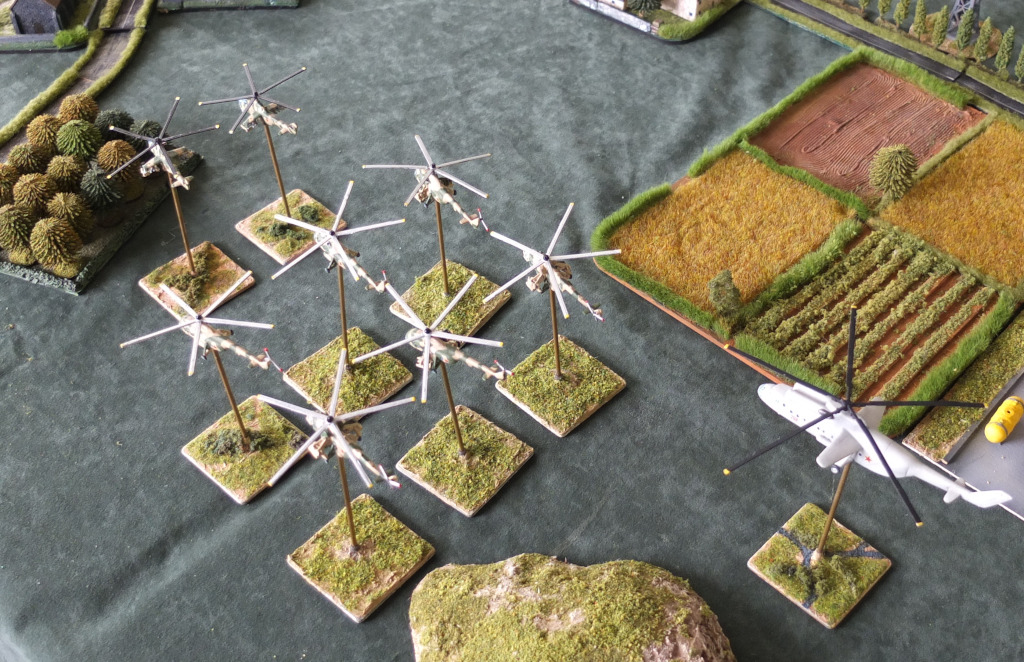
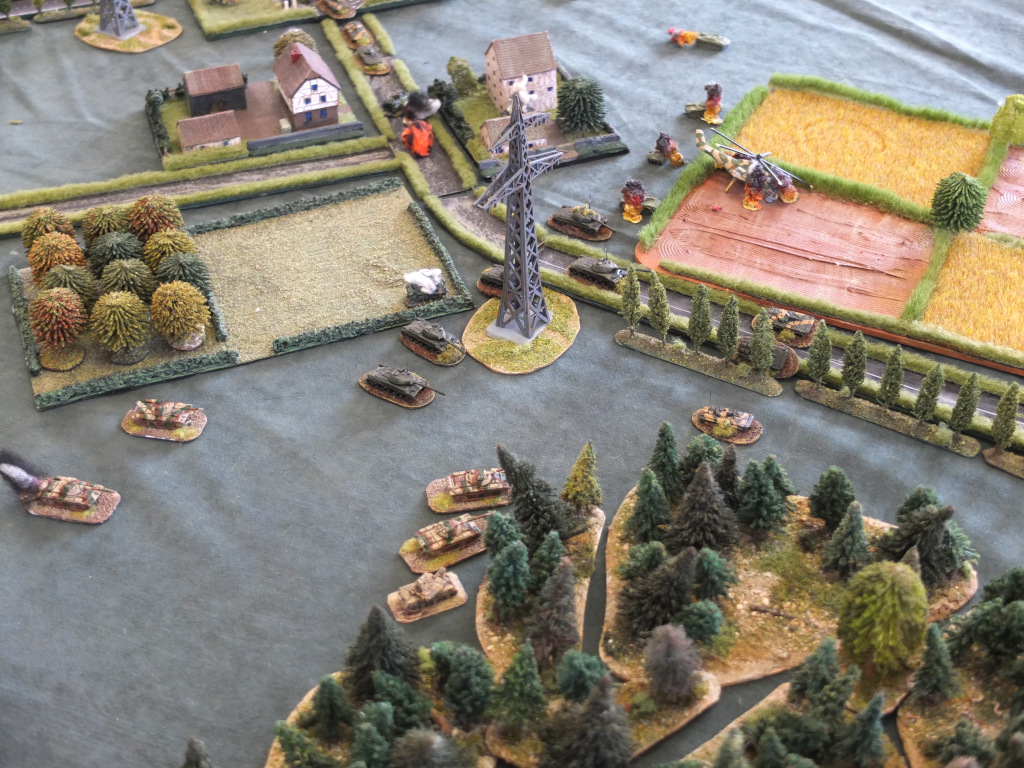
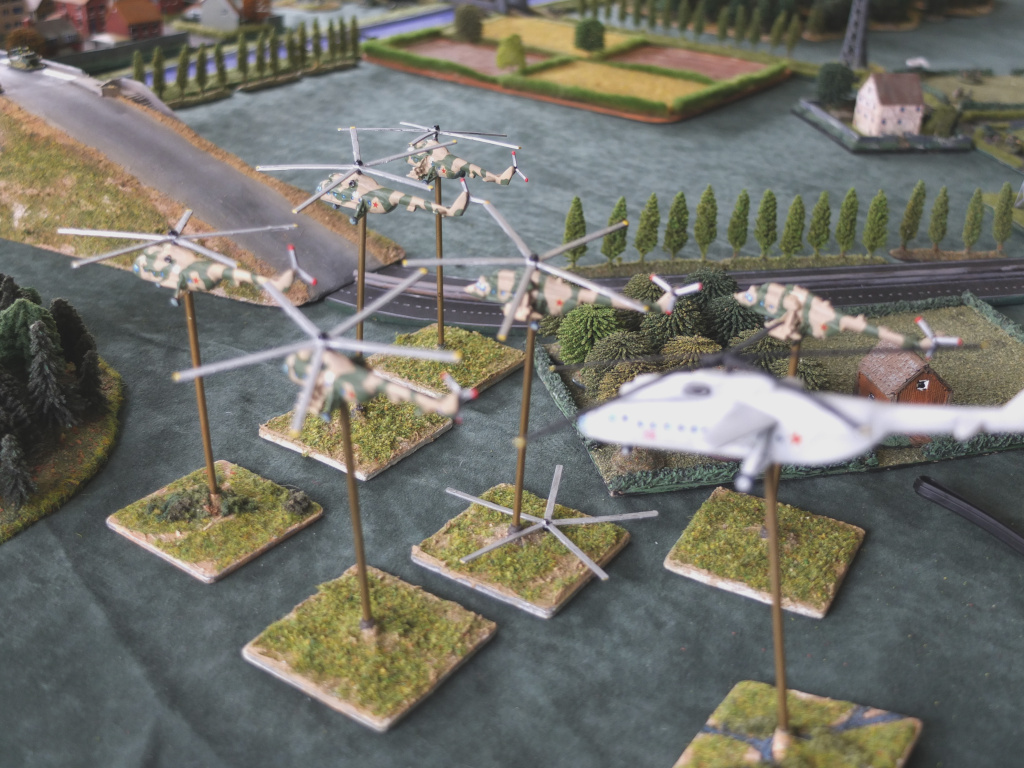
Table layout and game setup

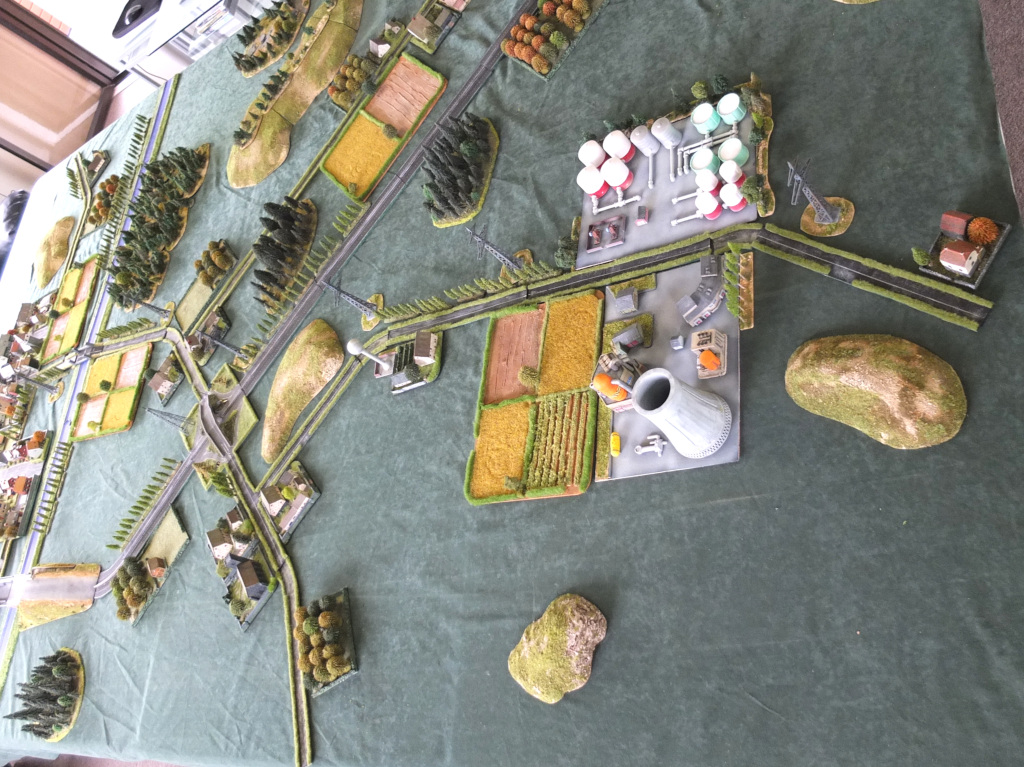
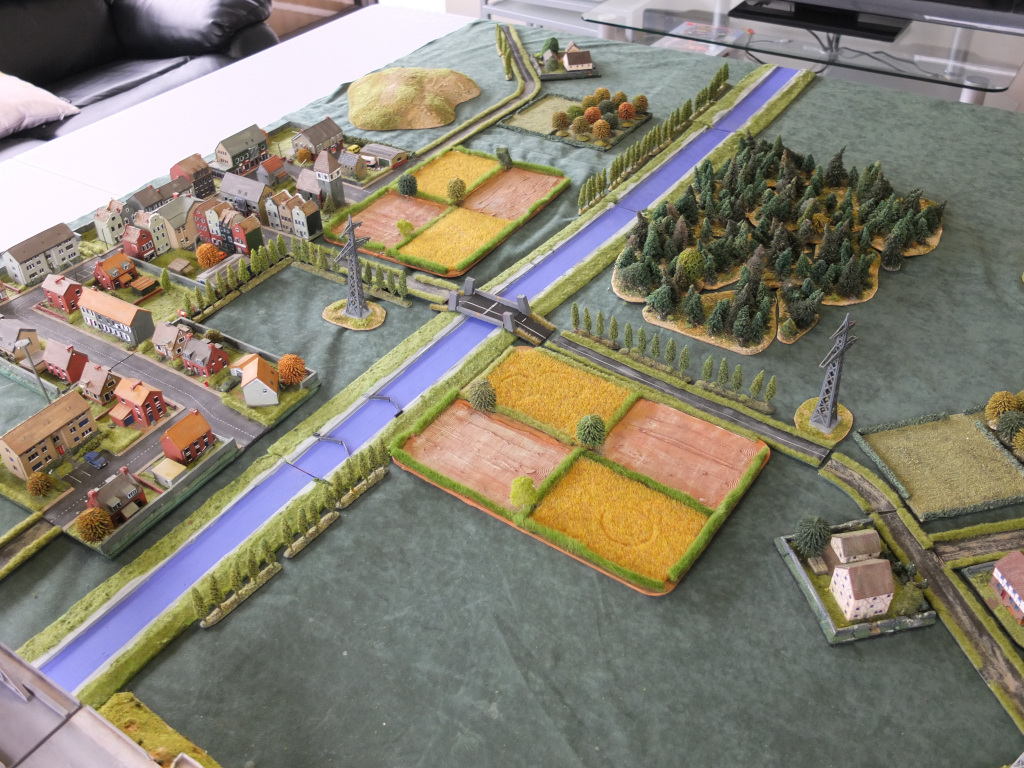
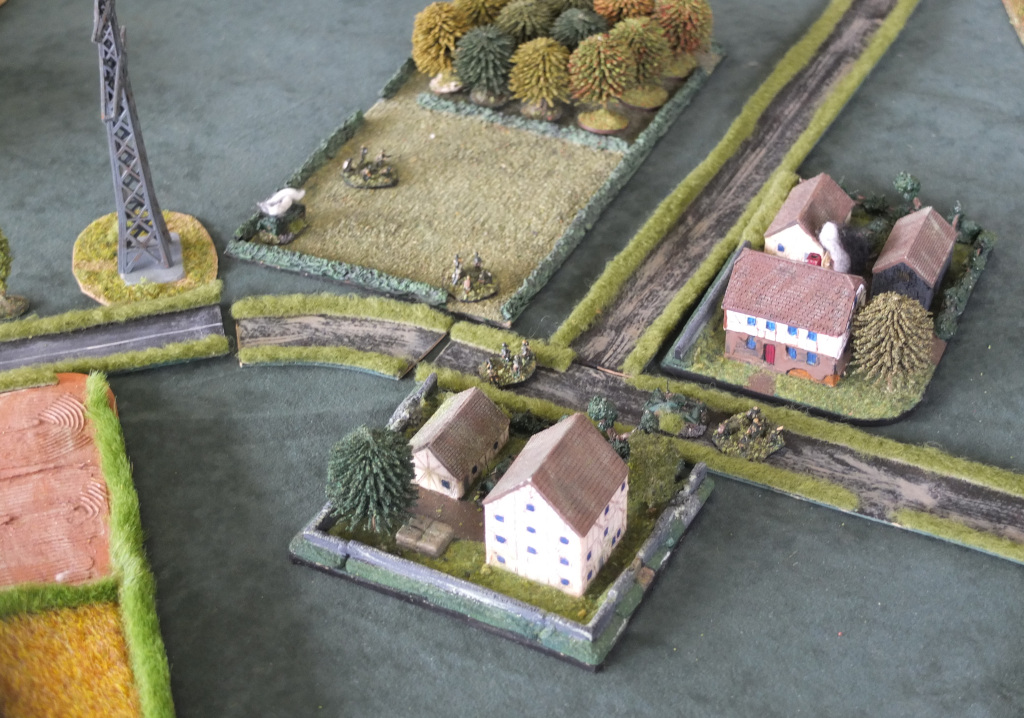
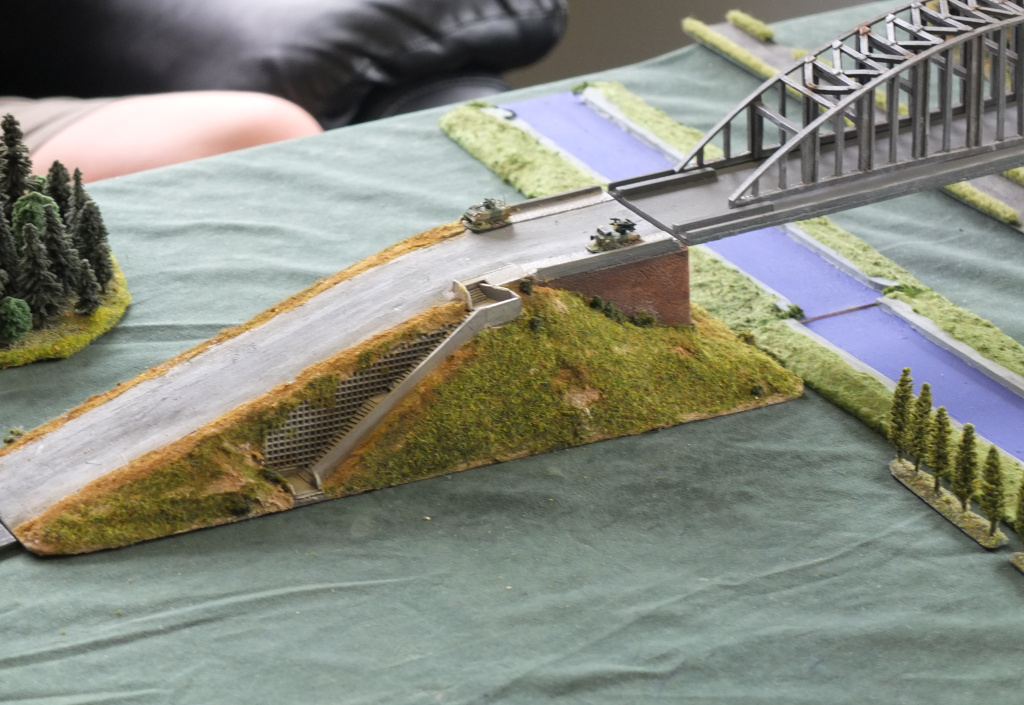
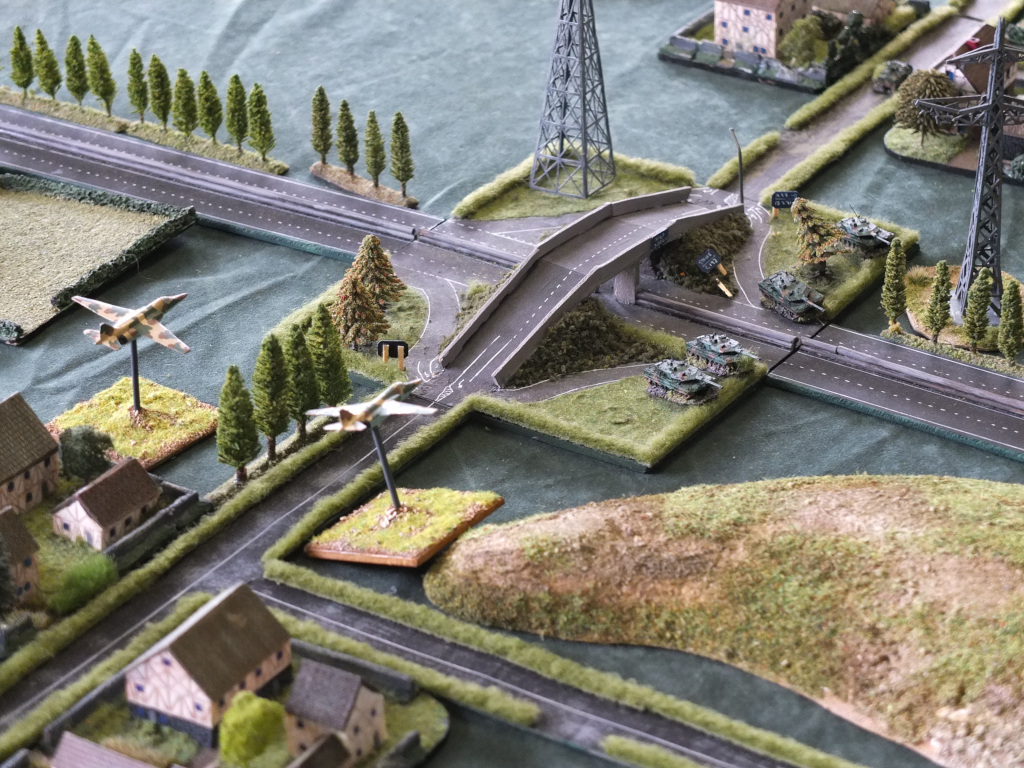
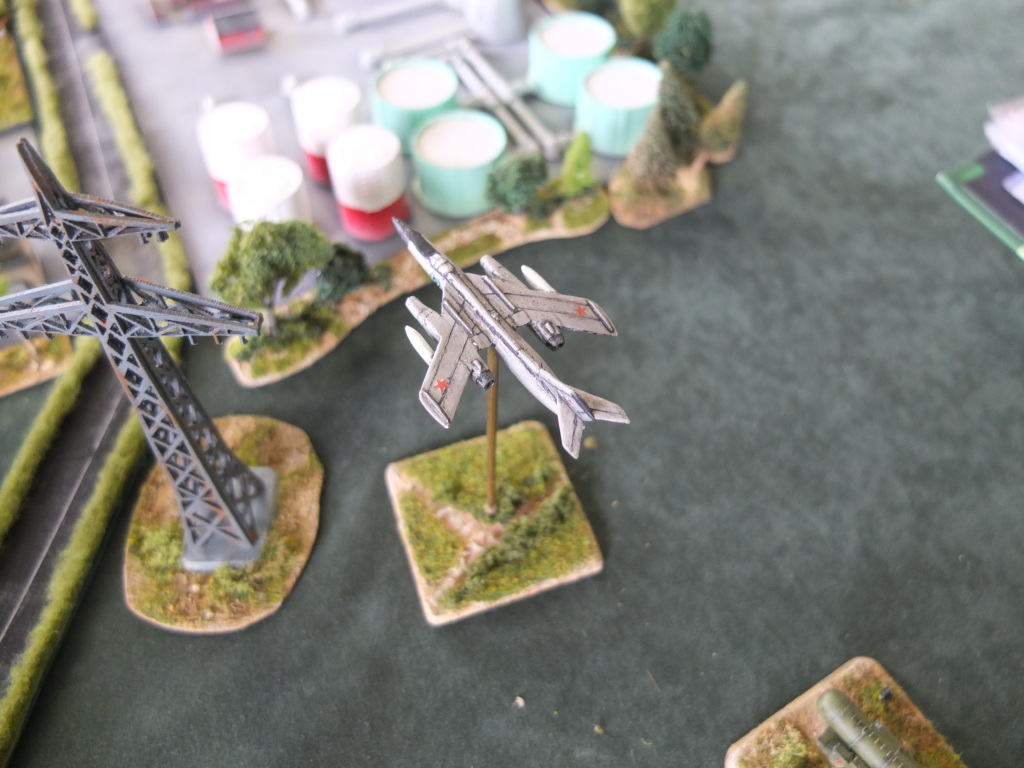
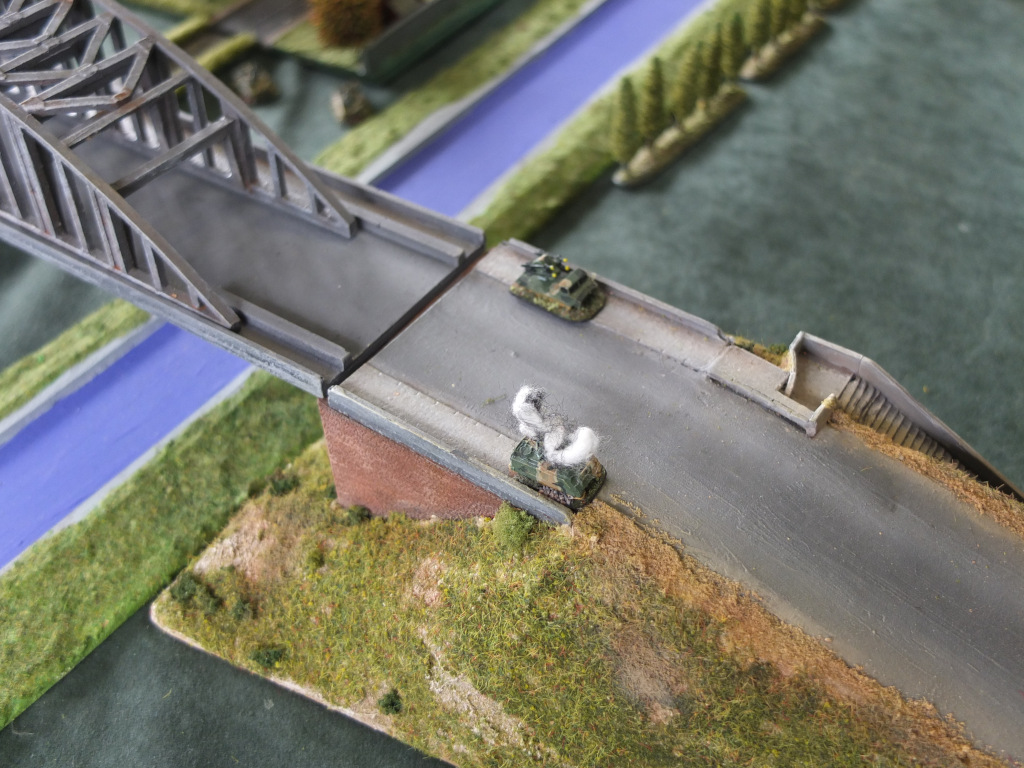
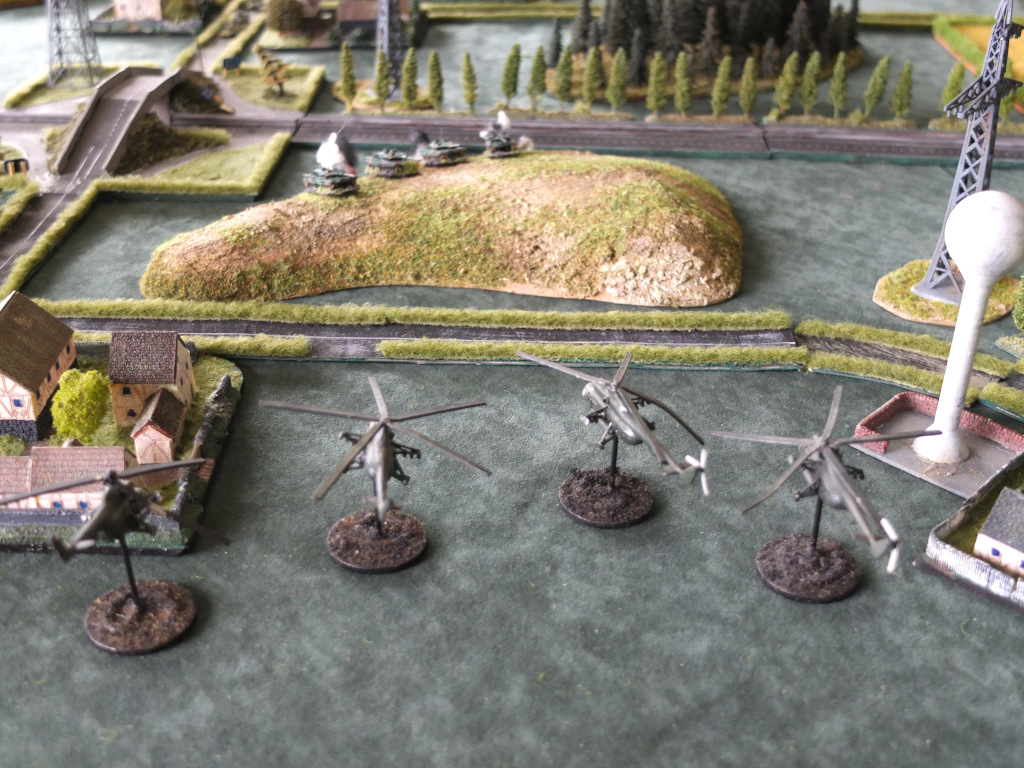
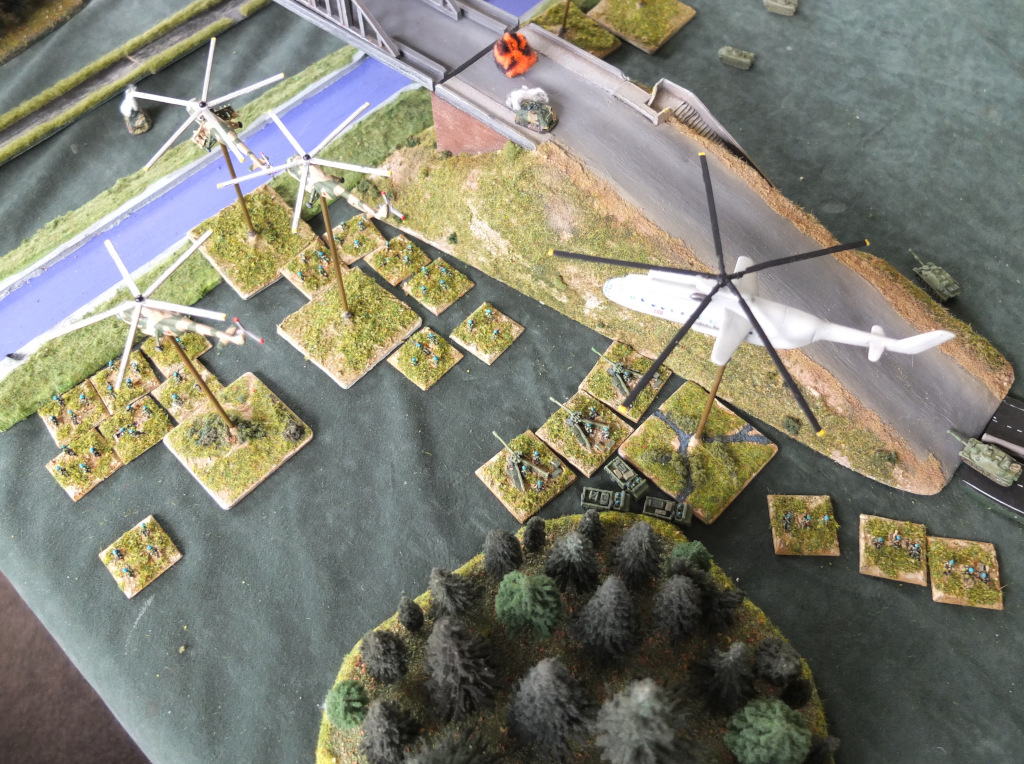
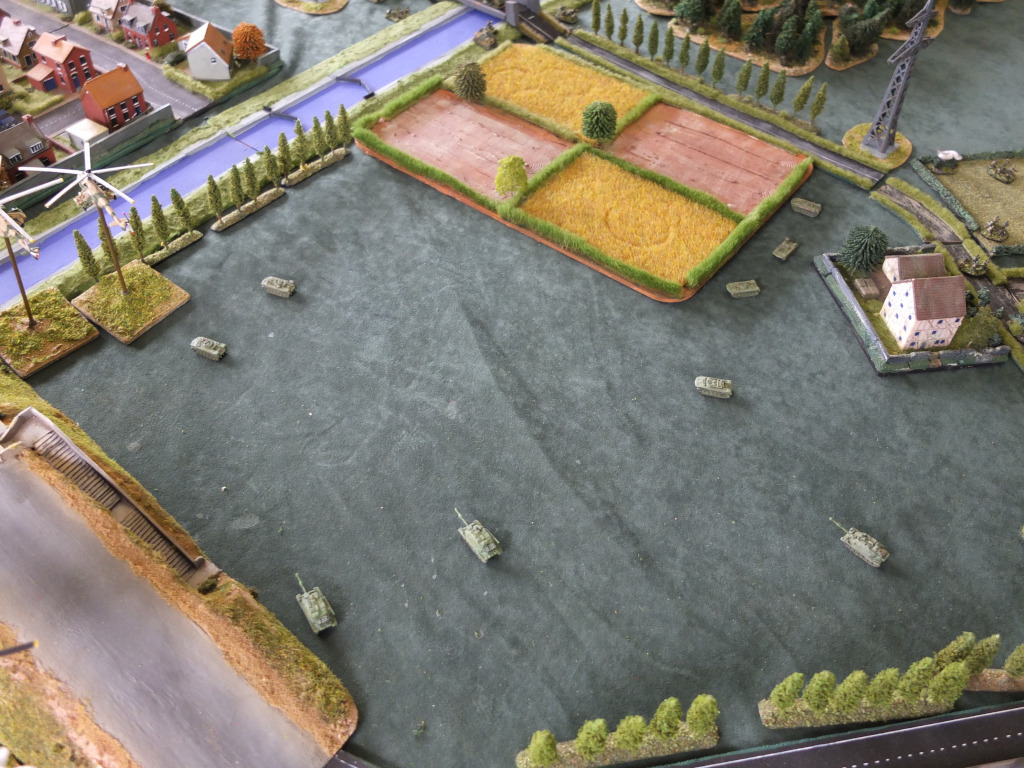
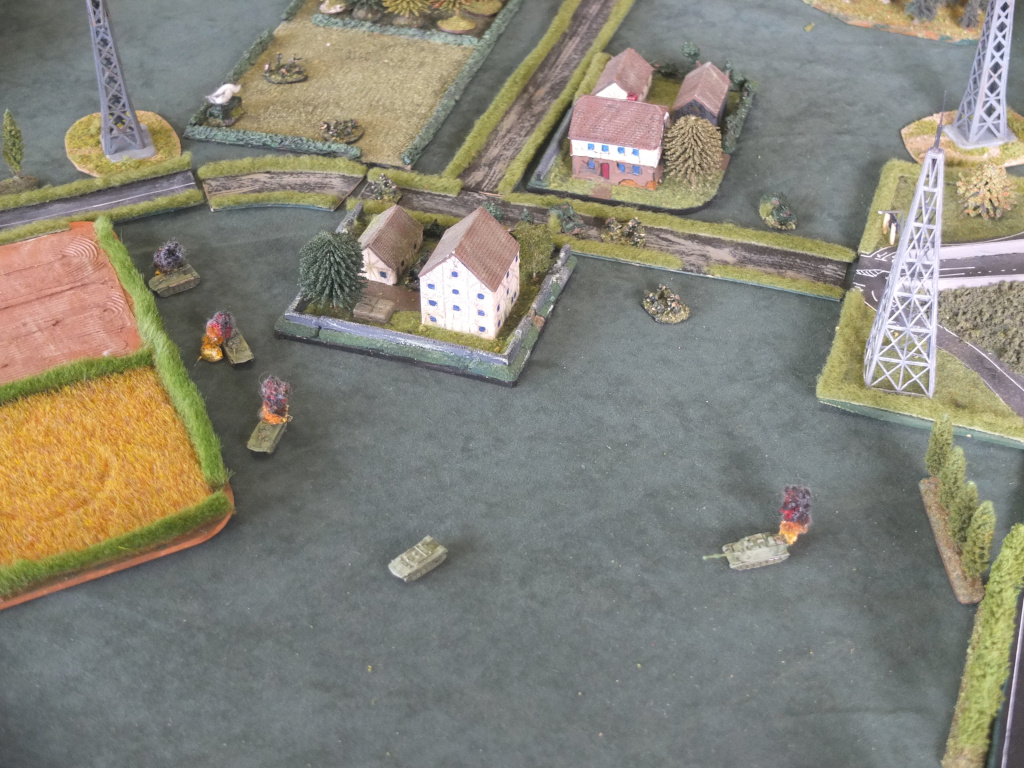
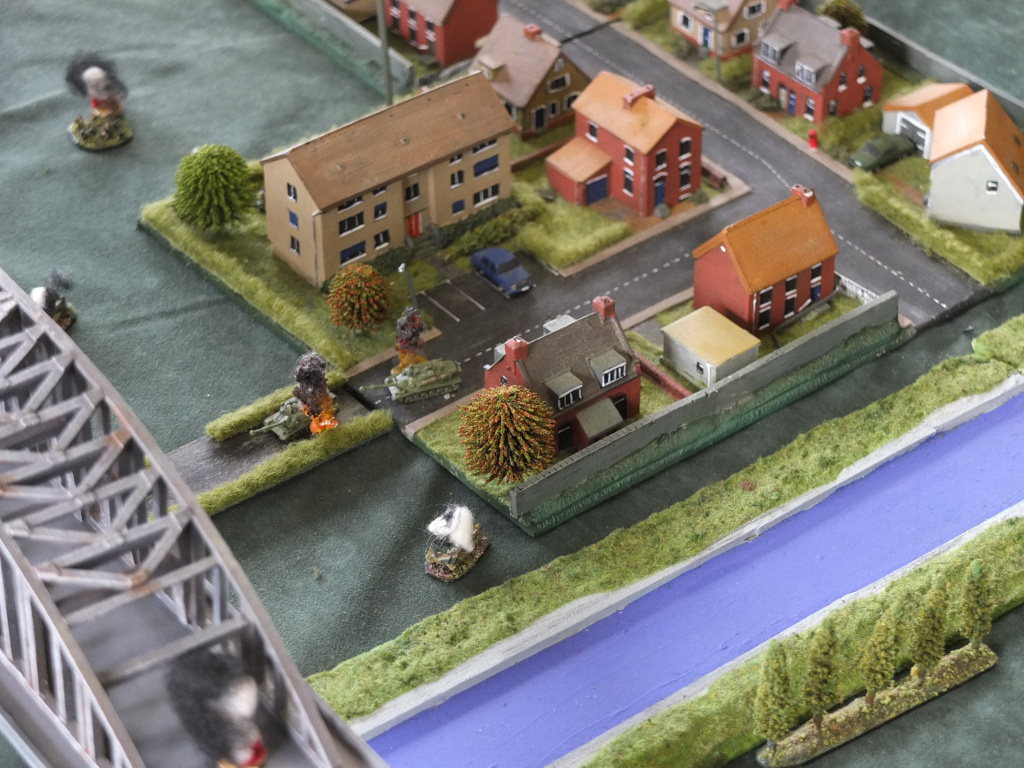
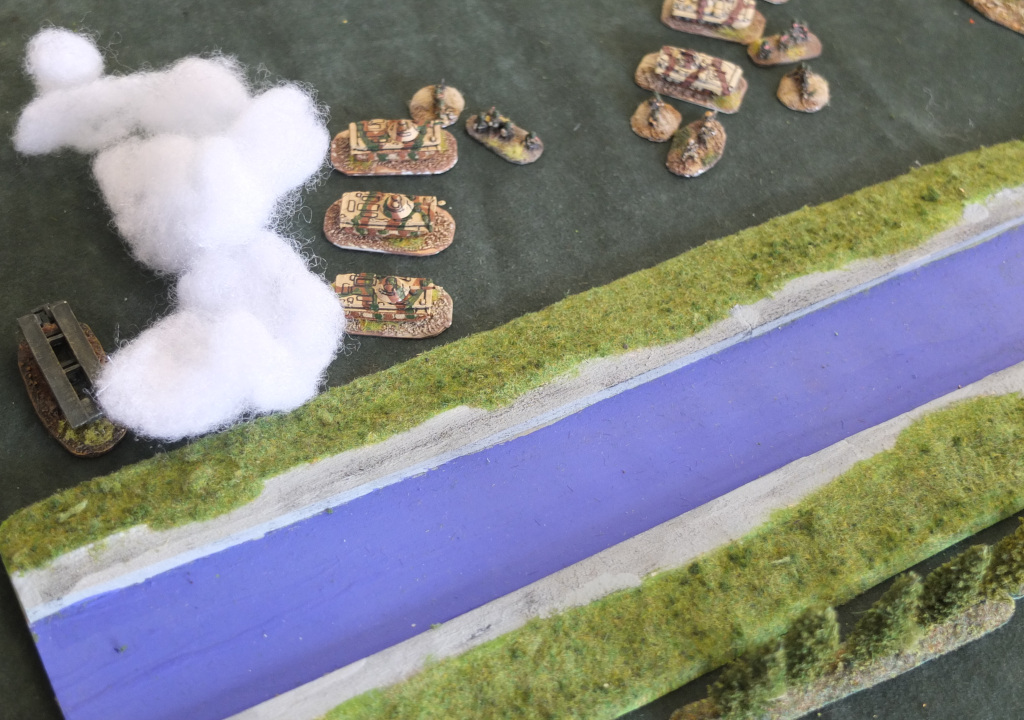
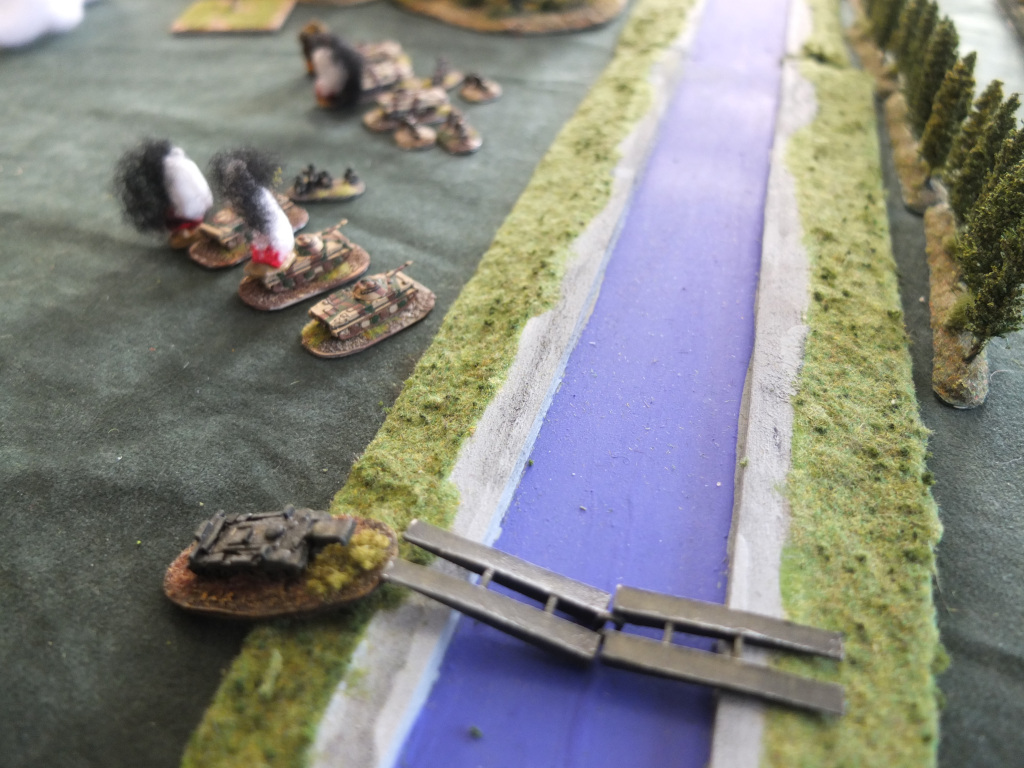
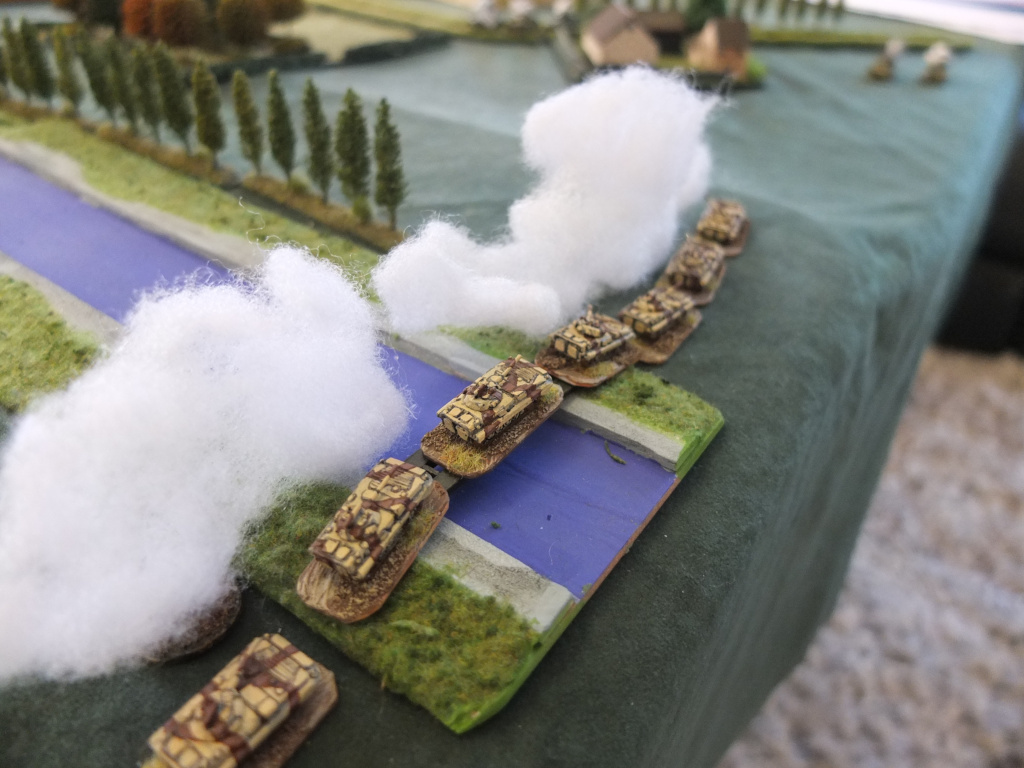
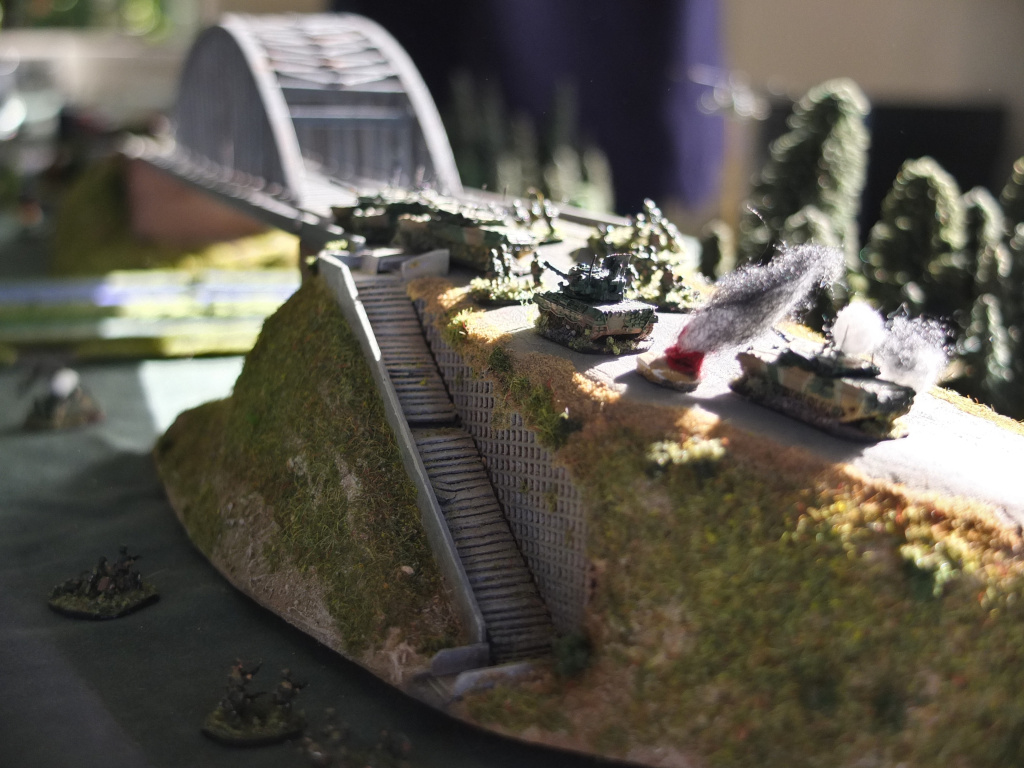
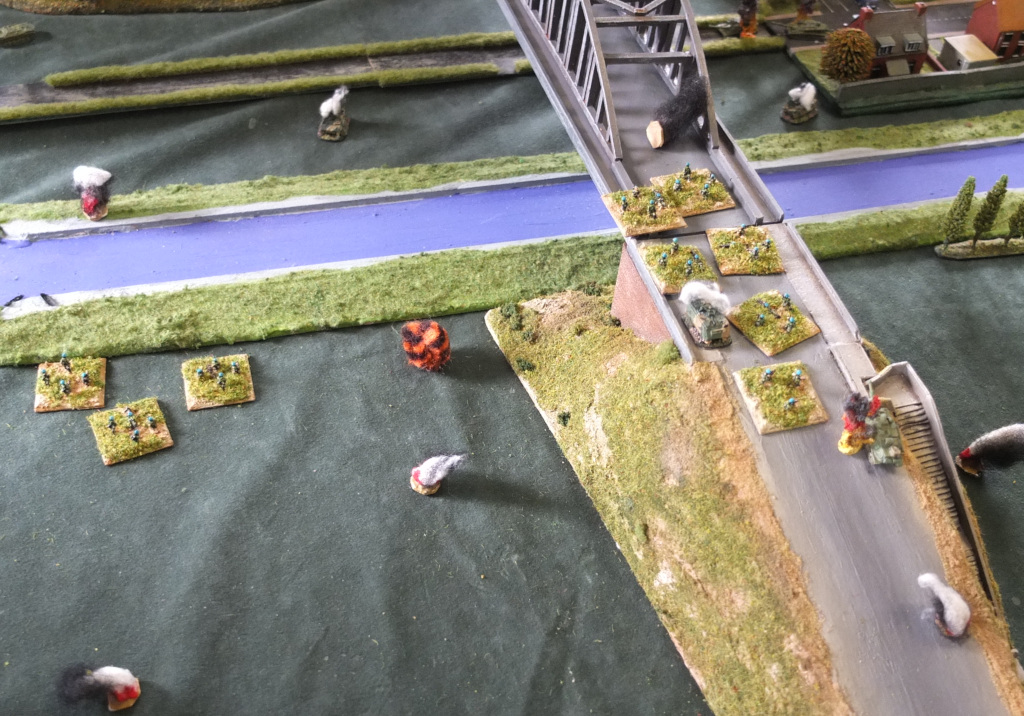
The game was played on a 6 x 10ft table and most of the terrain came from Steve's extensive and very nice 6mm collection. I provided some trees, hills, large Arnhem style bridge, a Nuclear reactor and an Oil refinery.


More table pictures

The scenario for this game was for the WARPAC forces to capture the 2 bridges spanning the canal while NATO had to defend these at all costs.


NATO forces

The NATO forces consisted of a mix of US ACAV, West German and Dutch and each player only had 2 platoons, along with a handful of support weapons such as AA (they were warned of a possible airborne assault).


NATO forces

More NATO defenders.


WARPAC forces

Rather than attacking with frontline units, the WARPAC forces consisted of a T-10 Heavy tank company with supports, a Kazahstan regiment of T62s and BMPs and an Air Assault with Soviet VDV. Before this there was an airstrike with a variety of WARPACT aircraft including Su-25 Frogfoots, and even a Yak-28 Brewer!


VDV assault

The VDV had helicopters which carried 2 platooons of VDV infantry with support weapons, and their vehicles were airdropped by parachute. The main VDV assault began with a large force of helicopters, 8 Mi-24 Hinds, 2 Mi-8 Hips carrying infantry, 4 Mi-8s with rocket pods, 1 Mi-2 carrying an observer and 1 Mi-6 hook carrying the infantry heavy weapons. There should have been more infantry but that was all we had ready at the time!


Attackers moving forward

The progress by the WARPAC land forces was slow due to their older equipment. Meanwhile the Hind Attack helicopters were busy launching ATGMs and rocket pods at NATO forces.


Early casualties

Devastating AA fire by a M163 Vulcan downed a Hind helicopter forcing the other one to hide behind terrain. Meanwhile some of the Hips were pouring rocket pods into a unit of Leopard 2s. The survivors of that were finished off by ATGM fire from Hinds.


Land forces engaging

A couple of turns later the land forces started to engage with WARPAC losing T-10s and more Hind helicopters (to Chaparral missiles and AIFV Autocannons).

NATO continued to shoot at the helicopters with everything they had but it was mostly ineffective except for a downed Hip. The M548 Chapparral and Gepard AA vehicles rolled badly (especially the Gepard). Meanwhile the VDV assault continued down the table flying at low level to avoid any off-table SAMs or Fighters.


NATO headaches

The VDV neared their Drop Zone by the bridge and the drone of Soviet transport planes could be heard. Unfortunately for WARPAC the land forces were not keeping up, so the VDV assault would be very vulnerable and the land forces were still 2-3 turns away. In the interests of game play (and time was getting on) the WARPAC forces got in-the-field engine upgrades, and suddenly could move the speed of T-72s! On the NATO side reinforcements were arriving including a platoon of M1 tanks and highly trained Dutch in AIFVs.


VDV landing

Using a deployment mechanism from some of the WRG WW2 and Modern rules, each vehicle name was written onto bits of paper and dropped over the table from about 30cm above it in the open field in from of the large bridge. Although this is an old mechanism it is extremely effective and easy to do!

One BTR-D was destroyed when it landed in a village but the rest landed pretty well with a few scattered onto the other side of the canal. However they were right in the middle of the NATO forces and surrounded on all sides. The heliborne VDV managed to land their forces safely using the large enbankment of the bridge as cover.


In the thick of it

VDV forces managed to get onto the main bridge but never succeeded in crossing it, as their forces were too decimated by that time. Meanwhile the VDV forces that had paradropped on to the opposing side of the river (mostly ASU-85s) were slowly picked off by NATO forces.


Closing in

On the other flank the forces of Khazanistan were advancing rapidily with light casaulties. They managed to reach the canal. They started to take casaulties as the NATO forces realised they were about to lose the game if the WARPAC forces completed a bridge crossing. Meanwhile in the center WARPACT forces are mopping up the remaing US defenders in the center village


Reaching the canal

The forces of Khazanistan laid a smoke screen to protect their bridelayer and the first units began to cross the canal. NATO reinforcements rushed to the areas but they were too late!


End game

With the WARPACT and allies crossing the canal they had won the scenario. We fought another couple of turns with the Khazastan forces engaging West German and US reinforcements.


More pictures

We took lots of picture so here is a selection of some more during the game.


More pictures

We took lots of picture so here is a selection of some more during the game.


More pictures

We took lots of picture so here is a selection of some more during the game.


More pictures

We took lots of picture so here is a selection of some more during the game.