Building a 1/300th Motorway/Autobahn
This build was inspired by other motorways I have seen made by other cold war gamers, and it seemed like a very appropiate piece of terrain to make. I wanted about 6-7 feet
of motorway along with a simple junction that I could join to the table edge and I didn't want to spend a lot of time or money on it, so I used quite cheap materials.
Unfortunately it did take a lot longer than I thought (like most projects!) but I'm very happy with the results.
Note, this is an older build of mine but I have left it here because there is still some useful information it this article. I developed a different techinque for asphalt roads
which you can find on the 6mm terrain boards pages.
Click on the thumbnails to see the full sized image
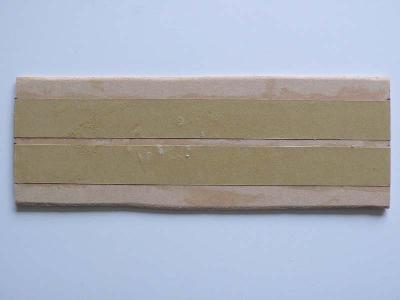
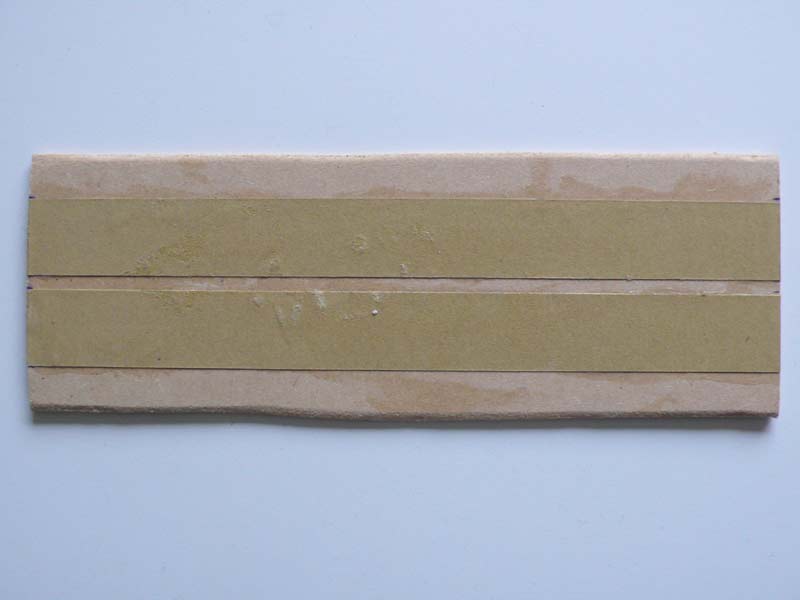
I used some 3mm mdf and cut it into strips about 85mm wide and 300mm long and sanded the edges. Next I glued some
20mm wide 240grit sandpaper strips onto the mdf leaving a 5mm gaps between the 2 strips. I thought this would be about
the right width for a 4 lane motorway.

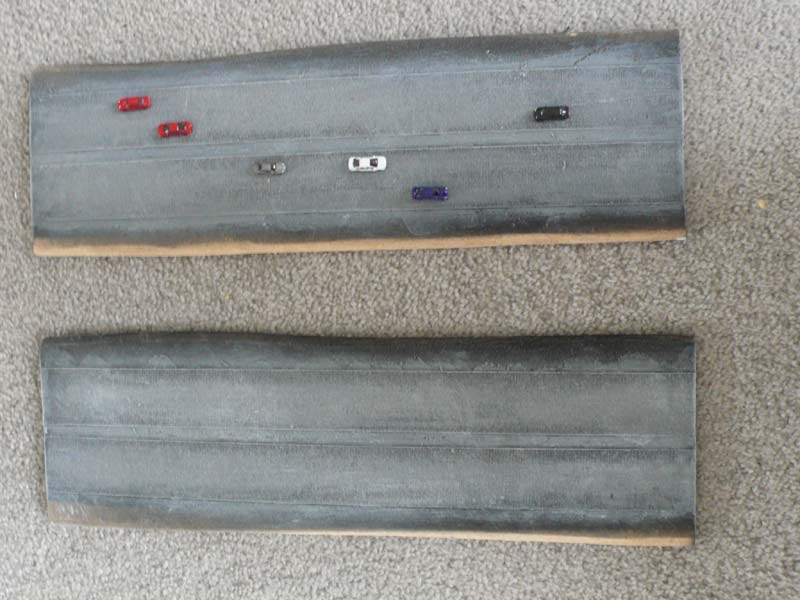
Then I painted the sandpaper with a black spray paint. Next I drybrushed it with cheap Folk Art paints starting
with dark grey and finishing with a light grey drybrush. Another option is to buy some paper roads from a model railway
shop, which would save a lot of time and I would do that next time.)
Inserting lamp post holes
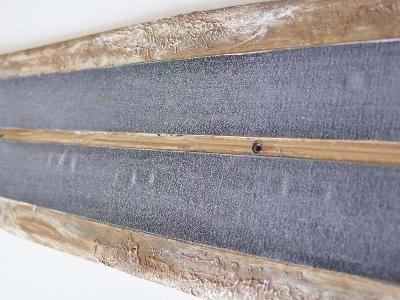
Also I drilled some holes (2 per section) and inserts small pieces of brass tubing along the center section. These
will be used for inserting my lamposts into and I wanted the lamposts to be removeable, so it would be easy to
transport. Also I used some No More gaps to texture the road edges and then I painted the earth colour ready for
flocking.
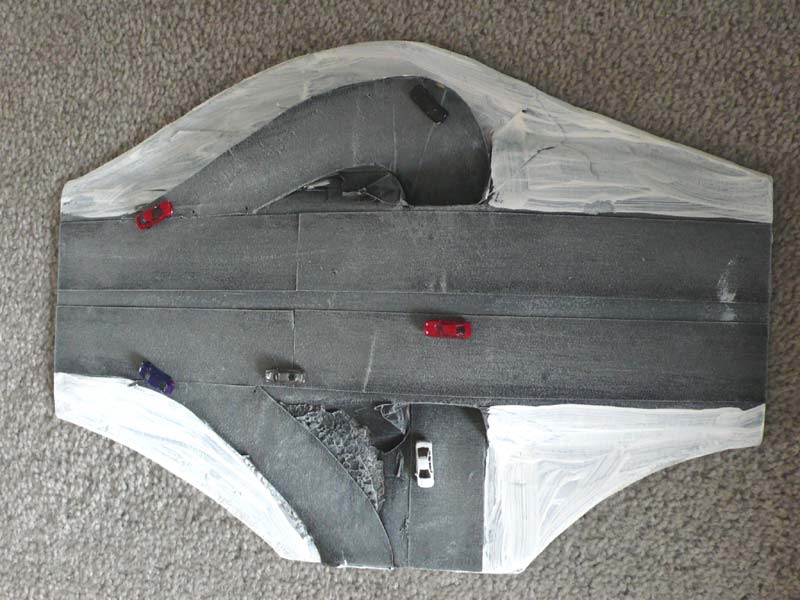
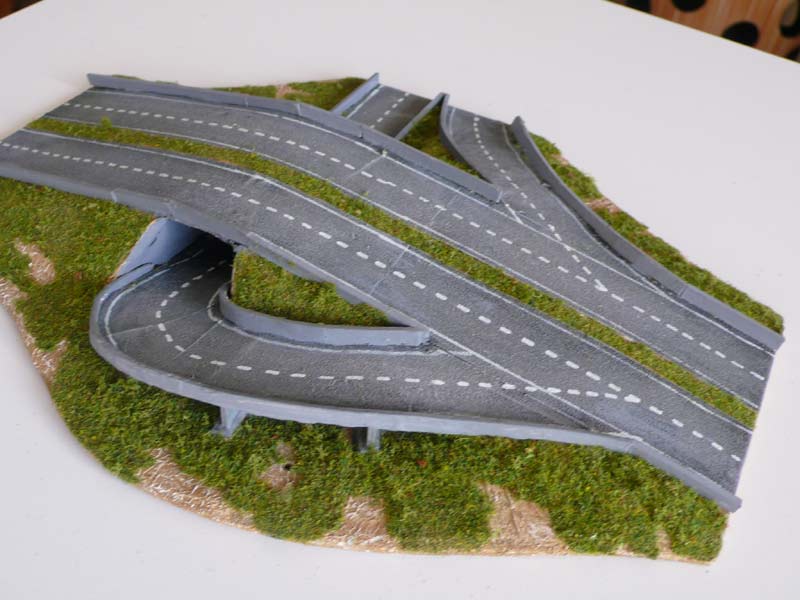
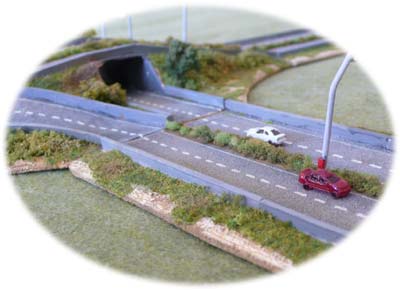
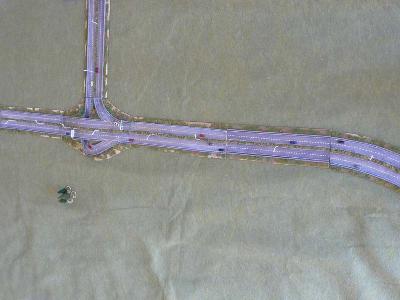
Work in progress on the flyover junction

In this photo you can see the flyover junction I made. It was made by carving the shape with polystrene and laying
the roads over the top. I cheated a bit and used masking tape around the tunnel entrances and the banks to hide any
bad joins.
The ramps were reinforced with thin card cut to the same shape and glued underneath along with supporting
pillars from plasticard. This proved tricky to get the on and offramps right and not look too ridiculous. The barriers
were made from thin card sections glued together as they were easier to bend (I actually bent them before I glued them
together).
Next I flocked the grass strips and glued some pieces of larger flock (from Heki) down the center line as bushes. I
also brought a 0.1mm white marker pen from the art shop and drew on the road markings. I had to freehand draw the ramps
on the junction section but they came out alright. I also added some bushes on the grass. I left trees off to make the
sections flatter and easier to transport.
Next I cut up some cardboard (2mm thick) into 4mm high strips
and glued them to the outsides of the road edges, to represent road barriers. You could also have a barrier down the
middle but I wanted to use bushes to add some green to it. A good tip is to paint the barriers before you glue them
down!
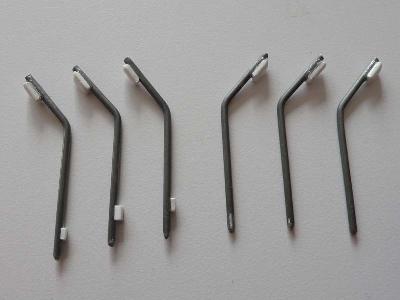
I made these by bending some wire and then I glued a small piece of plasticard near the top to represent
the light. I ground the top end flat and round the bottom end so it would go into the base easier. I also glued a small
piece near the bottom to represent a emergency phone box, which I painted red. Then I painted the lamposts a light grey
and the lights a cream colour.

At his point the Autobahn was finished and I was pretty happy with it. But then I brought an airbrush and decided to
airbrush the bushes in the center of the road, as the green of the bushes was too bright. I airbrushed them lightly
with a sand colour and also ran a very light spray along to roads. This helped the look dusty. Next I angled the
airbrush into the bushes and sprayed in between the bushes and the road with an earth colour in a light coat. Some of
this got onto the road but I like the effect.
I also airbrushed the rest of flock and bushes to help it look it look more patchy and it came out very well.
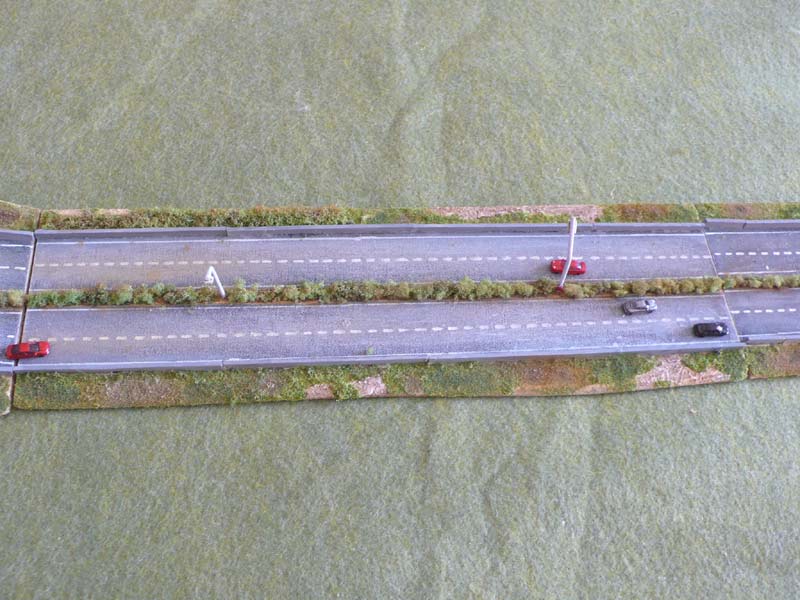
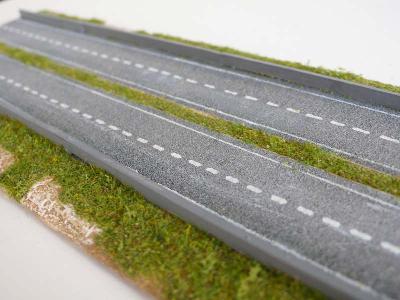
All the section finished and laid out (just over 6 feet worth of motorway).
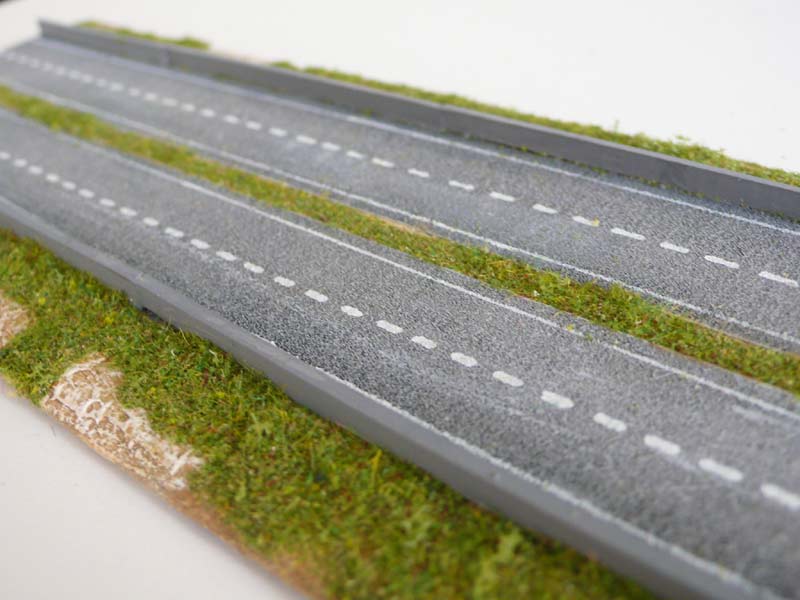
A section of the motorway finished
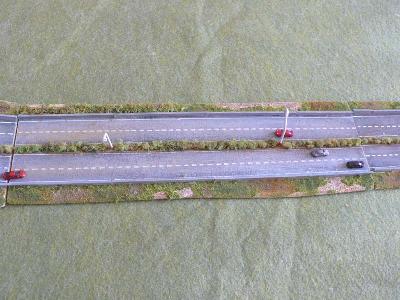
The vehicles are from www.samtrees.com, Scotia and Heroics and Ros.
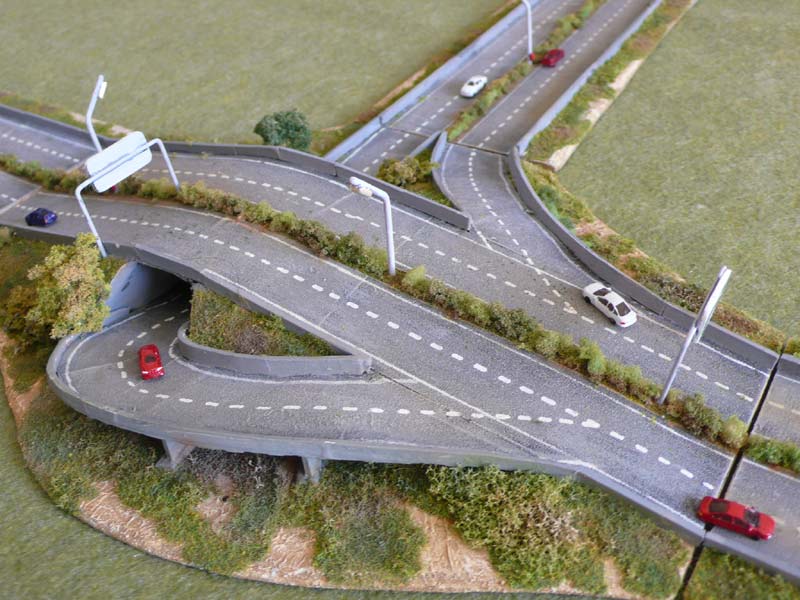
I glued a couple of small trees onto the bases to make it look better. You can also see the exit signs I made
using a simlar technique to the lampposts, (bend some wire and glue a piece of plasticard onto the wire and paint)
but I could find any suitable at the local railway shop.
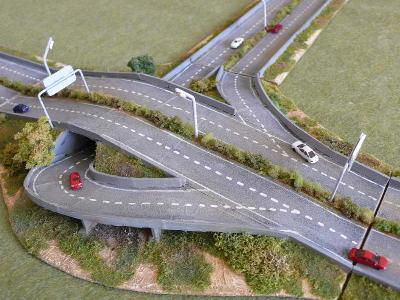
Another shot of the motorway
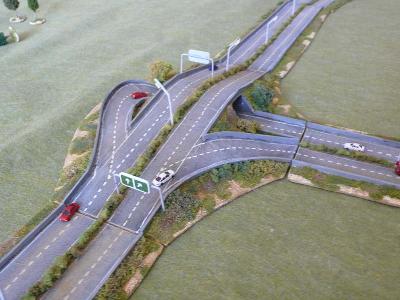
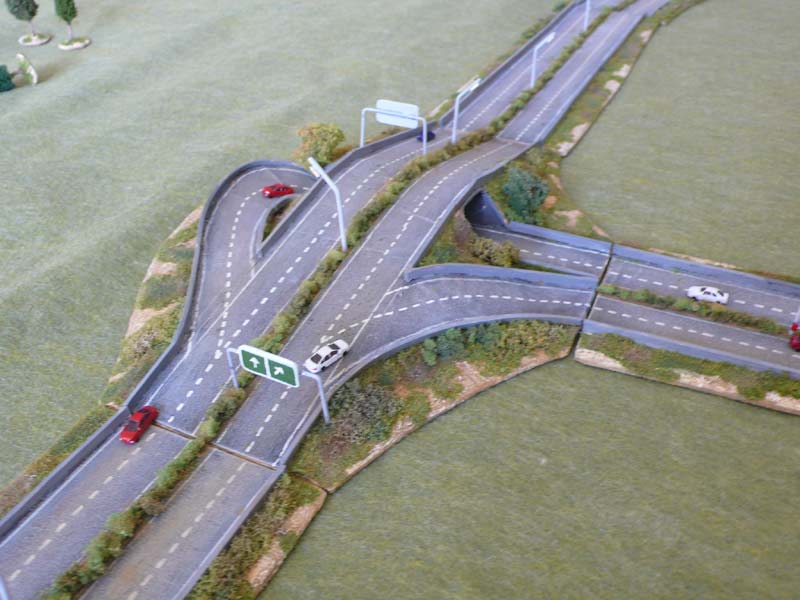
In this photo you can see the scratchbuilt motorway signs showing the on and off ramps.