6mm Wargaming

Cold War buildings

Introduction

Update - since this article was originally written the company has stopped selling this range of buildings but will keep this page as a reference if you want to make you own

I heard about this company (Najewitz Modellbau) and their range of Cold wars buildings on a wargaming forum and I decided to get a few pieces to try them out. It is a very interesting range of buildings with a lot of stuff unavailable from anywhere else. At the time there was no instructions on the site and I had to paste the descriptions of the models into a translator to figure out what they were.

The models themselves are made from a kind of cardboard/ wood mix and seem to soak up a lot of paint. They are very precisely cut with a laser and this means virtually no cleanup is required.  You can see from the pictures that there are some very delicate parts especially the windows and some of the roof supports.


With all the buildings I reinforced the walls and roofs with plasticard and I painted this black before mounting the walls on to it. I also spraypainted all the walls and roofs first to save time trying to paint all the fiddly windows. The white window frames were drawn on using a white pen (the same as I used for the road markings) and this was much quicker and better than trying to paint them all.


Click on the thumbnails to see the full sized image

Gas Station

This nice little model is a useful addition to any modern wargame table. I made a few minor modifications to it to make it more durable for gaming and to add some more 3D relief to the model. First I mounted the walls onto plasticard to strengthen them and I used some offcuts from the frame to make window and door sills. I added some wire to the supports on the forecourt and made the fuel pumps as two separate sets but I think there should only be one.


Power pylons

These are great models and they really make a gaming table. As you can see there was a lot of pieces to remove from between the girders but the end result is worth it. I added some wire inside the middle of the model but it is pretty strong once itwas painted and glued together, and I don't think the wire was necessary.The model was painted and then based on a piece of an old CD, and the concrete base is a small Flames of War base. I have also posted some more pictures of these here.


Marienburg border crossing

This set of buildings intrigued me and I already have a large Cold war Soviet army in 1/300th, so I had to buy it. After doing some research of the border crossing I realised this model is scaled down a lot but it is 
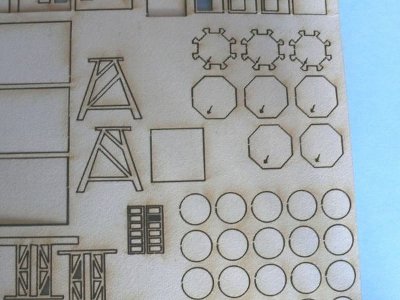
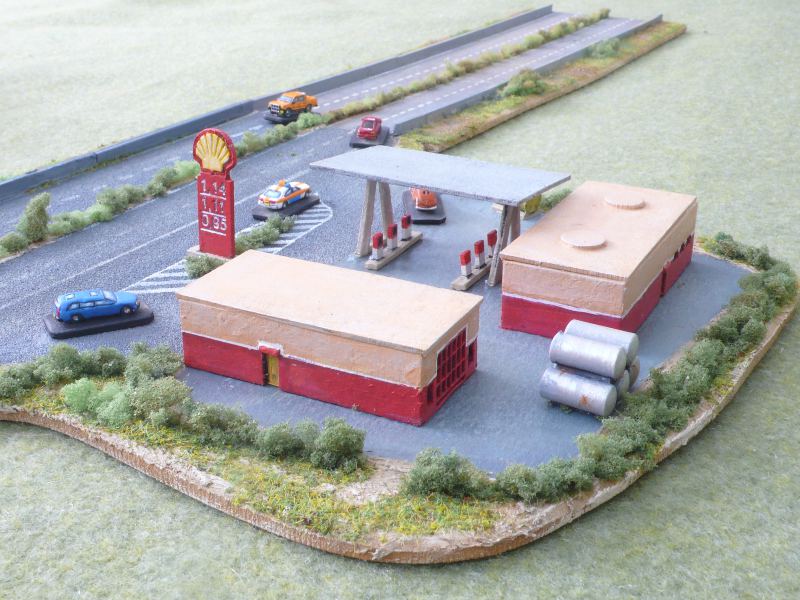
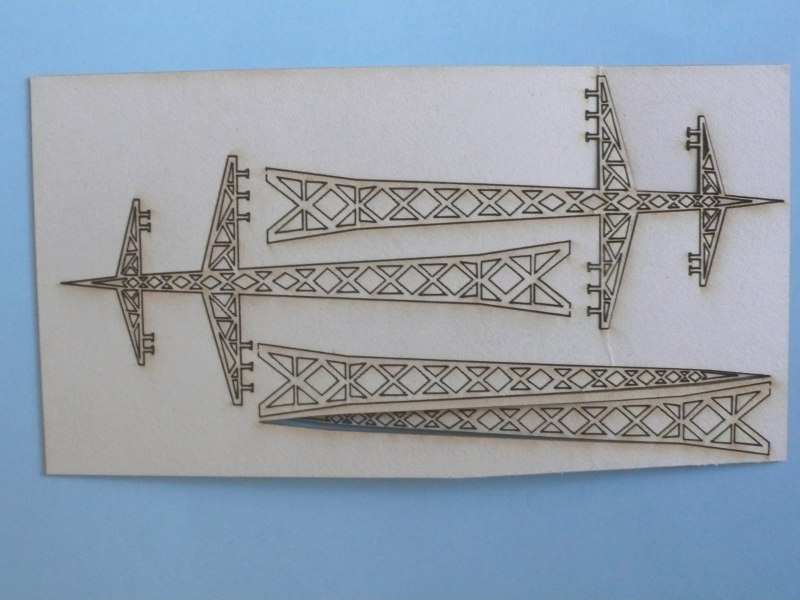
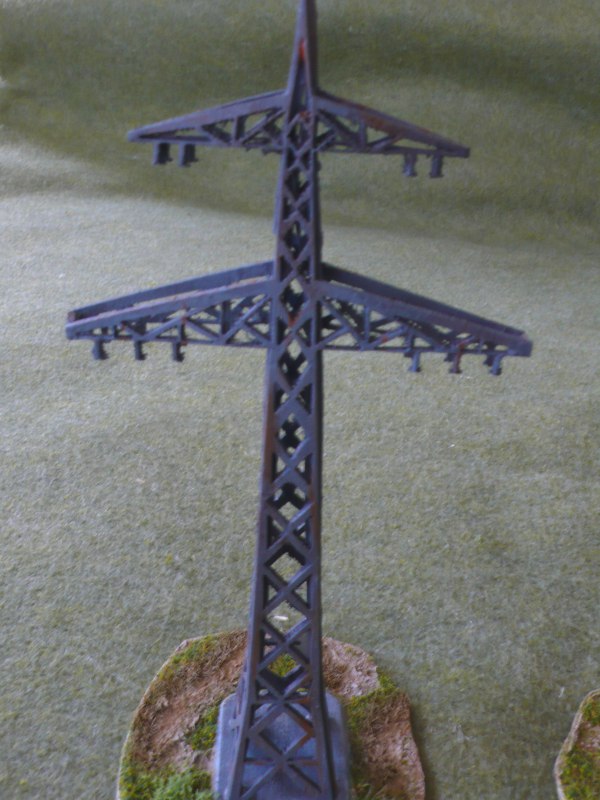
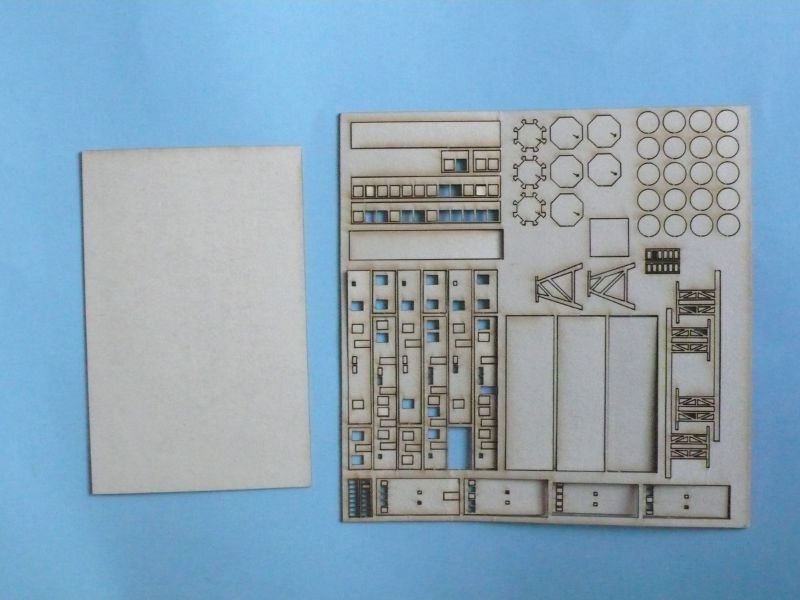
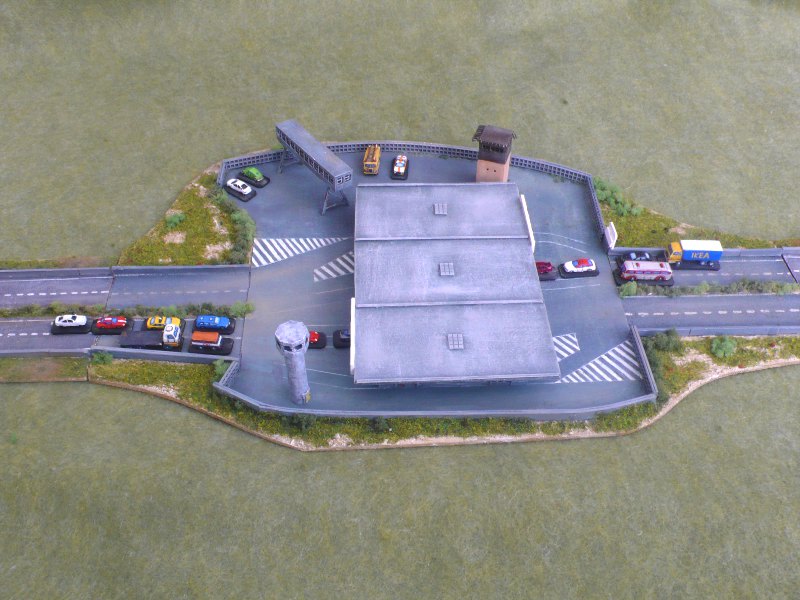
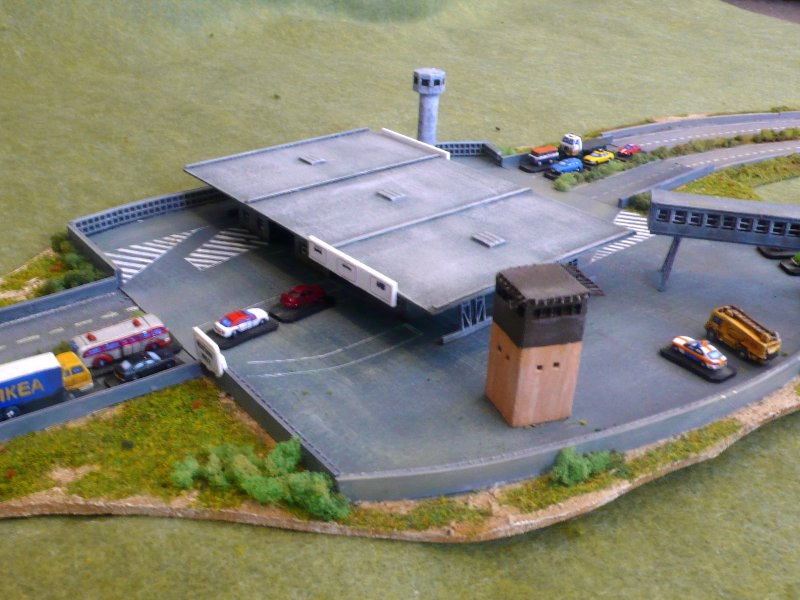
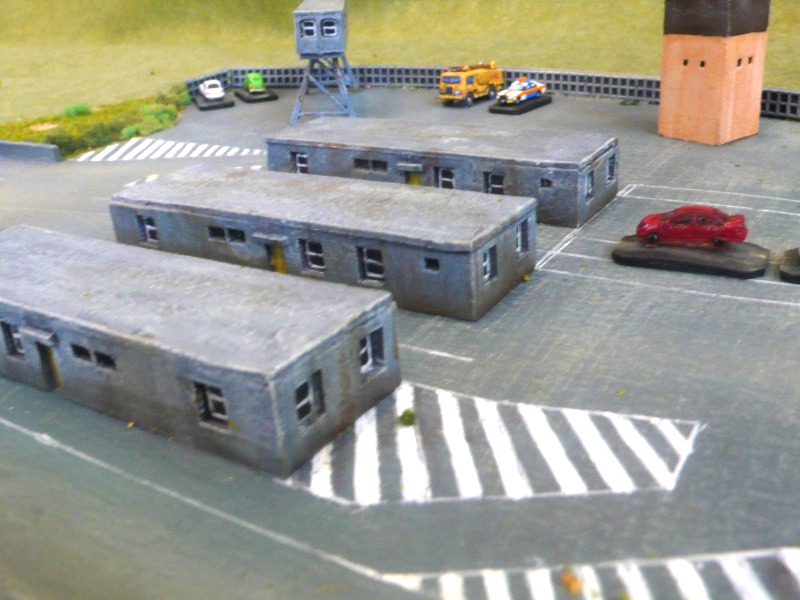
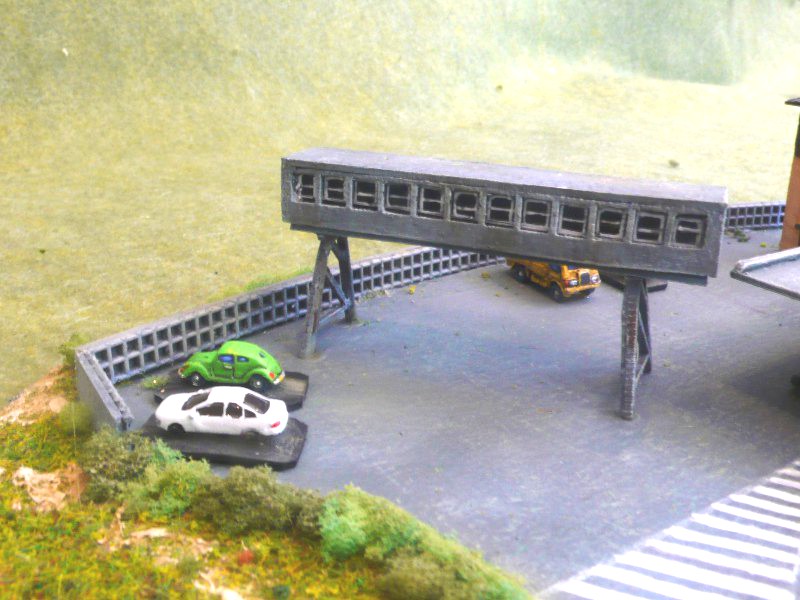
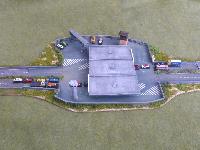
a very good representation, and a model of the whole crossing would be huge! The model consists of 3 main checkpoint buildings covered by a large roof, an Observation bridge, a command tower and a small tower/ spotlight tower. The walls surrounding the crossing are made from plastcard with some plastic cross stitching mesh glued on. I couldn't find any pictures of the walls so I went with this design.

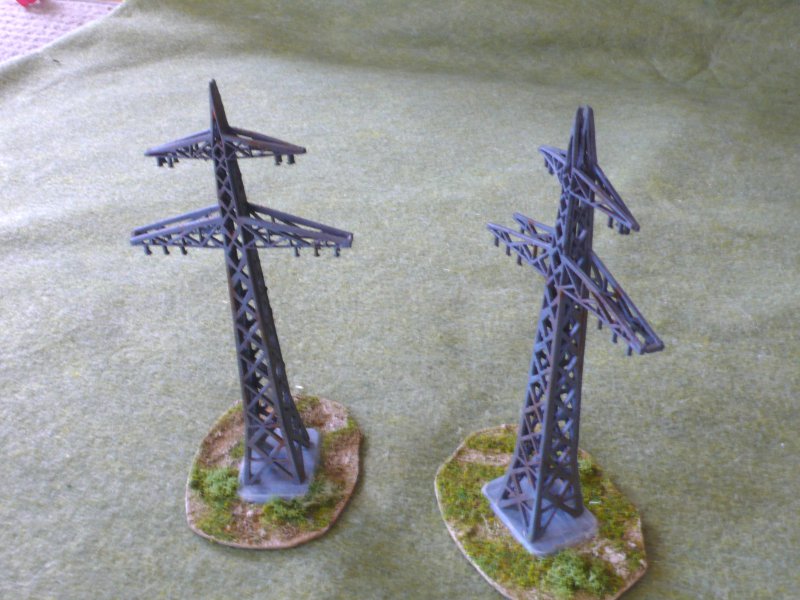
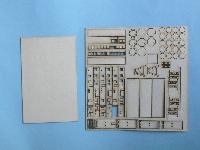
When I got the model I was wondering where the piece for the tower was, but then I realised that all if you glue all the circular pieces together, it will make the tower. However I decided that was too much work so I used a piece of 10mm wooden dowel instead. If you look at the pictures of this. I have assembled it incorrectly as I orginally thought it was anobservation tower but now I realise it is a spotlight tower, and all the notched pieces should be on top (too represent the spotlights).

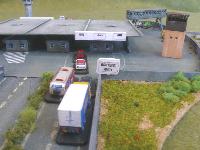
On the main building I replaced the main roof with a piece of plasticard and added some additional details to it as I thought it 
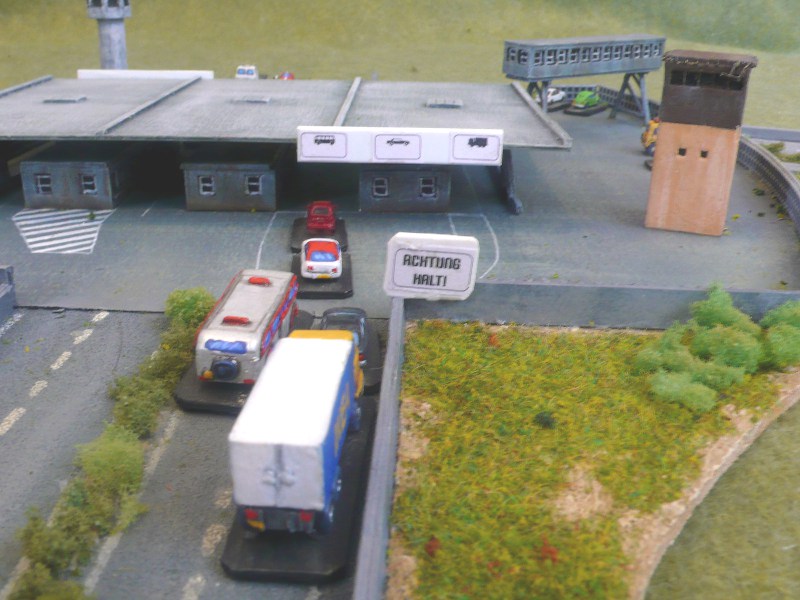
looked rather plain. All the buildings were reinforced with plasticard which I sprayed painted black first. The idea was that I would paint the walls and then glue them to the plasticard and this would save me lots of time painting the windows. I used a white ballpoint pen to draw in the window frames and then I touched up any mistakes. This did save a lot of time with the windows but I still had to make a lot of touch ups around the windows.


More Marienburg pictures

The command tower is another neat model and I painted it a two tone colour scheme based of photos I have seen of it. I also reinforced the model with plasticard on the insides and I filled the corners where the edges met. Unfortunately the cardboard pieces which stick out of the top of the tower, which I think they are some kind of shade, but they are very flimsy and they didn't survive the assembly and painting process.

The last building in the set is the Observation tower. It is quite large but it is a very cool looking model. Again I reinforced the building with plastic and drew the windows onto the plastic before assembly, as mentioned earlier. The legs/struts of the building are very fine so I used some wire to reinforce these by gluing pieces onto the insides of the legs.


More Marienburg pictures