6mm Wargaming

Making 6mm Scifi buildings

Introduction

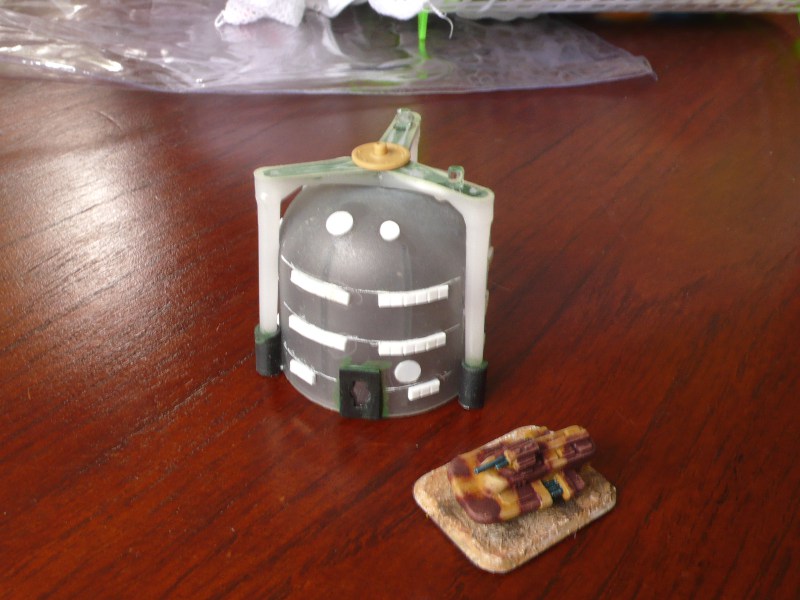
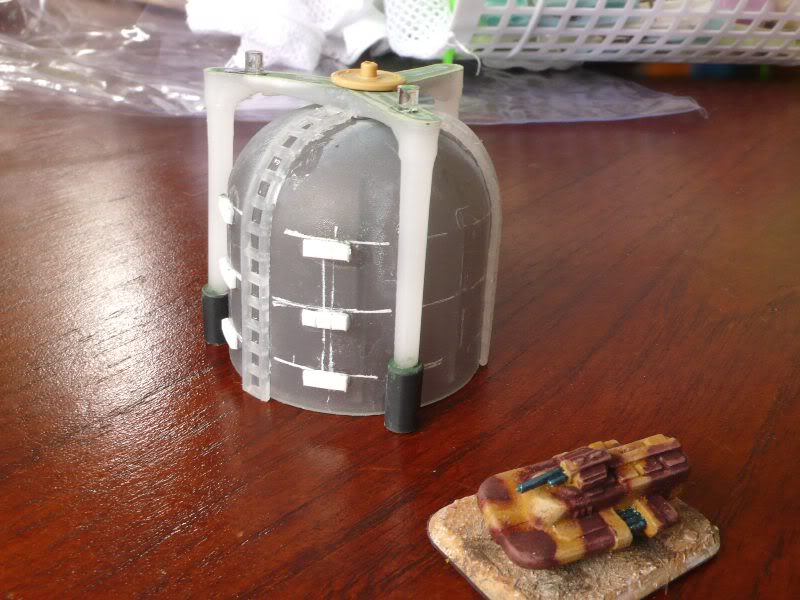
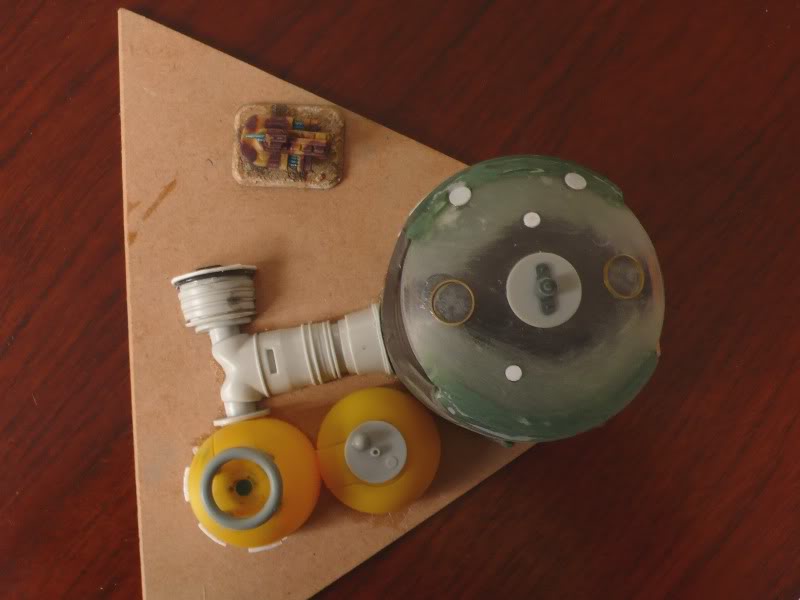
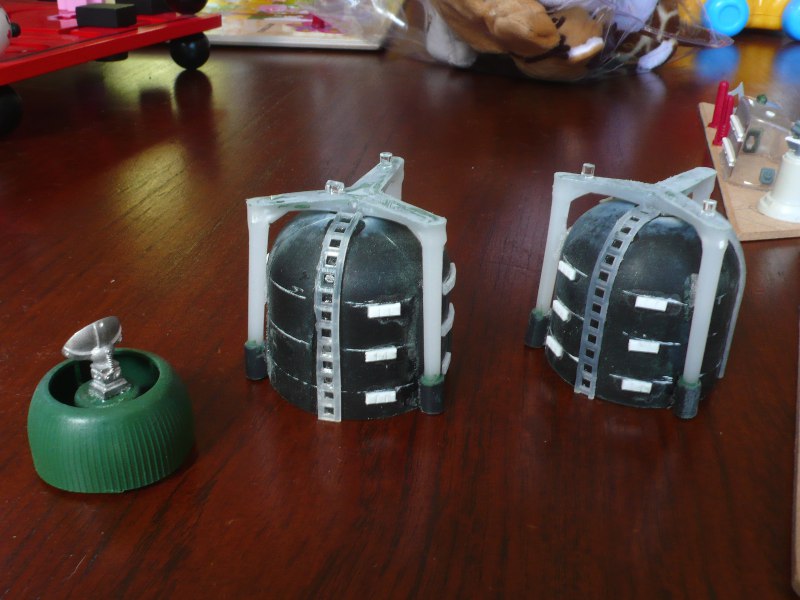
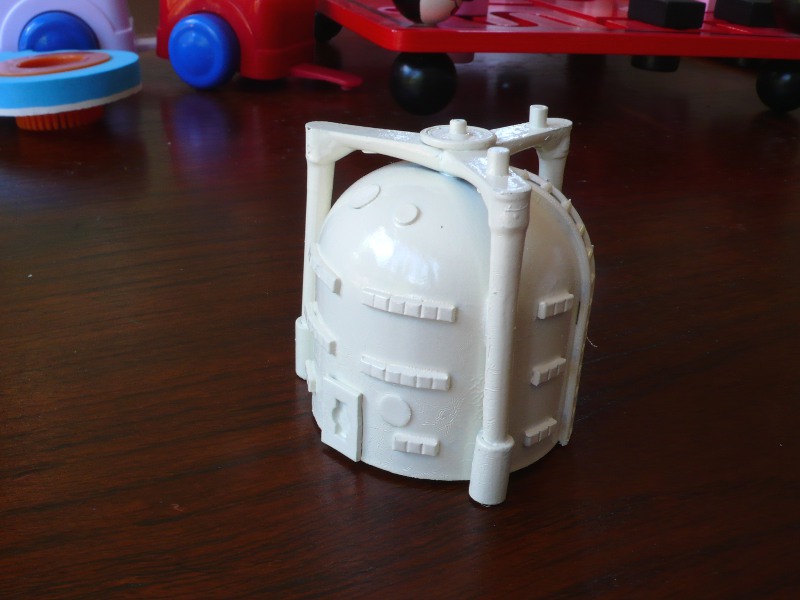
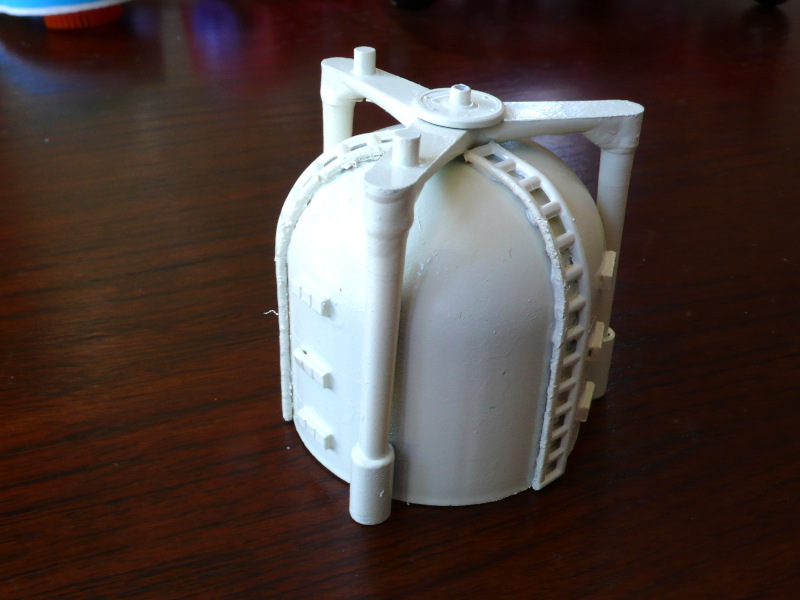
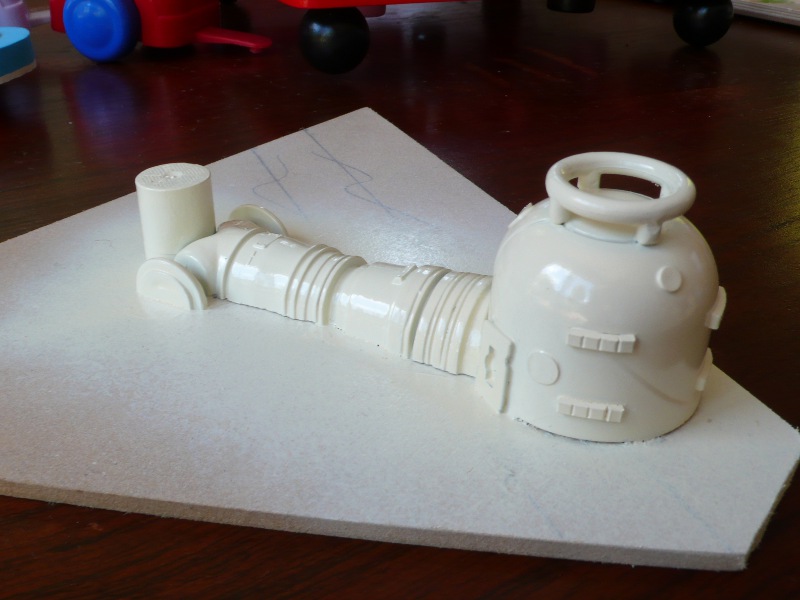
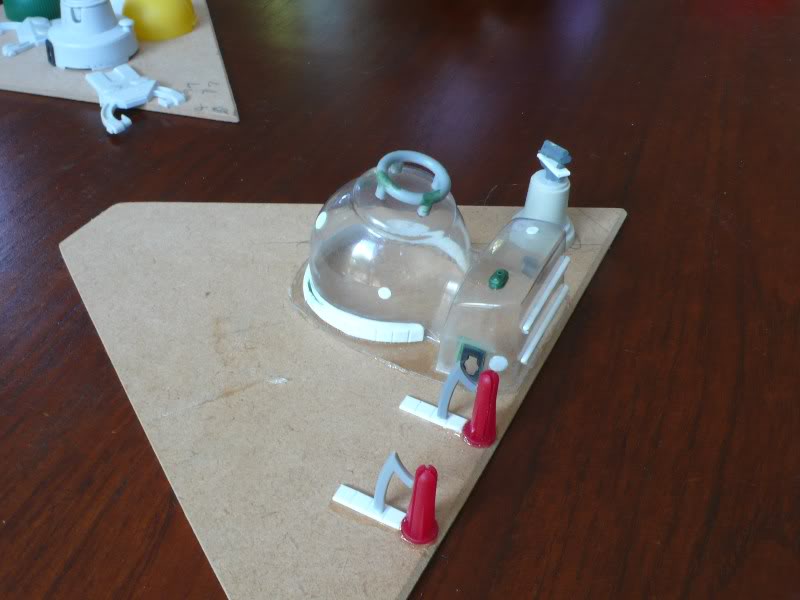
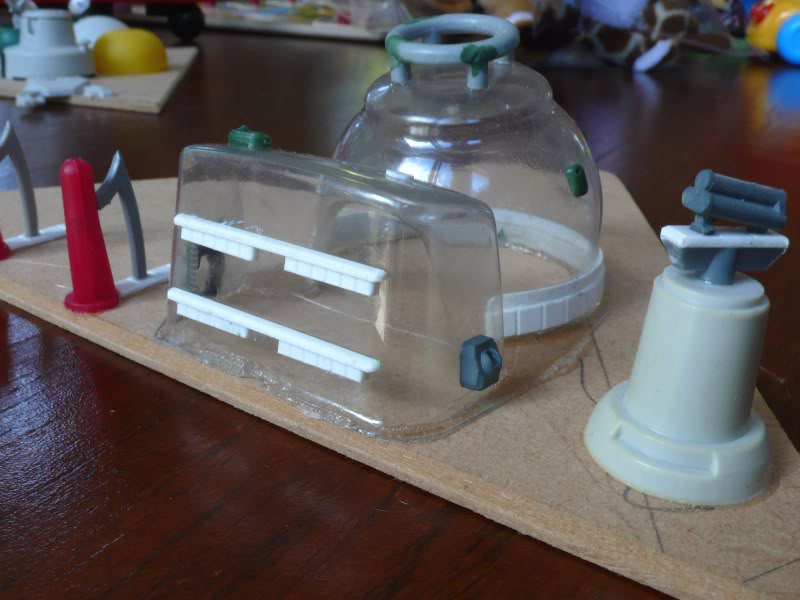
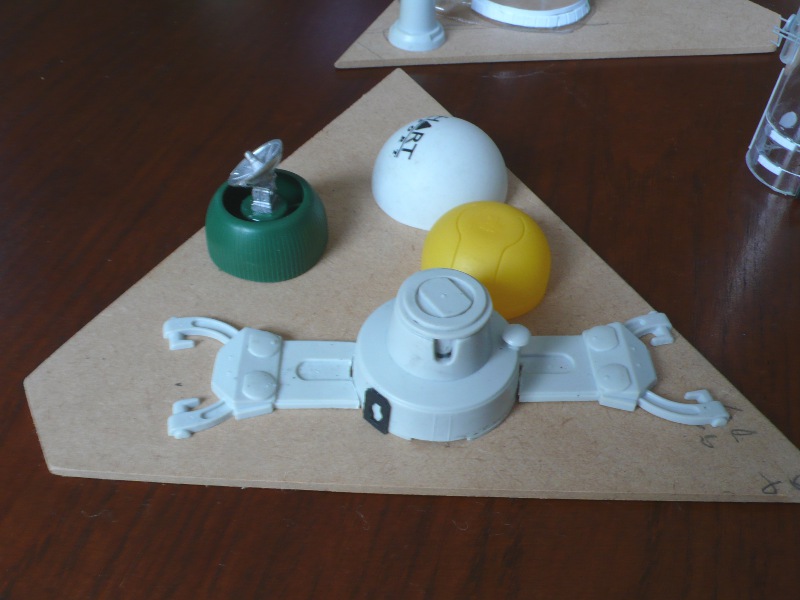
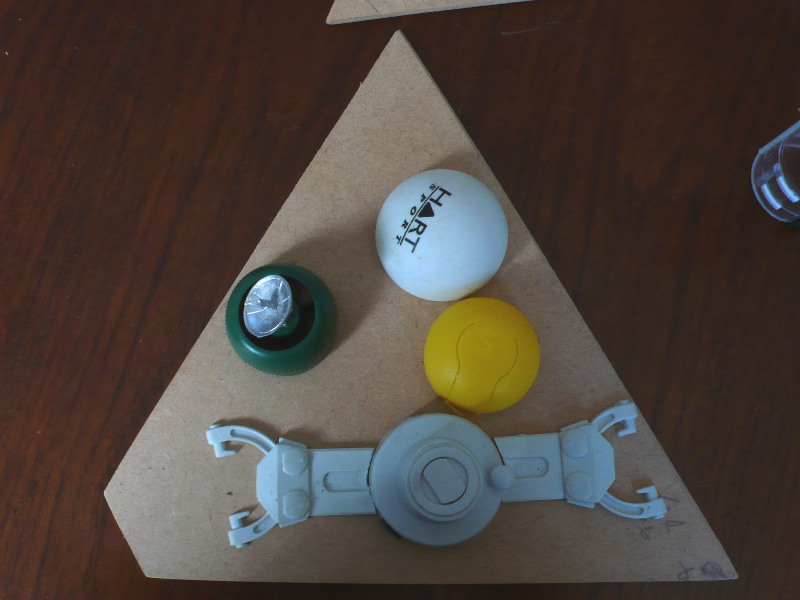
This page covers some home made 6mm Scifi buildings I made. The buildings were all be made from household junk I've been hoarding for a while along with bits of packaging and plasticard. For the extra detailing, I used spare 40K bits, Grendel radar dishes, pieces of sprue, brass tubing, plasticard and parts from an old Star Wars AT-AT walker. You can read more about the parts used for the individual bases under the description of each gallery item.

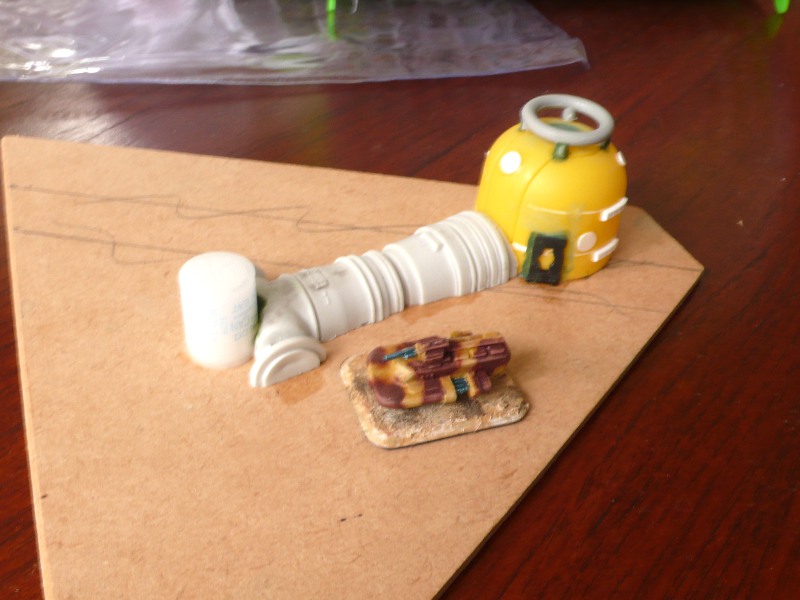
For the colour of the buildings, I wanted a colour that would stand out on the table especially with a desert world theme, and I tried a few colours before settling on a spray can of Cream (off-white). This was a cheap enamel spray can from the DIY shop which I painted all the buildings with and then used a purple contrasting colour along with greenish coloured windows.

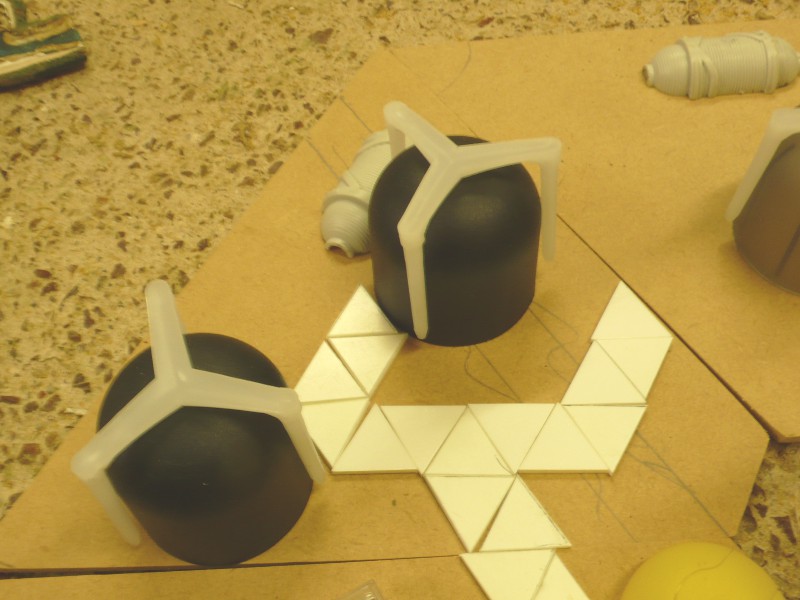
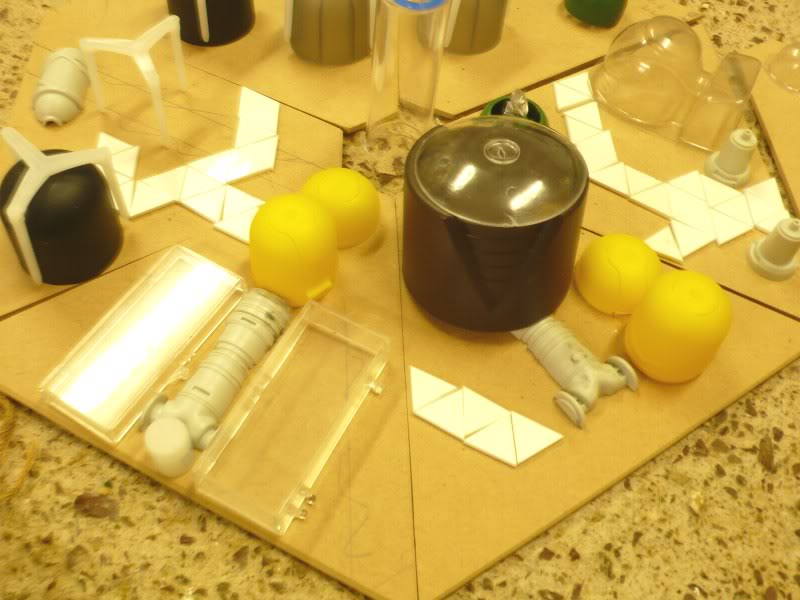
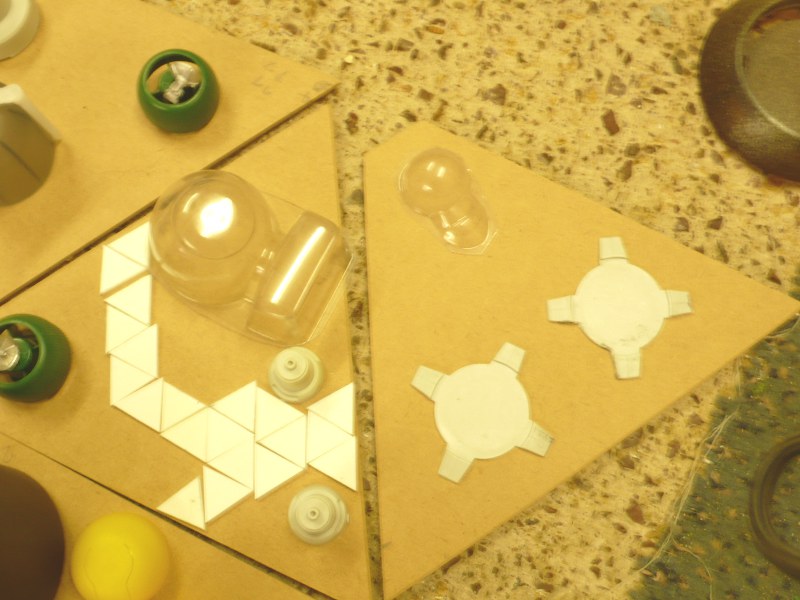
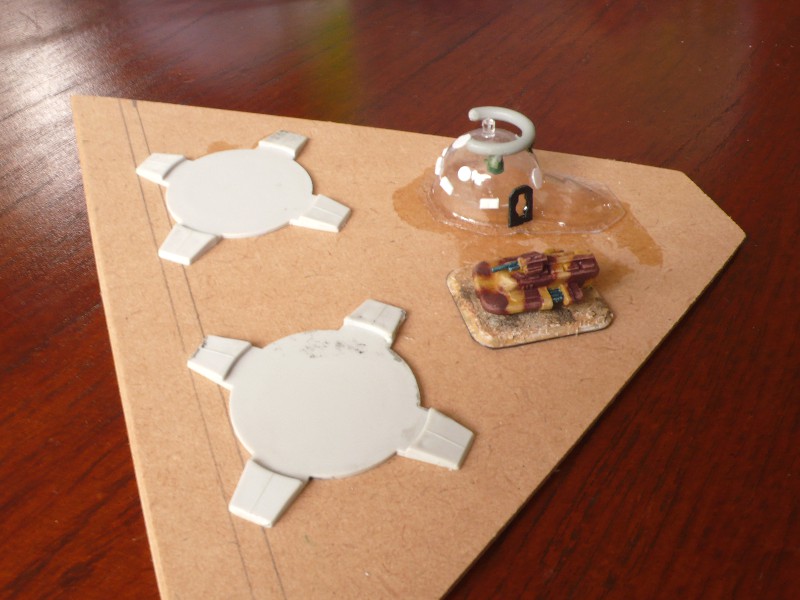
The layout is designed so the bases fit together to make a hex shaped settlement with one spare base or I can split it into 2-3 smaller settlements. The paths/roads are all triangle shaped plasticard pieces I had spare from making a bunch aircraft hex bases and they look quite futuristic. The bases are 3mm MDF which I cut up and with a hand saw (it was pretty tricky measuring these and cutting these so they fit together smoothly). There was a small space left in the center so I cut a small hex piece to fit in there to make a comms tower.

I had some problems during construction with pieces staying on that I had glued because of the different types of plastic I used. A lot of the plastic pieces used don't take glue or paint very well and where I remembered, the pieces were given a light sand first. I also using different materials it is worth washing them first in soapy water and spraying light coats of paint, otherwise the paint will bubble and lift. I also had an issue with the paint lifting after I varnished them so in hindsight I should not have varnished the bases.

However the interesting building shapes and cost of the project (virtually nothing) make it worthwhile, and the finished buildings look great. It was great to be able to design and build something completely different and have virtually no constraints.


Click on the thumbnails to see the full sized image


Settlers houses

These are made from deodorant lids and a plastic center bit that comes from a pizza box! Obviously lots of details need to be added to disguise the original pieces. The additional details are from plastic card and cross stitch sheet glued to the sides of the buildings and clamped in placed while the glue hardened. The windows are from a sheet of square grooved plastic which I cut strips from.

Command Center Base

The command base is a spray can lid and some kinder egg pieces have been detailed similar to the other pieces including 1/72 Tiger road wheels. The bit on top of the brown lid is a GW flying base which I filled the gap with putty.

More Settlers houses

Another base of the Settlers houses. One of the buildings has more windows and the plan was to use it as a Hospital.

Food (hydroponic) plant

With this base a couple of spare CNC boxes were used to create a hydroponic greenhouse. The other parts come from a Star Wars AT-AT walkers leg and a Kinder surprise egg piece. The greenhouse adds a splash of colour to an otherwise brown and cream coloured settlement.

Landing pads

I mostly used bits from the star wars kit of these bases as the feet off the kit make perfect smaller landing pads. It also creates some more open space within the settlement (which is always a consideration for wargames terrain).

Gatehouse Entrance

The building was a blister pack from something and then I added a long row of windows to the building. The entrance posts are screw fasteners normally used to attached something a wall. I wanted something quite sturdy looking as an entrance way.

Powerplant

This was a generic building which I have labelled as a Powerplant. The parts are from a ping pong ball and some Star wars parts and other scraps. The idea was to keep this building quite low as a contrast to the taller buildings around it (I like to try and include low areas in a town/settlement so that it is a bit easier to put figures in there.)

Comms tower

This piece came about after I cut the main bases and realised I had a gap in the middle of the city. I used a thin tall tube and glued pieces of scrap sprue on the sides. Some parts were used from a model ship and a Scotia-Grendel radar along with brass tubing ontop.