6mm Wargaming

Can't see the woods for the trees

Introduction

This is another tutorial in a series of making simple but very useful wargaming terrain. I find that I need a lot of trees for 6mm games and I like the table to look good with densely packed forests and woods. I have seen lots of other methods to make trees but I don't plan to cover them all. There are also a lot of places you can get trees from at a reasonable price. I have brought a lot of trees myself but I still make a lot, as I can get much more variety by mixing brought and homemade trees. Also if you are on a budget, then making your own is pretty cheap and the results are usually better.

This is two part article is split into these areas - 1. How to make your own trees which is covered here, and 2. Basing your trees which is covered in a separate article here.


The materials below are relatively cheap and available from most Hardware/DIY and model shops. A variety of flock colours is really good to create different shades of trees.

Materials list
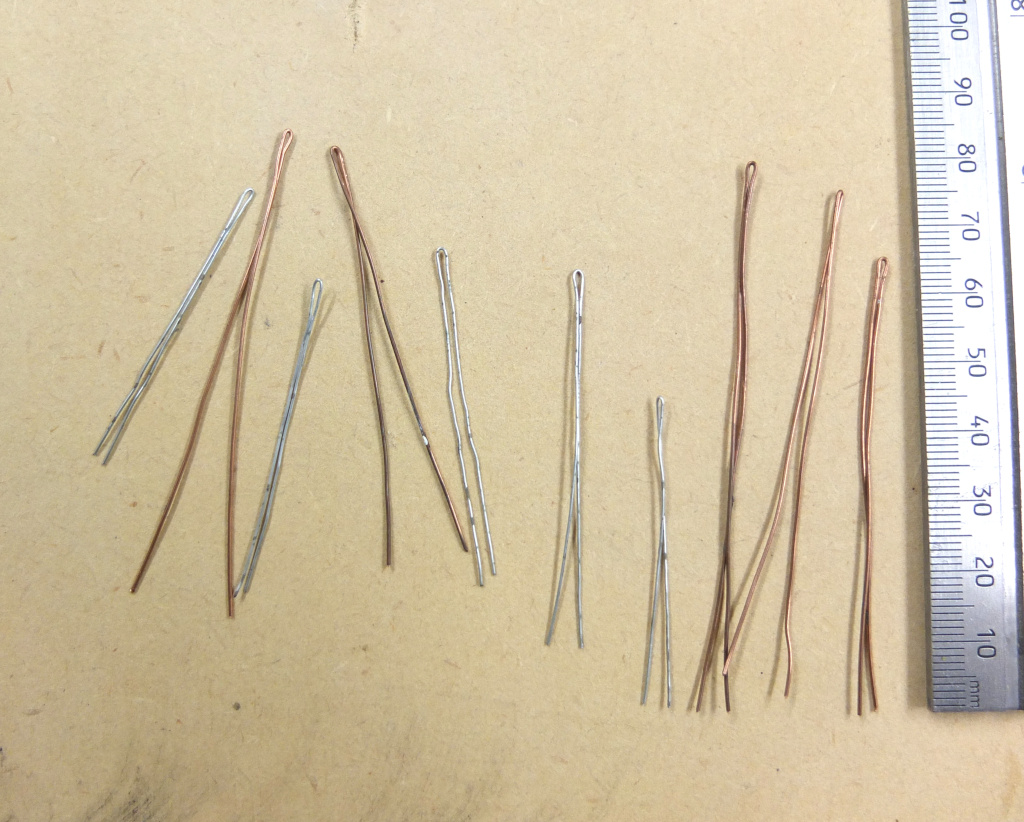
  • Thin wire x 2-3 thicknesses. For the twisted wire trees I use a 20metre roll of cheap thin wire I got from the hardware store. For the second kind of tree I used brass wire used for picture frames (you can unravel the wire).

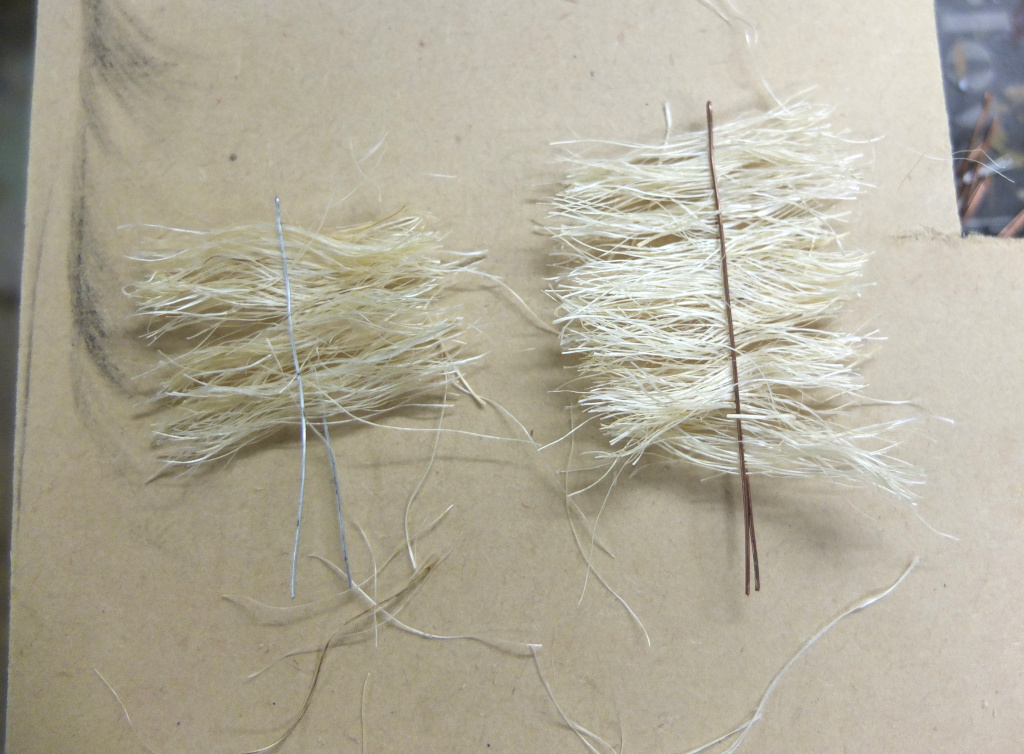
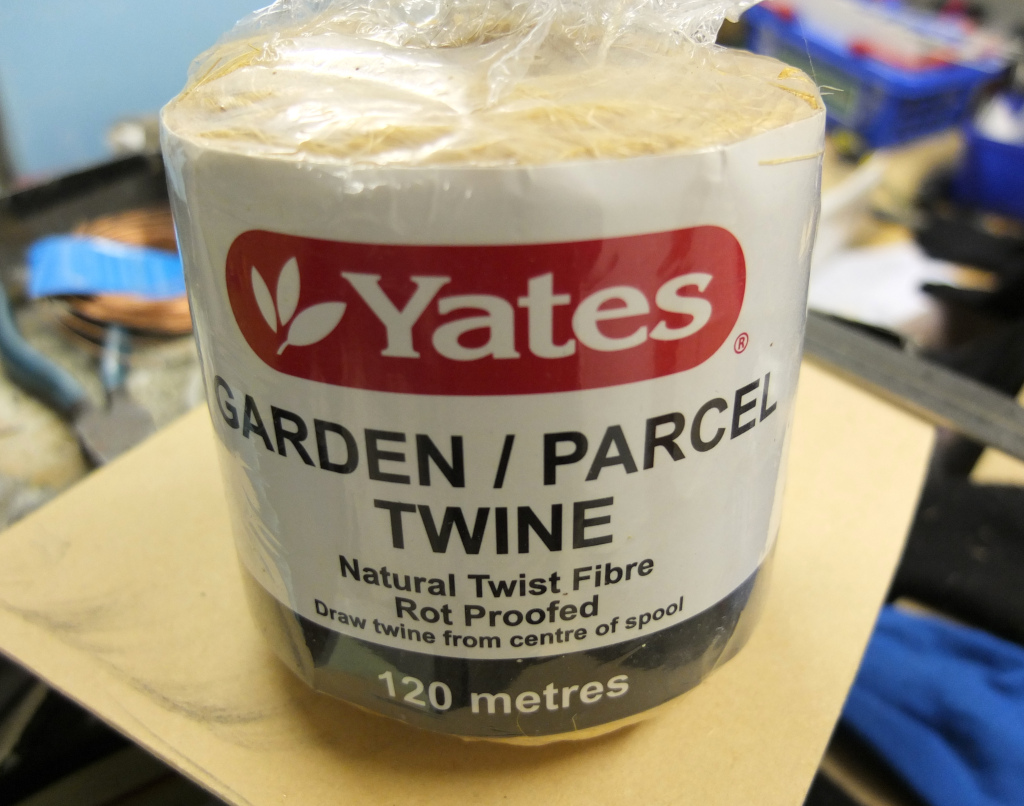
  • Gardening twine. A twine used by gardeners

  • A tube of Sealer (caulk used for bathrooms and DIY. For this a coffee coloured caulk was used as it saves a lot of hassle painting it.

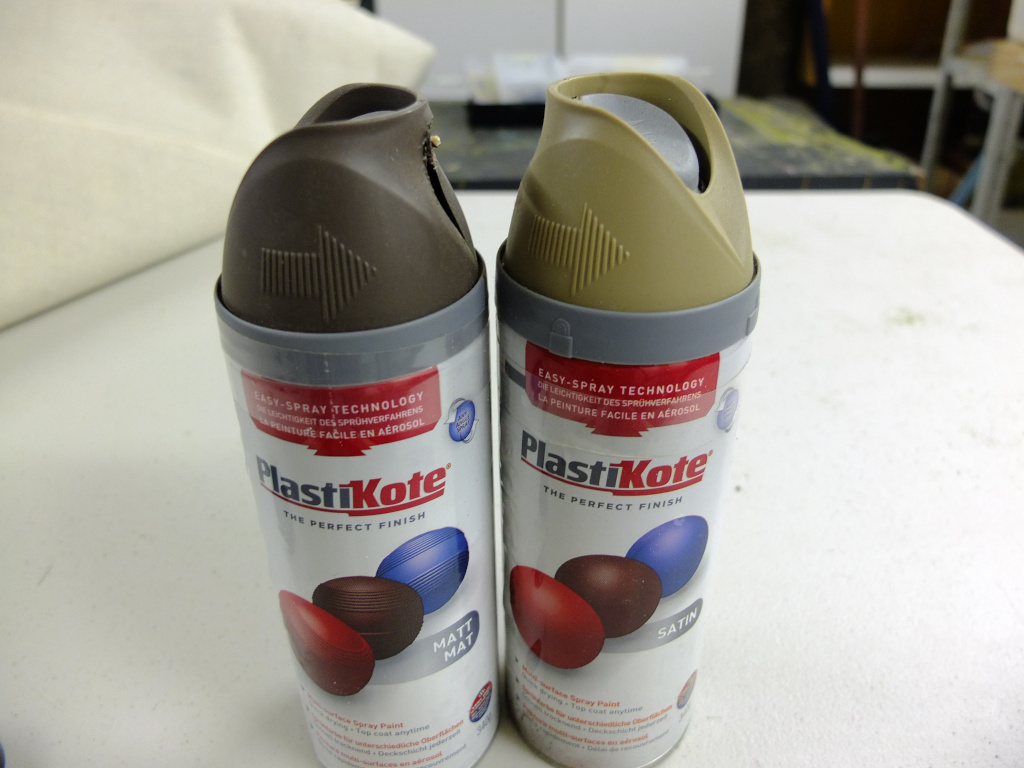
  • Dark brown and light brown spray cans. I use a chocolate brown and sand grey colours. You could use an airbrush instead.

  • Brown, cream and grey paint for drybrushing the trunk and branches

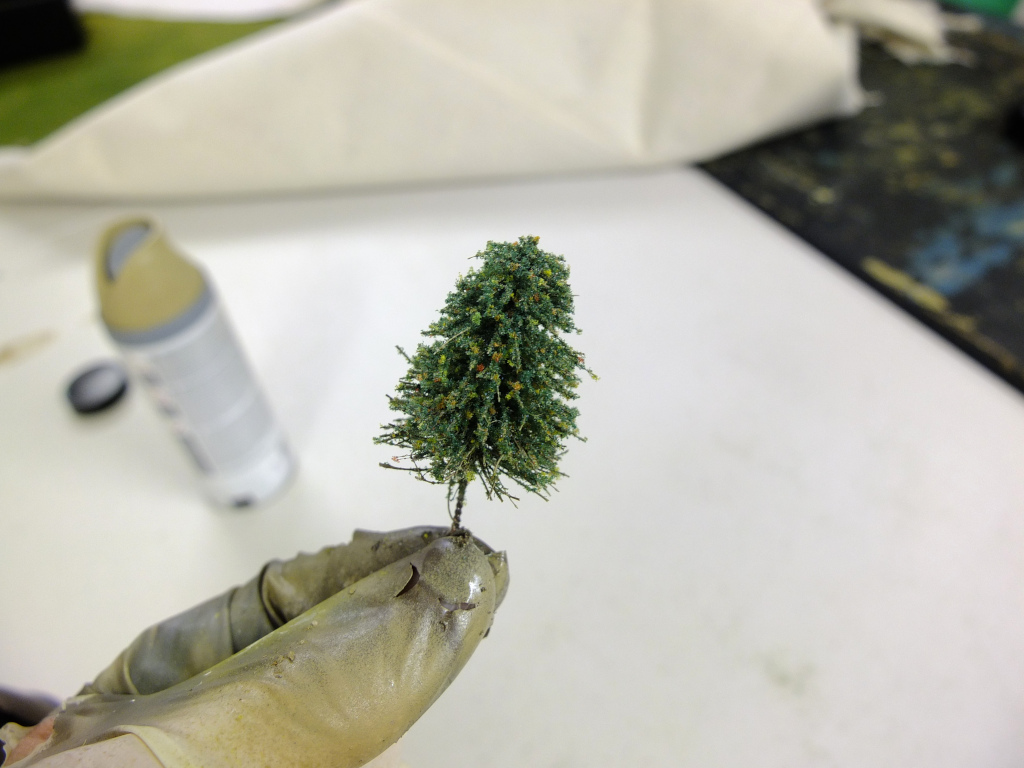
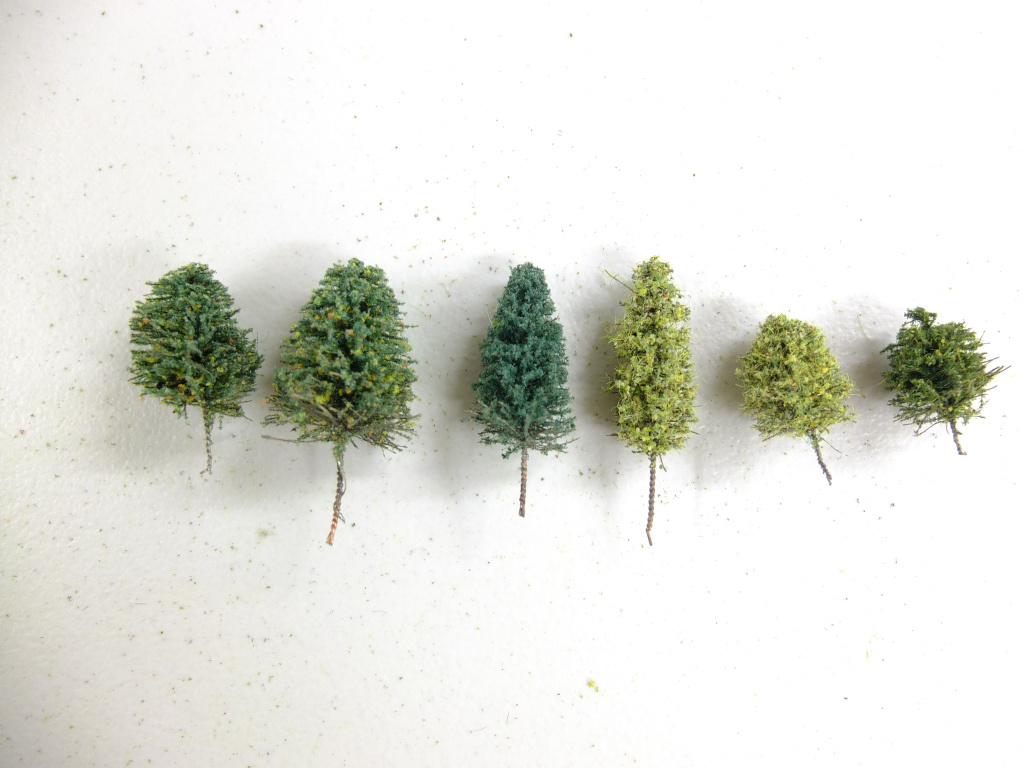
  • Flock different ypes of fine foam flock for the foliage (I use Woodlands scenics and Humbrol)

  • Scissors.

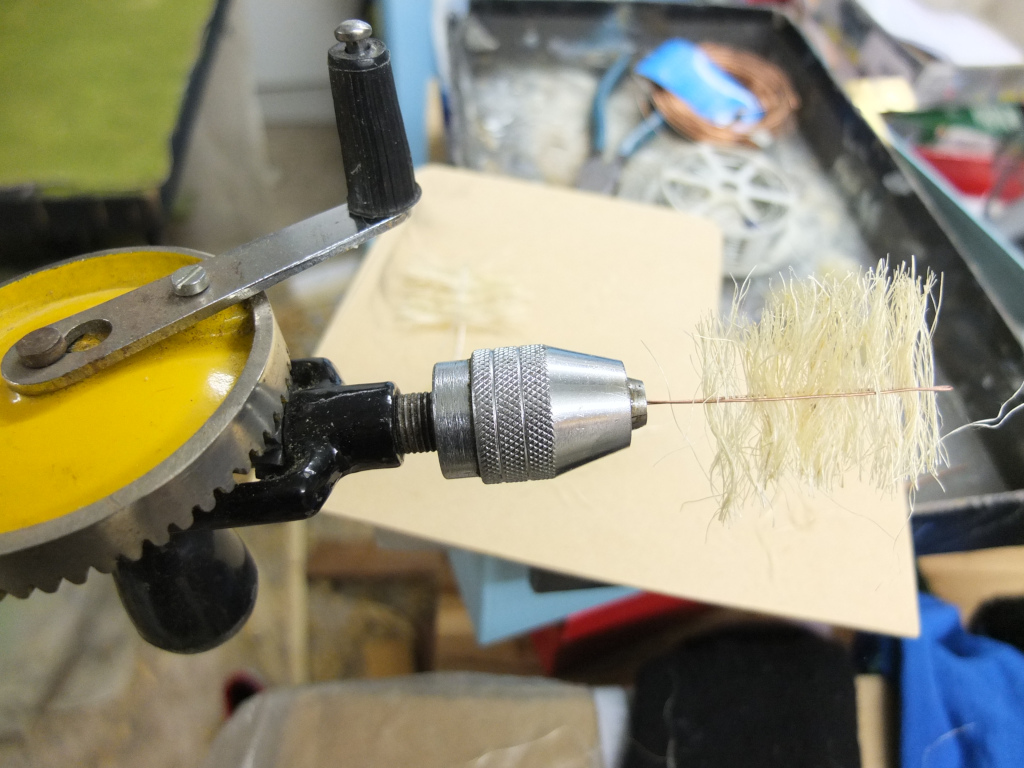
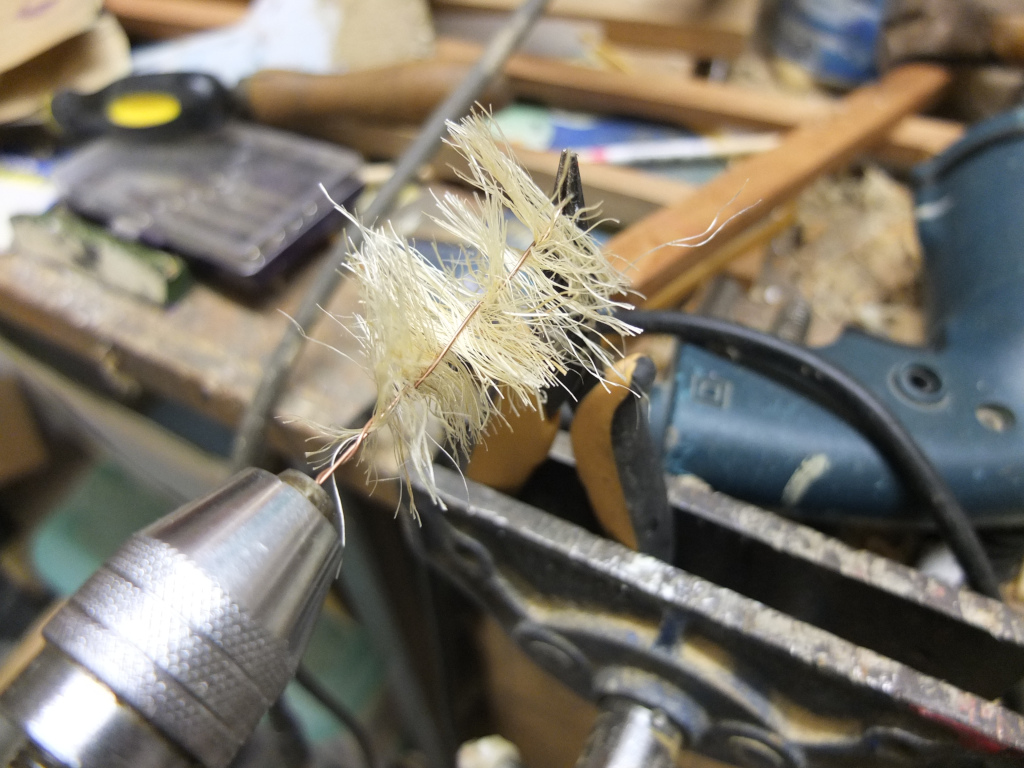
  • Drill. I use a hand drill (egg beater type) or you can use a electric drill. I find I have more control with the hand drill and I over wound a few trees using a power drill

  • PVA Glue

  • A pair of Pliers


Twisted wire trees


Step One

Using some wire cut a length of wire about 2.5 times longer than the height of the tree that you would like. Straighten it out and then bend this wire in half (see picture) with a slight loop at the top.

Then untwist some twine and cut it to a length slightly longer than you want the width of the tree to be.


Step Two

Next spread out the twine and slide it into the wire. For a tree about 50mm tall I use 2-3 lengths of twine depending on the thickness of the twine, and you want lots of branches. This part can be tricky as the twine will move around. Leave enough of a gap at the to so that you have something to hold with the pliers.


Step Three

Next carefully insert the ends of the wire into your drill chuck and tighten. Keep the twine lying flat at all times otherwise it will fall out of the wire (I find it easier to twist the drill to tighten the chuck instead of turning the chuck). Hold the other end (with the loop) with some pliers and then let the drill do its magic! Twist the wire until the wire are tightly twisted together, but do over do it or the wire may snap. If they do snap then you have a smaller bush! Now you should have something similar to the picture.

A few tips on this part as it is the most difficult part. I mount my pliers into a vise and leave a small gap between the two jaws. Then I can slide in the loop part of the wire between the pliers jaws. Another option if you dont have a vise, is to clamp the pliers to something or between two pieces of wood. You could also use a piece of wood/plastic metal etc and make a cut to insert the loop into. However if you come up with a better way then use it and let me know!


Step 4 - shaping the tree

For this step get your scissors and trim the twine to create the shape of the tree you want eg, pine, popular, oak and so forth. Cut the twine while rotating the tree and then cleanup any branches pointing out at a strange angle or branches stuck together.


Step 5 - painting and flocking

Next get your flock ready in containers that you can dip the tree into. Spray paint the tree with brown paint and then while the paint is still wet, dip it into the flock. Don't dip it too far in, just enough to coat the outer part of the branches, but not the trunk.

An optional step is to spray the tree with a lighter gray-sand colour over the brown paint while it is still wet, and then dip it into the flock. I prefer to do this, but it depends if the brown colour is too dark.

This is a messy and smelly step, so you could paint the trees another way and then leave the paint to dry, and then brush glue such as PVA onto the branches and dip the tree into the flock.


Step 6 - finishing and detailing

Finally give the tree a final trim with scissors and base the tree. Cut off the top loop and trim the trunk to the size you want allowing enough to for any holes drilled into a base. Daub some brown paint pnto the top of the tree where the wire was cut, otherwise the shiny metal will show through.

Another optional step depending on the tree is to cover the trunk with scenic gel, caulk, filler etc to hide the twisted wire effect, but I tend to do this only for stand alone trees where the trunk is more visible. Paint the trunk once you have covered it with brown paint, followed by grey or possible cream paint (the bark on trees tends to go grey over time, instead of a lighter brown).