Sabre Squadron Cold War Moderns Game Report
Recently (early 2016) I purchased a new set of modern rules called Sabre Squadron, after talking to a gaming buddy about some alternative rules to WRG 1950-2000 Moderns. Although I
had played the WRG set for a number of years I felt frustrated with them, and some local attempts to add house rules went in a direction that I didn't like. The changes tended to add more
detail to the rules rather simplify them (which I think they need) and I don't agree with some of the rules interpretations. Another reason I began to look for something different is I
have a number of modern armies and some are colourful, but unplayable under WRG Moderns in my opinion.
I spent over a year looking around and tried Fist Full of Tows (FFoT) and the old WRG 1950 -1985 rules. The WRG rules were my first set of wargames rules and they had a nostalgic value,
and I had fond memories of playing them. It was a fun game and there are some parts of the rules that are much easier to play and understand than the newer set. They are also written in plainer English
and I can see how much fun they were for a bunch of teenagers. But we didn't play another game as parts of the rules had not aged well.
Moving onto Sabre Squadron I looked at the preview set but initially they didn't read that well. But I found the main ruleset a much better set.
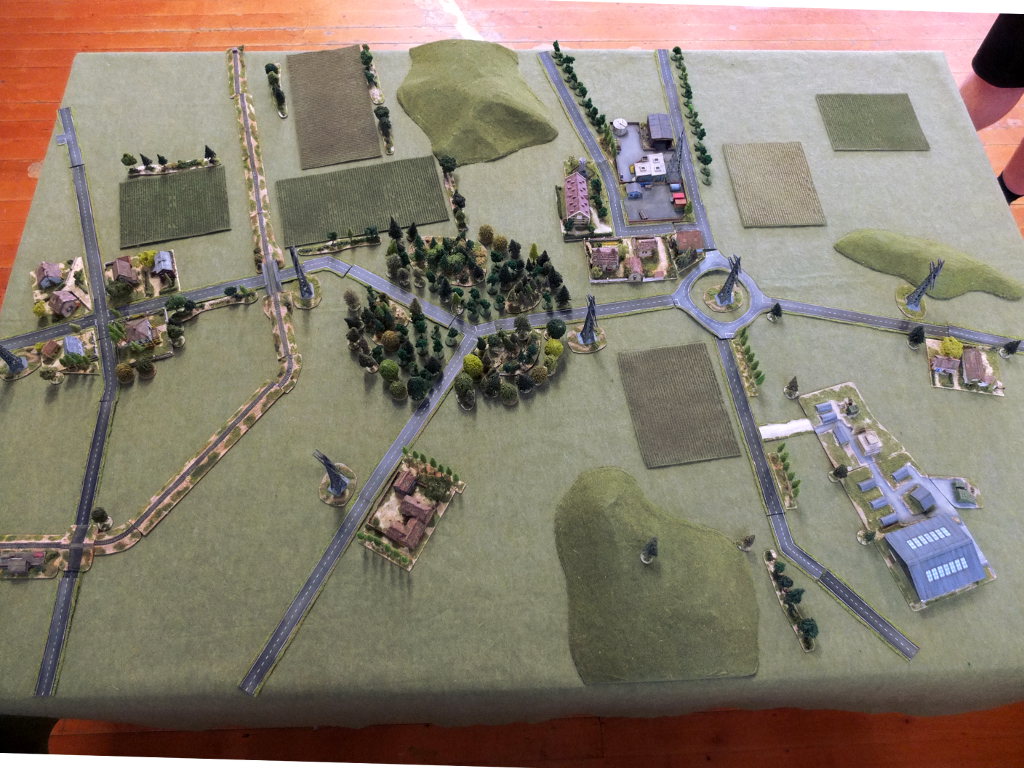
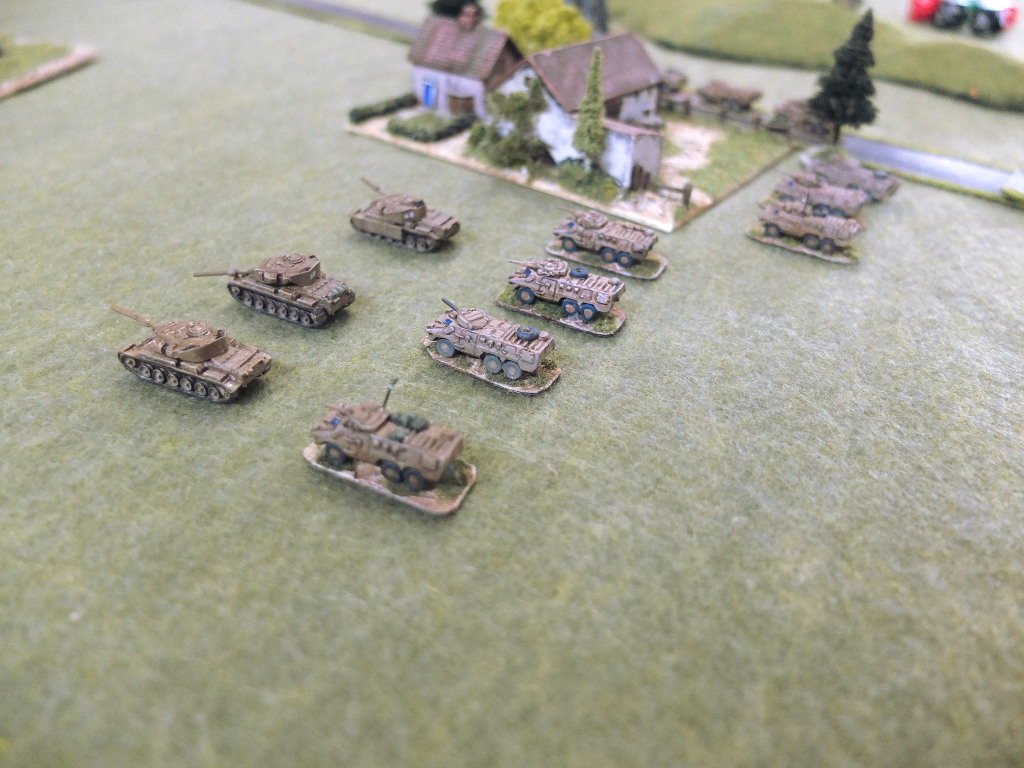
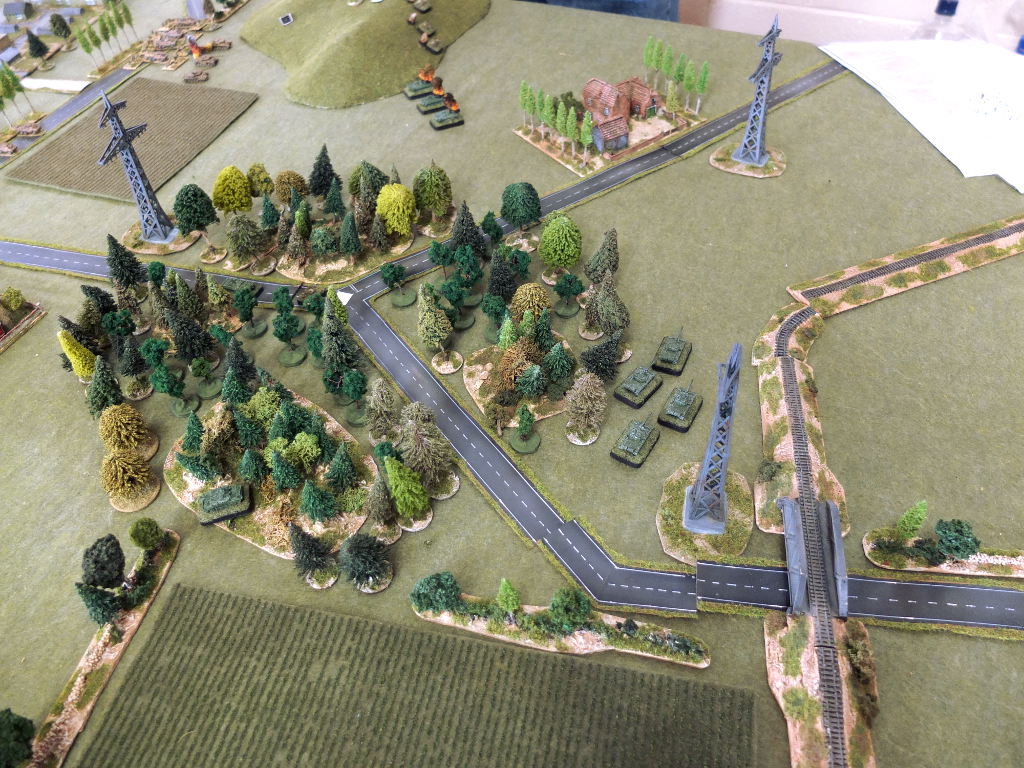
Game setup
The was our 3rd game of SS so we decided to try out an Attack/Defense game instead of a Encounter. This is a type of game we had struggled with WRG as there was a lot of setup and book keeping. Reading
the setup rules for SS they were easy to understand and play.
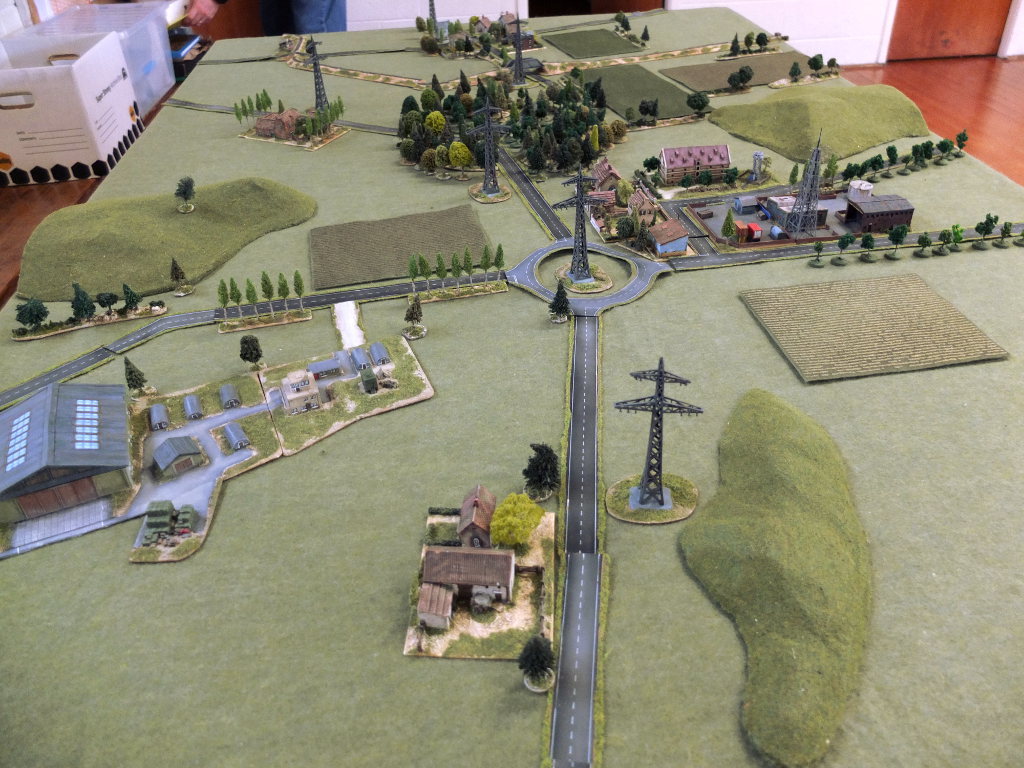
Click on the thumbnails to see the full sized image


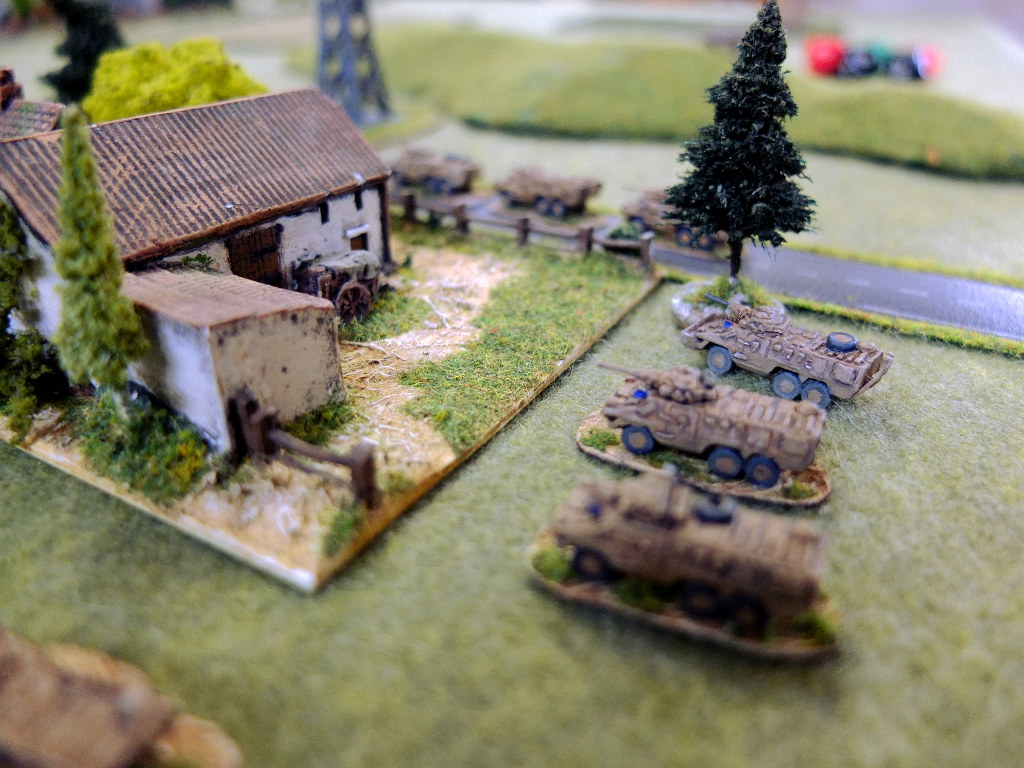
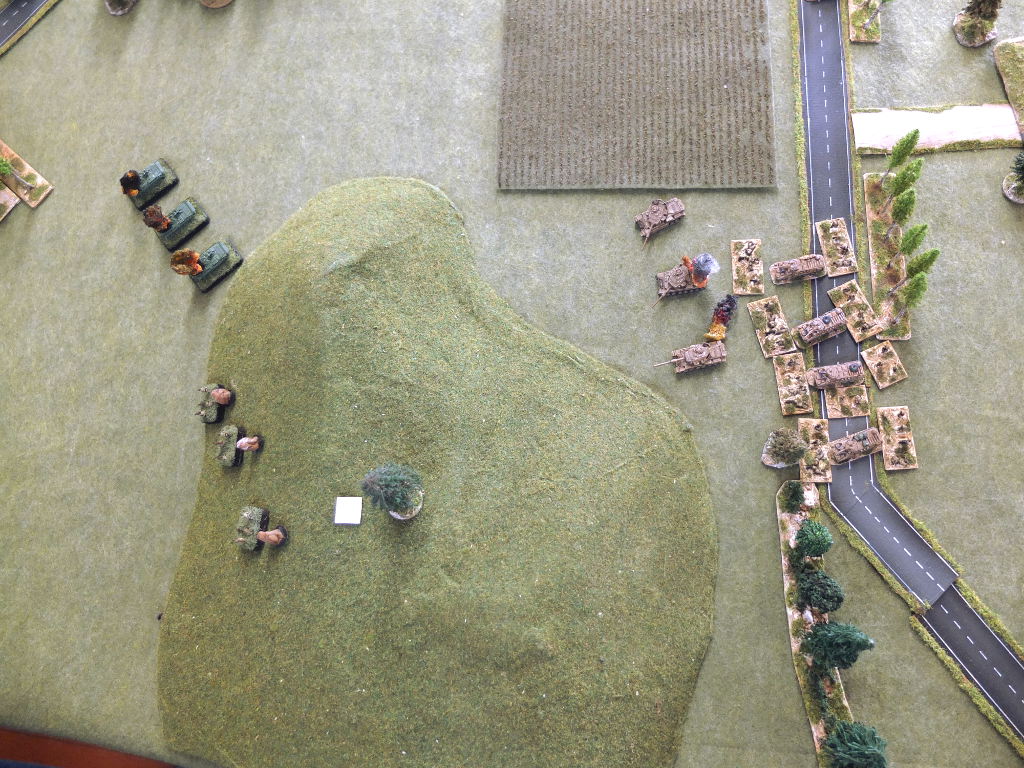
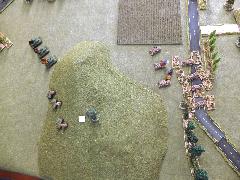
Once the bombardment was finished, the Soviet player deployed the rest of his forces and then the South African player deployed and moved first. The first turn for
both players was pretty quiet. The SADF player advanced (some units used Transit mode) while the Soviet player attempted to rally off the suppressions and neutralisations.
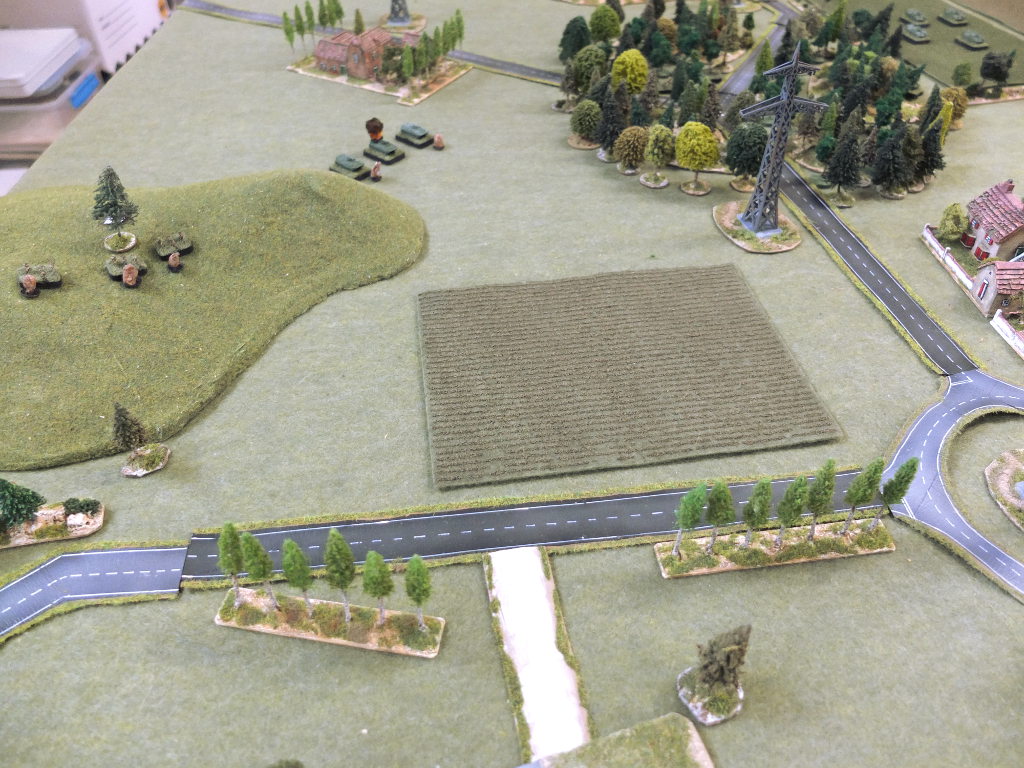
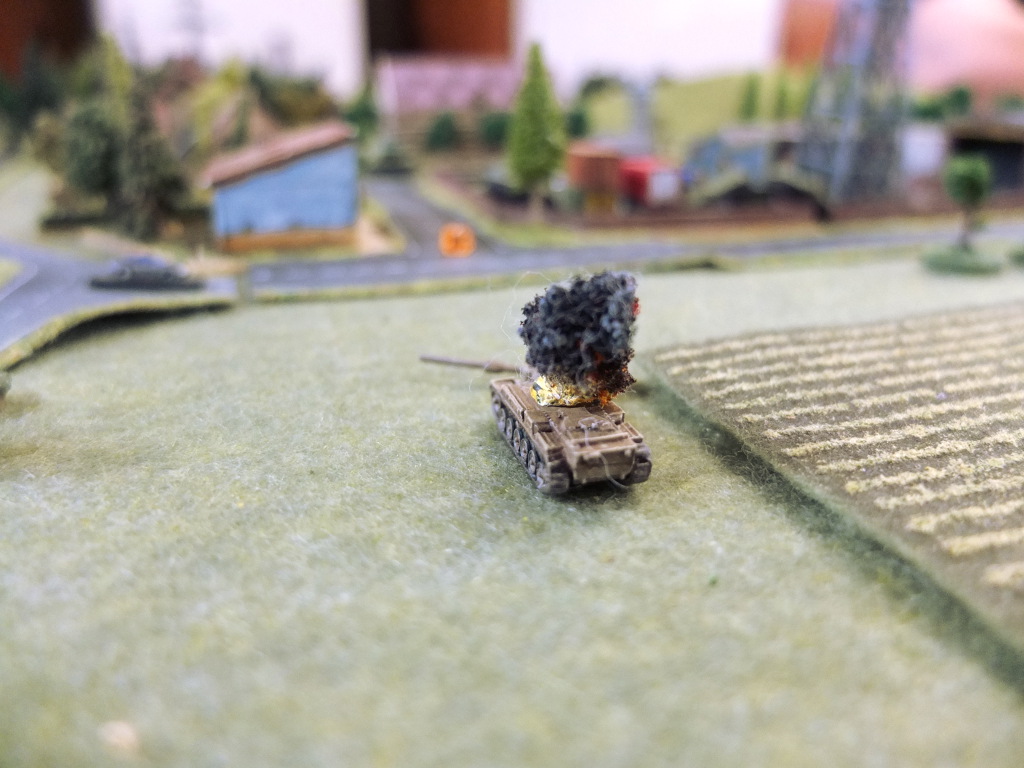
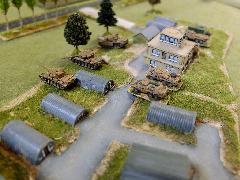
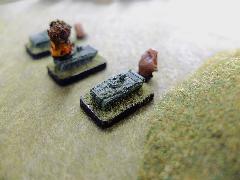
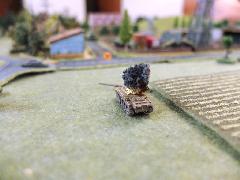
During the second turn the SADF continued to advanced while the Soviets opened up with AT-4 missiles from their BMPs and destroyed two Ratels! They also had a battery of 120mm
mortars which were used to harass the advancing Ratels.
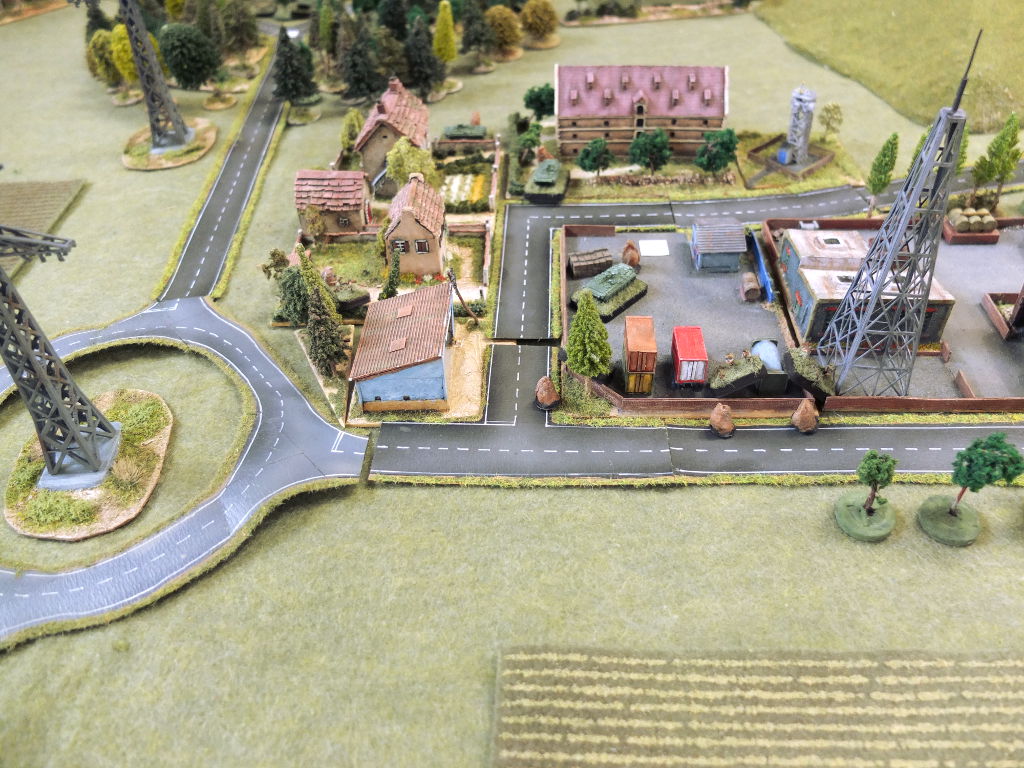
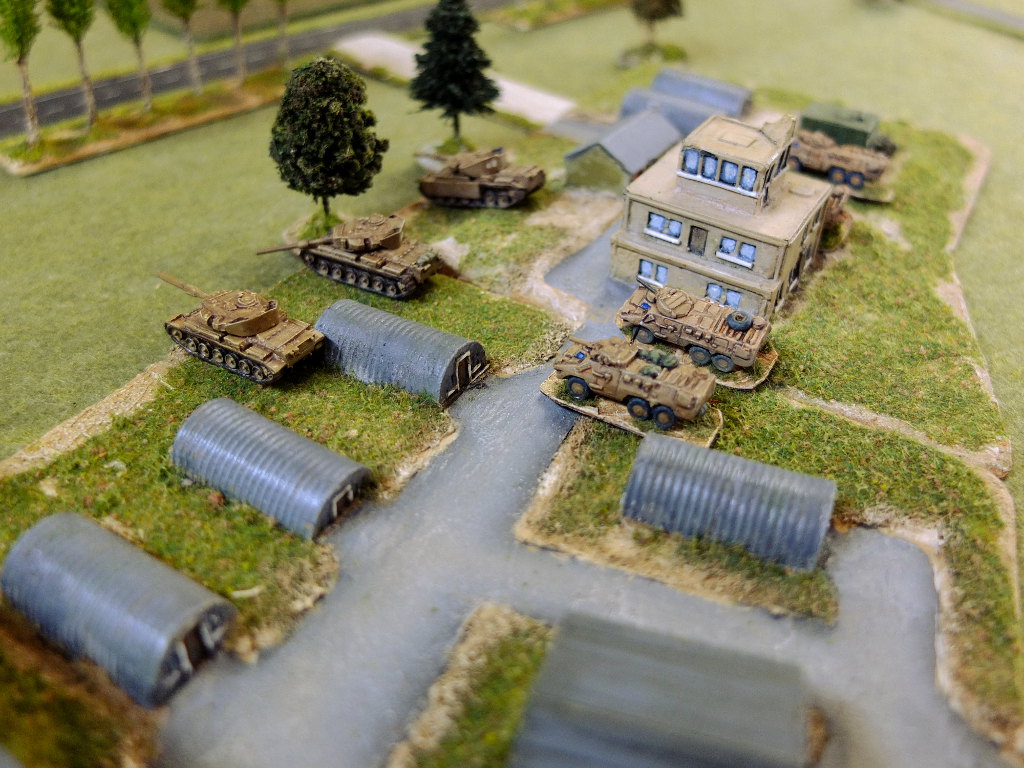
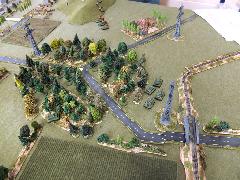
Next turn and some infantry firefights
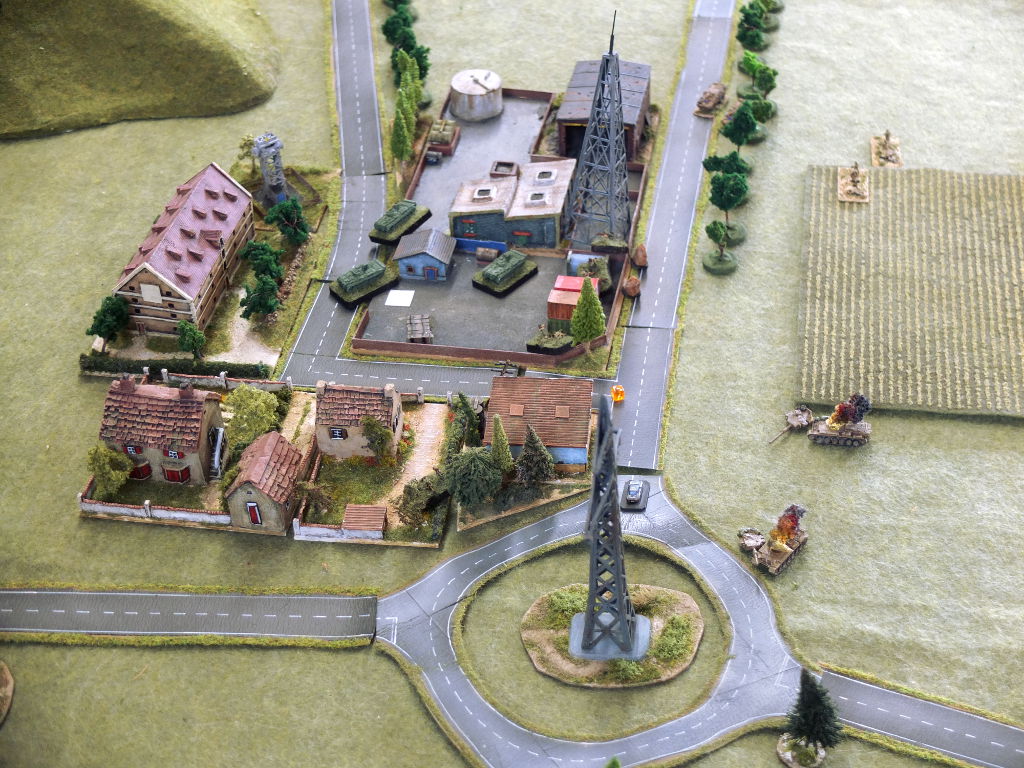
The heavy fire for the industrial complex in front of the Ratels forced the infantry to debus to try and remove the Soviets from there. A firefight
ensued and we found infantry fights very playable and decisive under SS (A welcome relief for WRG where most experienced players go out of their way to avoid them).
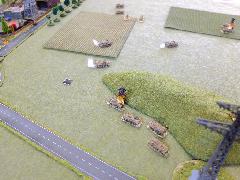
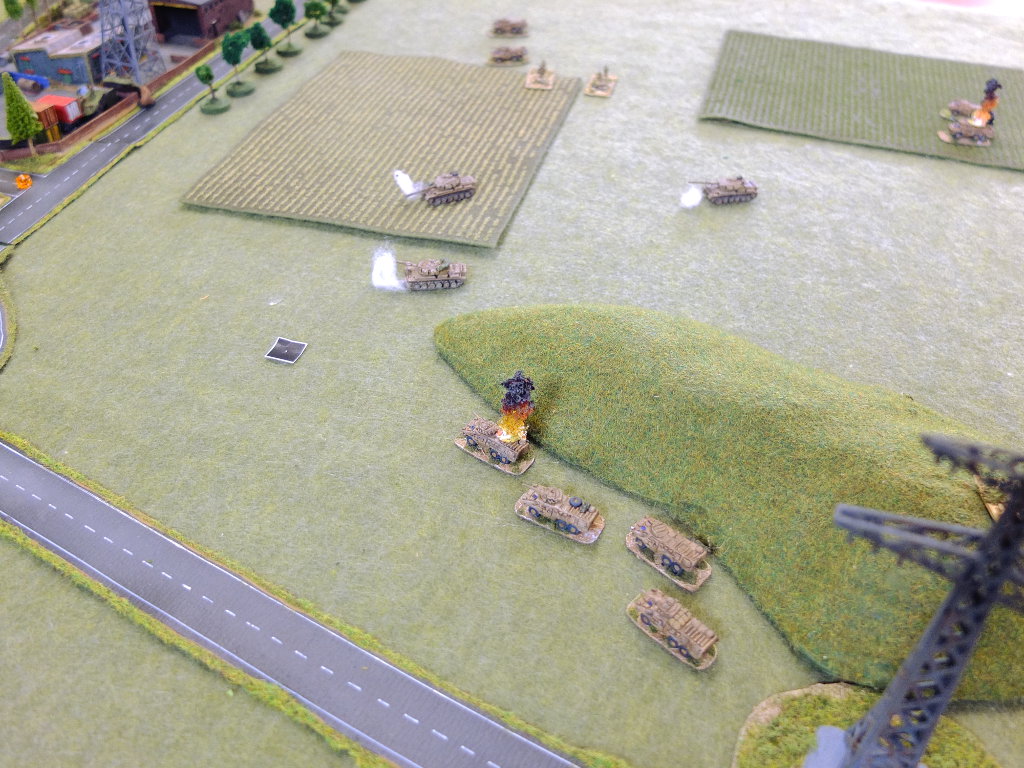
The attack slowed down as the SADF player dealt with the very real threat of missiles from the BMPs and infantry. More SADF vehicles were lost and the 120mm Soviet
mortars continued to cause problems for the Ratels, destroying another one. In turn, the South African G5 artillery was successfully requested and this caused 1-2 casualties
on the platoon in the town. Meanwhile the remaining BMPs were destroyed using Ratels and Oliphants.

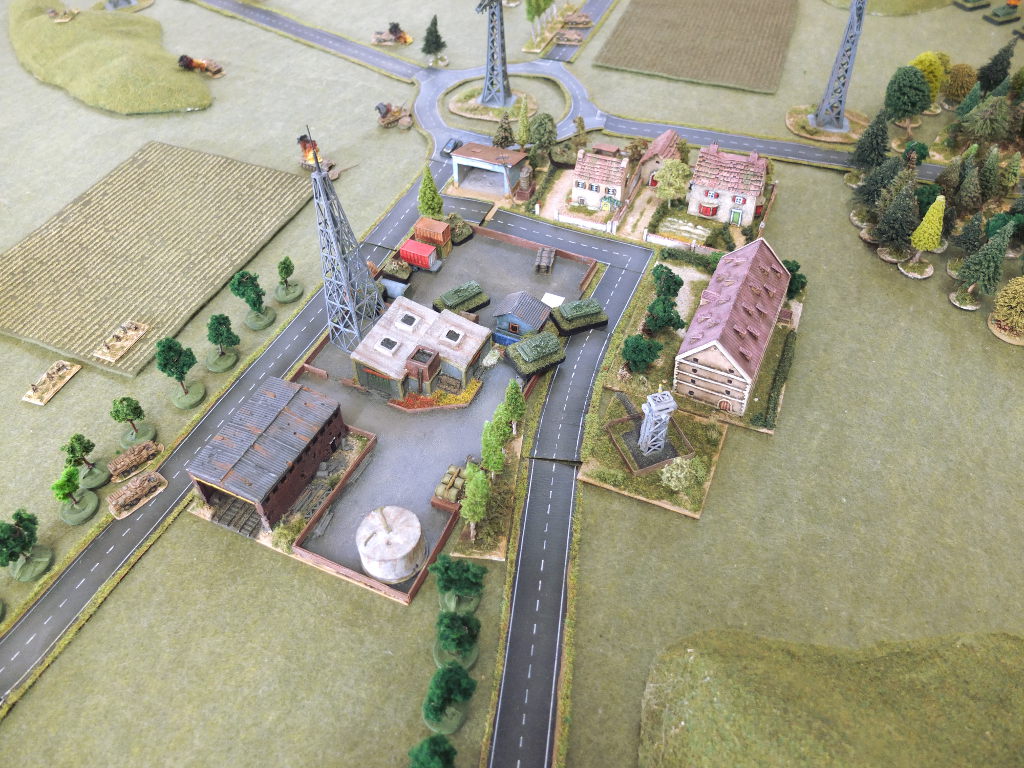
After seeing the ineffective fire of the Oliphants against the Soviet infantry holding the objective, I decided to use the move and shoot Action option. This was
basically a combined arms assault with the Ratels providing fire support, and the Soviet were almost wiped out, with the failing 3 consecutive morale tests remainder
retreating. This ability to fire and move and effectively assault a position was a very good aspect of the rules. Meanwhile the attack on the town was slowly wiping out
the defenders but their morale held. The SADF player also forgot about the remaining infantry in the 2 Ratels which would have helped!

By the end of the game both sides were pretty depleted. The Soviets had a fresh platoon of T55s while the South Africans had 2 tanks left and a bit more than a
platoon of infantry. It wasn't clear who would win the game but since the Soviets still held most of the objectives they were the winners.
We both enjoyed the game and felt that it is good to be able to get an outcome within a few hours. The game was slowed down due to spectators but it was a
close and enjoyable affair. We tried some new rules (such as Objectives, Attack/Defense, pre-game Bombardments and Assaults) and found these to be very good. We felt
that with the smallish forces, that 3 objectives per player was a bit much, so we will try 2 next time. We also discovered a disadvantage to having defenders too near
an objective when artillery lands. The Attack defense game setup is excellent and it is promising that such a game can be played within a 3-4 hour timeframe (and quicker
once we know the rules better). Another pleasing aspect is the move and fire with infantry, which is great for cleaning up the opposition.