6mm Wargaming

Terrain Boards project - The Directors cut

Introduction

After finishing the boards and using them for a couple of years it became apparent that there were a few design and build flaws. It wasn't really a surprise considering this was my first attempt at a project like this.

One of the issues over time was the perishing of the rubber slightly and this meant that some of the interlocking teeth were starting to break off. Making changes to the boards once they are finished is much harder than to build them with the edging in the first place. The longevity of the boards was always a question in the back of my mind when I built them to but you don't know until you try! Lesson learned for next time.

I also had a board that I had not finished so now it seemed like a good time to complete it at the same time the edges were being reworked. I struggled to finish this board originally as it didn't inspire me but eventually I got there.


Click on the thumbnails to see the full sized image


New edging materials

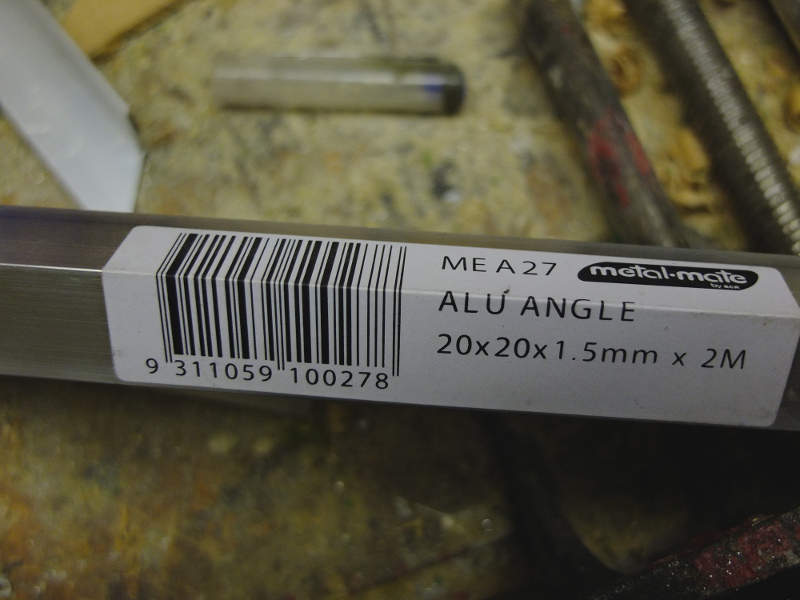
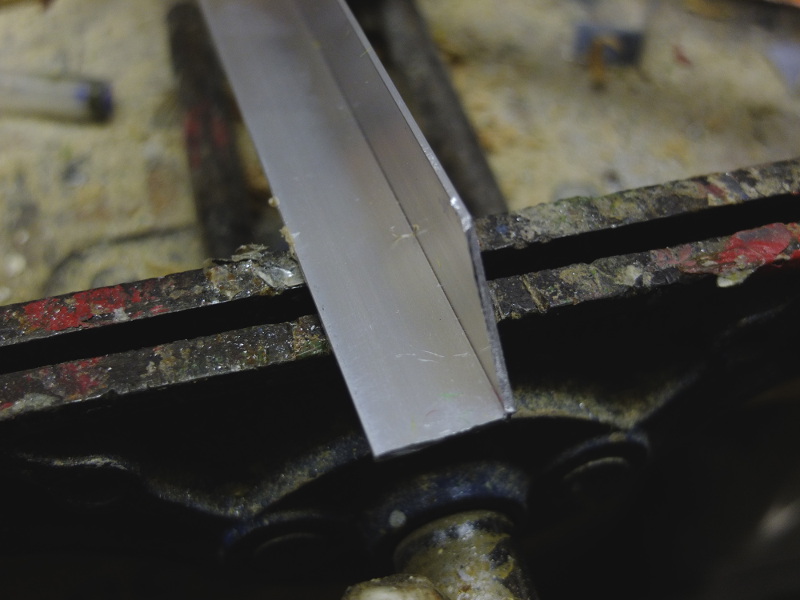
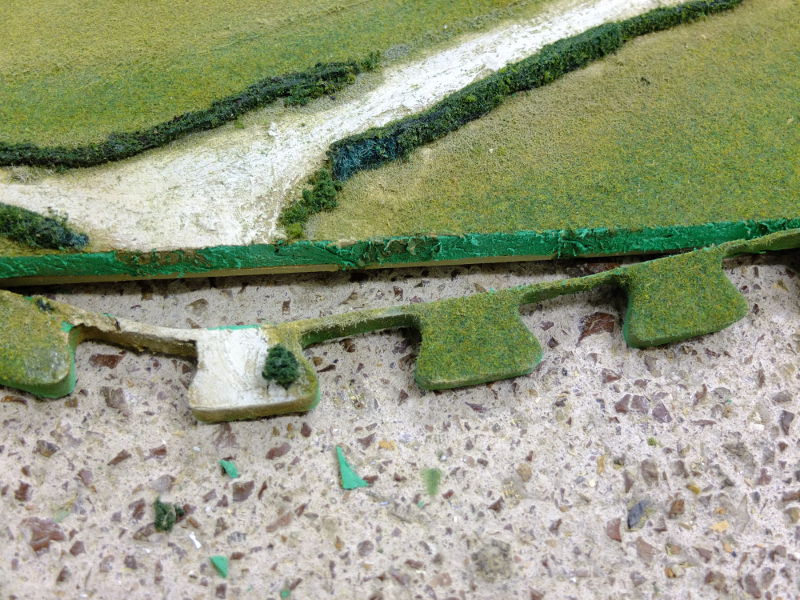
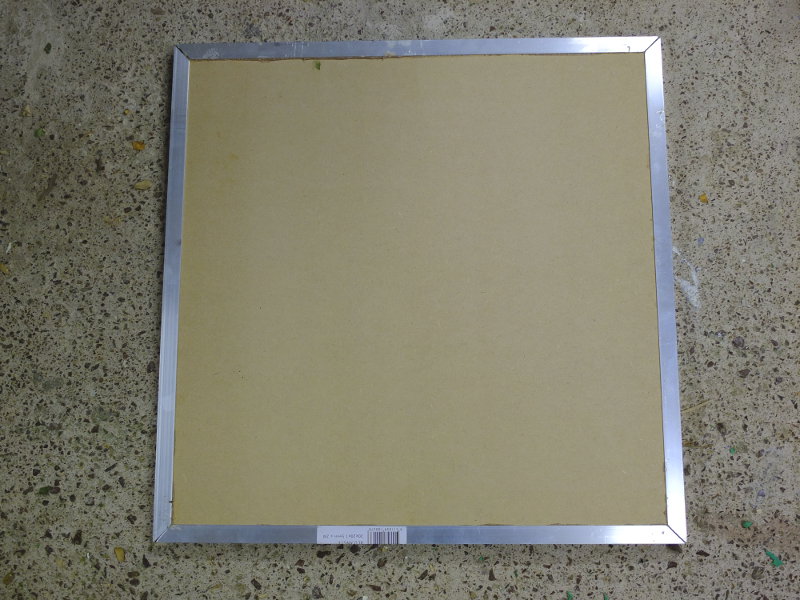
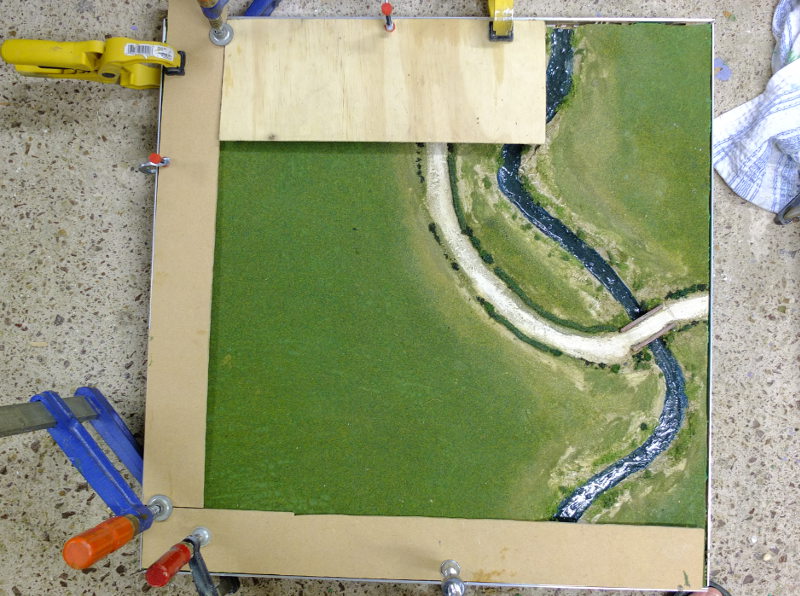
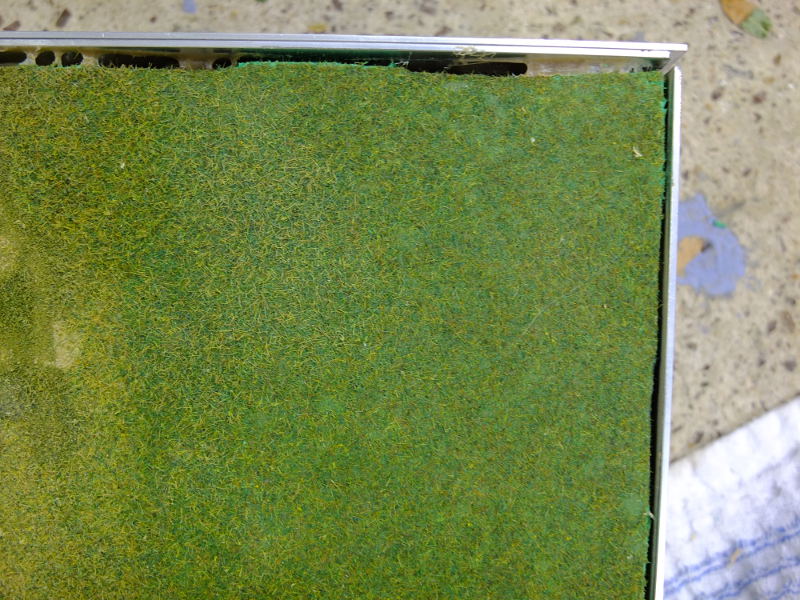
After searching around the local hardware stores for some suitable materials I found some aluminum angle strips which were perfect for the boards. The edging was 1.5mm thick x 20mm on high on the sides. I looked at different options for the edging such as thick tape (duct tape), wooden strips, pplastic edging and so forth. The aluminum edging was perfect becuase the height was only about 1-2mm taller than the edge of the boards. One downside of the edging was the cost and it worked out at about $15NZ per board.


Removing the existing edges

Next cut off all the interlocking teeth from all the boards. Although I used a 1m steel ruler and a sharp knife, some of the edges were pretty ragged and not very straight. It was also hard to gauge how square the cuts were. Overall it worked out well and I didn't have a lot of problems later because of this.


Making the new edging

Once I got the edging I measured it and cut the pieces up with a hacksaw and a rotary dremel. I rounded the edges slightly with a file to reomve and burrs and to avoid scratching any surfaces with the boards. As you can see in the picture, the edging was cut at a 45 degree angle to help butting the pieces together when gluing.


Gluing

The edging was glued to the boards using a product called (No more Nails). I clamped the edging to the boards and used pieces of wood on the terrain side to avoid damaging the exisitng terrain. I also used a builders square (large metal square) to make sure that the pieces were square when I glued them, otherwise the boards wouldn't fit together very well! This was pretty time consuming and I only had enough clamps to glue 4 sides on at a time so it was a few weeks of work to glue all the edging. Luckily I didnt have any problems with the edge pieces moving when I glued them, and the boards fitted together very well afterwards.


Mind the gap

After the edging was glued on there was a gap between the edging and the board. The edging was slightly higher than the boards so I had to fill the hole and build up to the aluminum edging. I considered filing the edging down to the board height but I figured that was too hard to get right and the difference wasn't enough to worry about.


More edge work

Once the edges of the board was filled with silcon, it was painted green to match the original green I used.
Where the road joined the edge, I filed a groove on each side of the roads to match the ditch on the boards. Then I used the coloured caulk and filled in the ditch and road to match the existing roads. Then the roads were painted to match the roads on the boards. The rivers were done in a very similar way but instead of filing down the bank I used 2 separate pieces of aluminum angle (this also allowed me to use some offcuts) and I built up the banks with caulk.


Flocking hell!

The last stage was to flock the boards and touch up any bits. This proved harder than I hoped as I found the flock I had mixed up originally was mostly gone and I did not have enough for all the boards. I mixed up some more flock but it was very difficult to match the colour and texture well. The lesson here is to use an off the shelf flock from a large manufacturer so that you can always buy more!

Once the flock was glued on and dried there was a noticeable join where the 2 flocks met. I drybrushed different shades of green, brown and yellow to hide the variation and I also smoothed out the flock with a oribtal sander.

Finally I glued on bushes and hedges to help disguise the different flocks and reapir the roads, and overall it worked well. It is almost impossible to see when the table is covered with terrain.


A new(old) Board


Finishing off an old board

As mentioned in the introduction I had a board left over from the original construction that I never completed. Something about it didn't inspire me and I wasn't sure how many river boards I needed.

First I started by finishing off the hill and the defining the empty space on the top of the hill better. The empty space is designed to take a standard 40x40mm base and I can swap out different terrain pieces to suit different periods. I had orginally glued a piece of MDF on top to create a flat surface. The track heading up the hill was a bit poor so I cleaned it up and reshaped into a better shape.

Also I glued on some edging and filled in the gaps as described earlier. It is certainly much easier to do when making the board rather than when it is finished.


More progress on the board

Once all the ground work was finished, it was time to paint the non green bits green where I was planning to flock. I didnt want all the different colours coming through when I flocked.

Next the board was flocked and I used a nice bright green flock for the large field in the middle and a few different variation on the board. The glue on the boards in the photo was still drying so it looks whiter than it should.


Another completed board

After all the flocking was completed I glued on some bushes and hedges and poured the resin water into the river. These photos show the completed board and you can see it in use here. The completed board came out very well and perhaps I should have finished it off earlier!