6mm Wargaming

Terrain Boards project - Part 1

Introduction

Making Terrain boards is something that I've always been interested in creating for a number of years. I've seen some great examples and some not so good examples. Some limiting factors for me is the cost of materials, portability and the durability of the boards. I think I found the answer to this when I visiting "The terrain guy" website a few years 
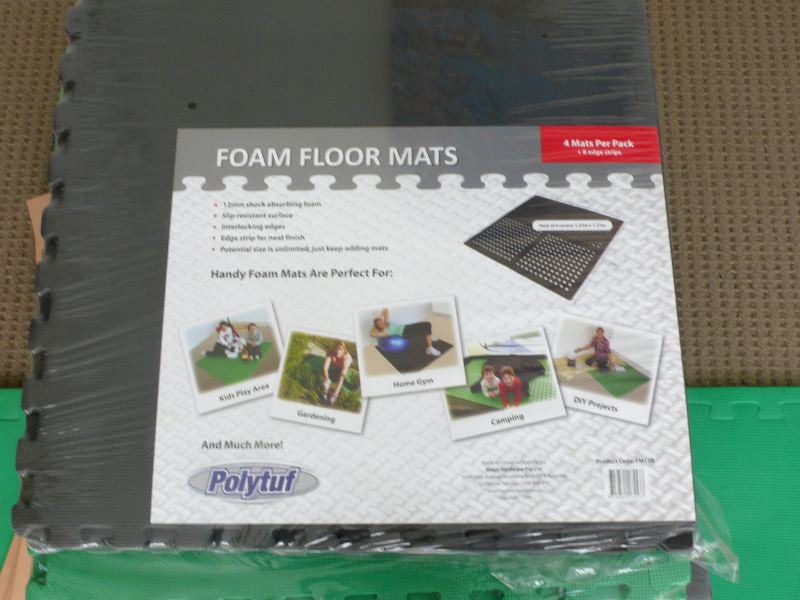
ago, where they use interlocking floor mats. Then when I was at the local hardware store and noticed them for sale for $20NZ a set of 4. Each set allows me to cover a 4x4 foot area so it seems pretty good value to me and they are nice and light. Over the last year or two I've been amassing ideas and bits and pieces to begin work on a set of 6mm terrain boards.

The boards will be used for mostly 20th century gaming but I'd like to use the for Napoleonic and ever earlier if possible (this will depend on the road colour mostly). The main motivation (if I needed any) is a modern tournament here in Auckland in Feburary 2012. I want to have enough tiles done to cover a 8x6ft table and maybe more to give me some more options.


The plan

My plan is to have a mix of fixed and removeable terrain depending on the type of terrain pieces. Some pieces like field, roads rivers, bridges, hills, streams, ponds and a coast line will be fixed while others will removeable features like towns, forest, woods, fields, hills and trees.  you'll notice some of the same type of pieces will be fixed and  also removeable, to create a more flexible layout

I'm planning to make plain areas (flocked but no details) where I can add farms, small villages and other smaller items. There will also be larger clear areas where Towns, hills or forests will go, and the terrain pieces that will go in these won't necessarily fill the whole area, so I will have filler bases (eg fields, parks).

On top of one of two hills I will have a clear area on the top, where I can add features like a cell phone tower, wind turbine, stone circles, temples, monastries and windmills depending on the period and scenario.

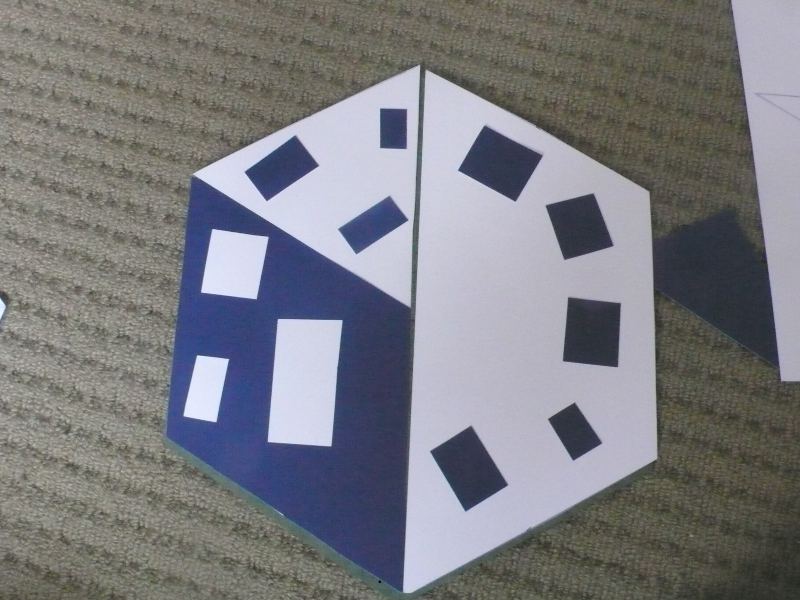
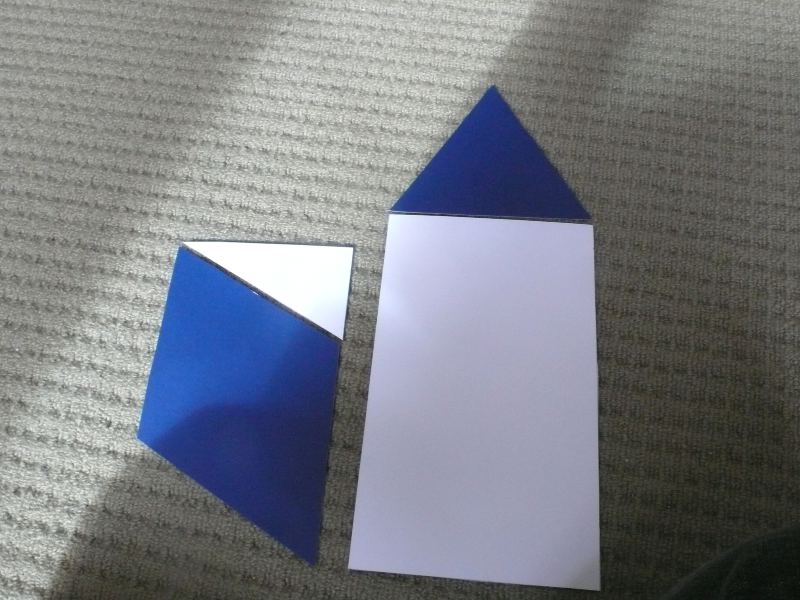
I'm planning to make some new towns for the terrain boards and these will be no larger than 300x300mm and a hex shape (this seems to be the most flexible for joining road and I can rotate them. There will be 1 main section per town with 2 - 5 smaller pieces and I can use the pieces as smaller towns if required. I will have about 6 different shapes but they should fit together pretty well as a hexagon can be divided up easily. Also there will be roads which will enter all in the same place for each blank area.

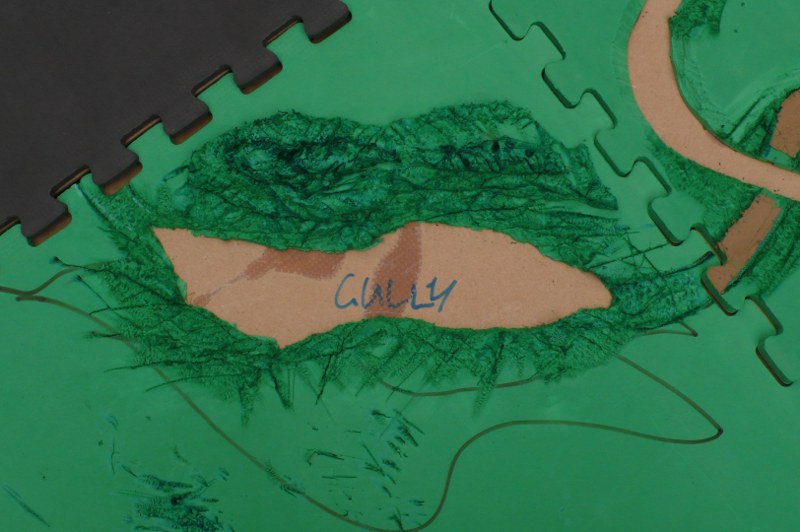
Using a 3d board allows me to create cool things like ditches next to roads, sunken terrain, good looking water ways, gullys, folds and so on. I'll also make/convert individual trees (with pins in the trunks) which I can stab into the terrain and then I can put them anywhere (I might try and do this for power poles and lampposts as well). I have a few buildings painted already and I'm finishing off my airfield buildings (there will be a small airfield on one of the tiles).

I'm sure as this project progresses I'll come up with new ideas and change some of the options I've listed here somewhat.


Inspiration


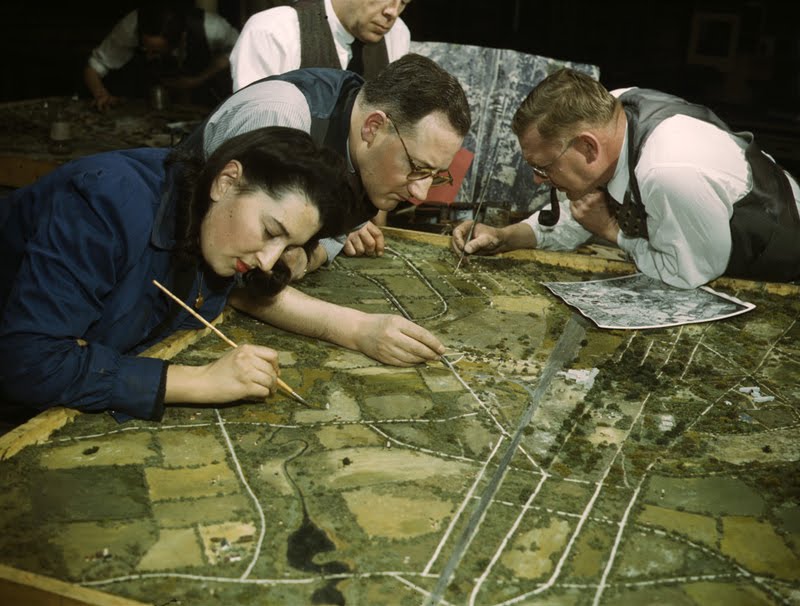
[The team hard at work at 6mm Wargaming HQ] Well not really but I wouldn't mind if mine came out looking something like this.


Click on the thumbnails to see the full sized image


The board materials

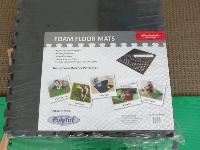
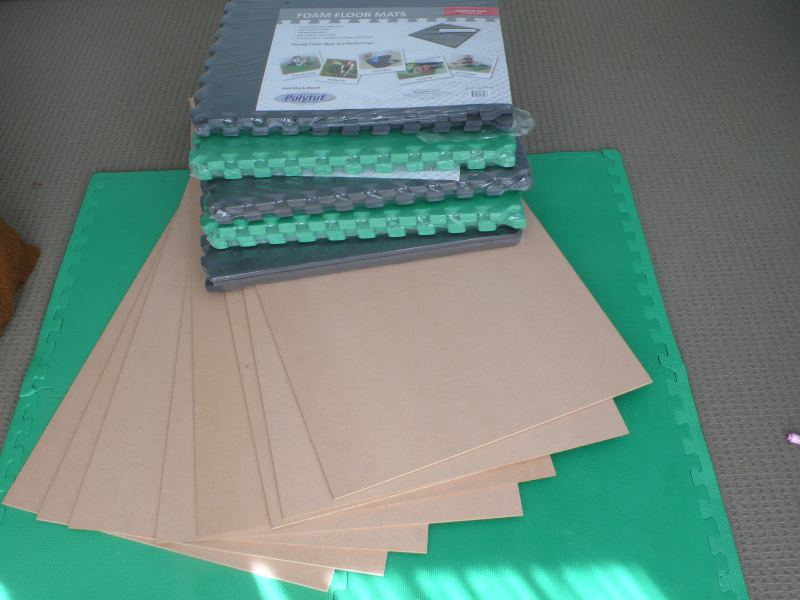
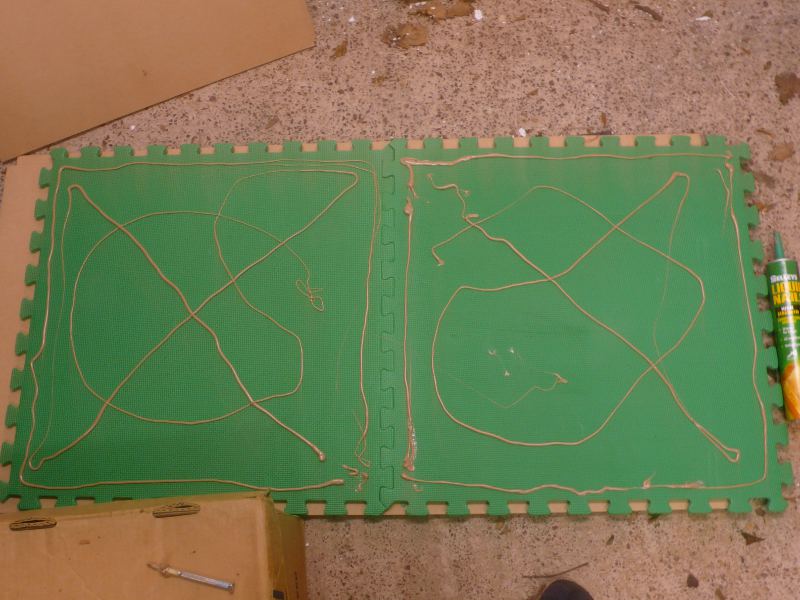
The main materials for this project consist of 2x2ft interlocking foam tiles (which are used as kids play mats) which I'll mount the on MDF boards. The MDF boards I'm planning to use are 1200x600x 4.75mm thick. I figure it will be thick enough so it doesn't warp and not too heavy to carry around to games. I also got some Selleys Liquid Nails to glue it all together as I want something that was strong and woudln't warp the boards when I glue them.

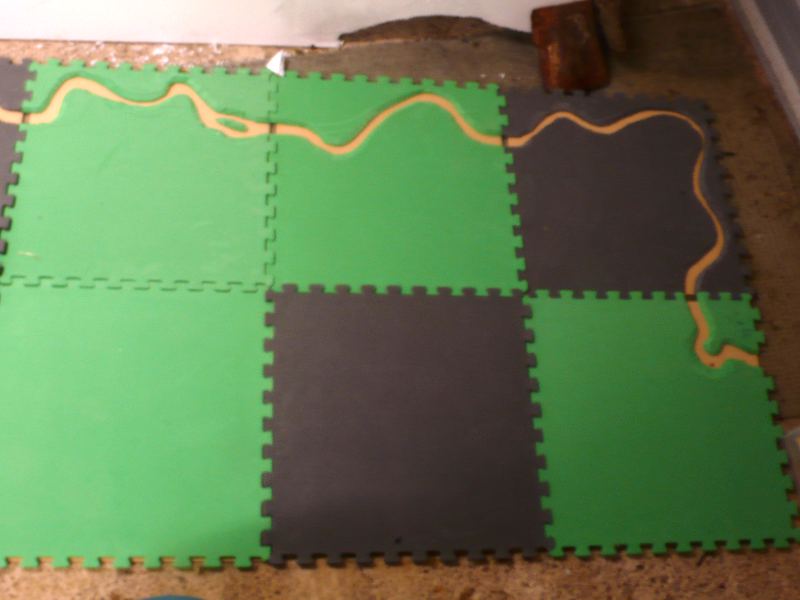
I originally saw the idea for using these tiles on theterrainguy.com site so I should pay my respects to them, for the great idea.As you can see from the picture I got a mix of green and black tiles because of what was in stock at the time, so hopefully that won't be a problem when I come to paint them. The MDF boards were about $7NZ each and the tiles $20NZ for a pack of 4 tiles so the whole lot was a reasonable price.


Town planning

I'm planning to make some new towns areas for the terrain boards and these will be a hex shape as this seems to be the most flexible for joining roads, and I can rotate pieces in different directions. The rules I use for moderns have a restriction of 300x300mm for any town so the furthest distance of any two points of the hex is 300mm. There will be 1 main section per town with 2 - 5 smaller pieces and I can use the pieces as smaller towns if required. I will have about 6 different shapes but they should fit together pretty well as a hexagon can be divided up easily.

I plan to make enough for 4 towns with 2 of each layout and maybe some extra bits in the future. The town pieces that go in these won't necessarily fill the whole area so I will have filler bases (eg fields, parks). Also there will be roads which will enter all in the same place for each blank area.

Above is the pictures of the cardboard templates I am using to map out my towns and give me an idea of the space (there's nothing worse than cutting the bases up to find they are too small or they don't work for some reason). The little rectangles pieces represent buildings and the larger one a church or similar.


Gluing the boards

I spent about 1 week gluing all the boards together as I wanted to give them 24 hours each board for the glue to dry properly. I used a Selleys "No More Nails" which seems pretty strong and easy to use and its recommended that it cures for 24 hours to get full strength from it. I stacked the rest of the boards on top and a few boxes of wargaming figures to weigh it down while the glue set. I only had one board slide a bit while the glue was setting, so I will have to trim the edges with a hand saw.

In the third picture you can see the joins between the boards. I originally cut the MDF boards in half but after I glued the first couple to the foam, I realised that the foam teeth were catching on the other board and the foam wouldn't interlock! So I had to go back and cut 20mm off 2 sides of each of the 16 wooden boards to allow the boards to join together smoothly. I'm hoping this wont cause a problem on the joins and I paln to cover the joints with terrain like my Motorway and a Railway line I have.

Fortunately all the offcuts can be used for the table edge pieces which I hadn't decided on anything for yet, so that was good.


River sections

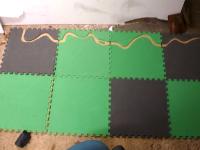
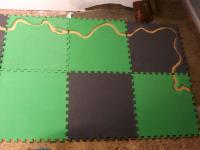
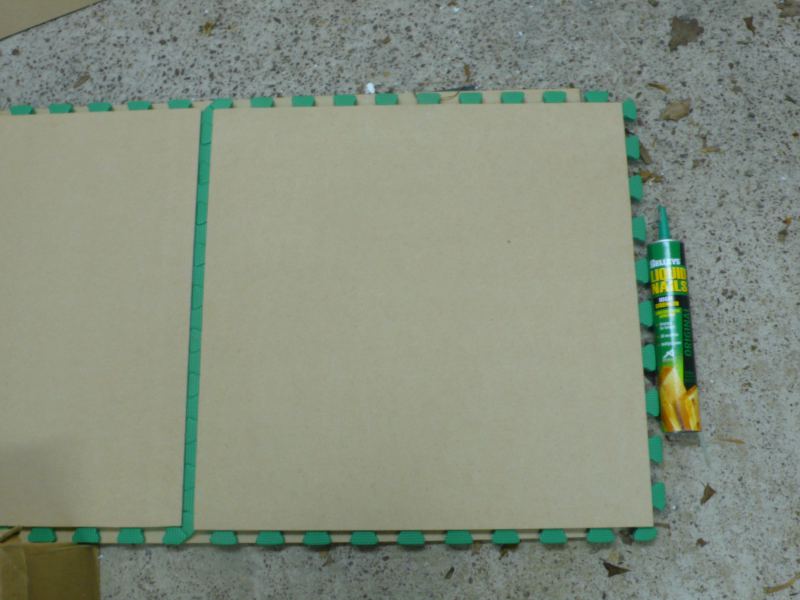
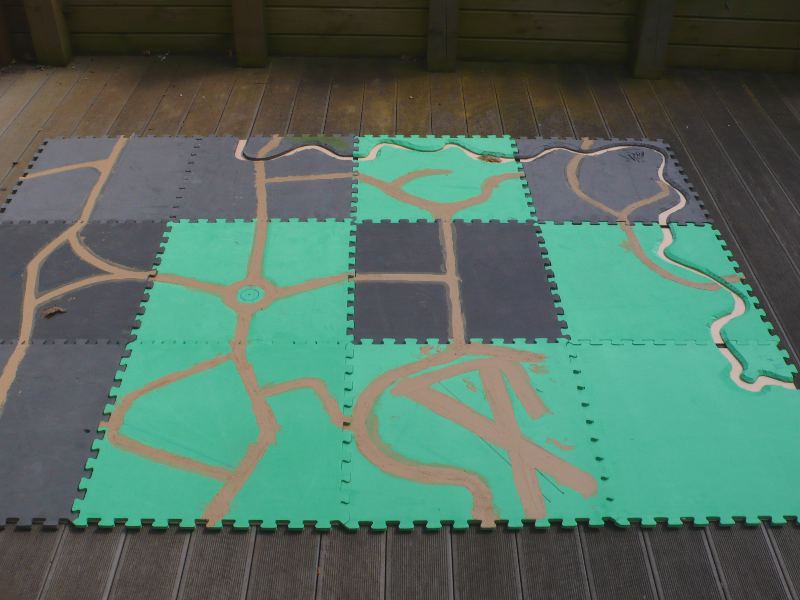
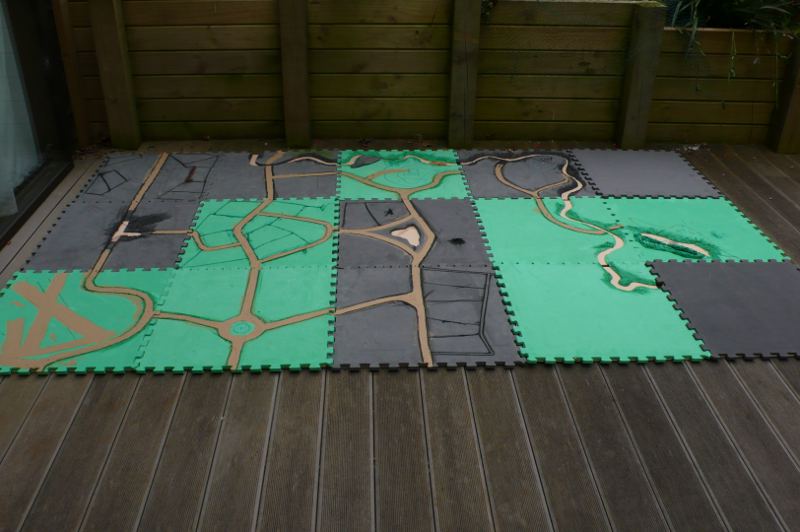
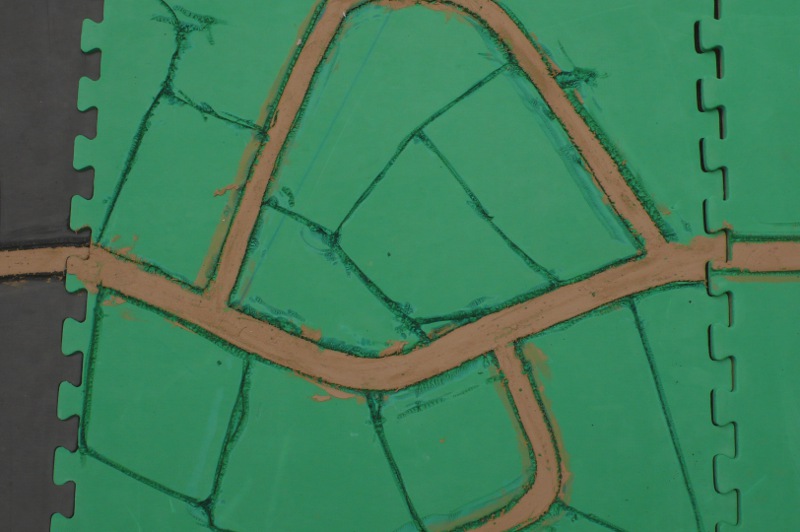
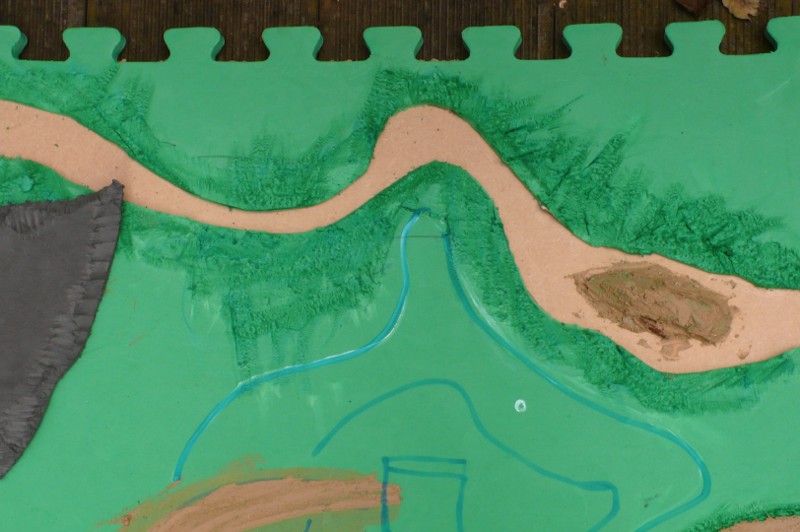
These pictures show the river section I cut in the boards and some of the plain boards joined together. The river begins and exits at the same point on each board so I can arrange them differently. I cut the banks a bit wider than I need so I can add some silicon and ground materials to it to shape it how I want. I also left some parts unshaped so I can add in some bridges over the river and a ford. I tried to make the rivers reasonably windy as a lot of wargamers rivers are straight, which I don't like, although they may be more practicable.

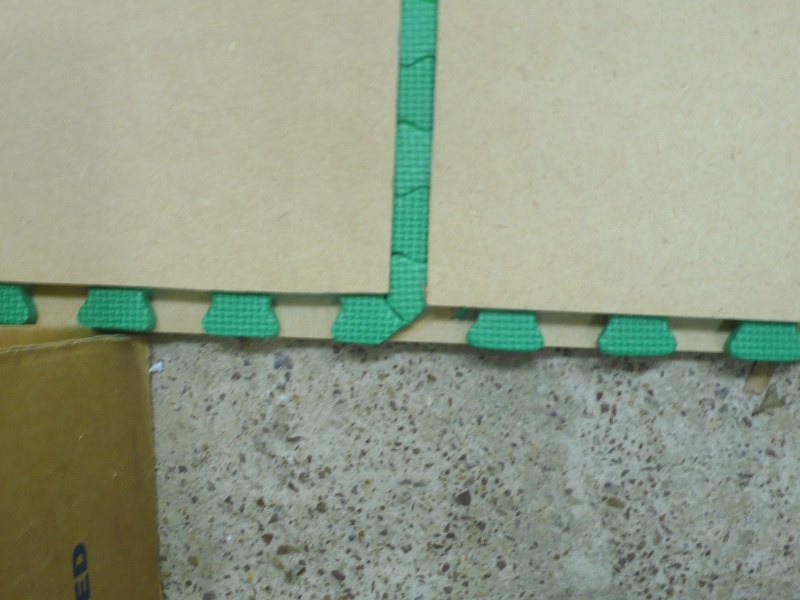
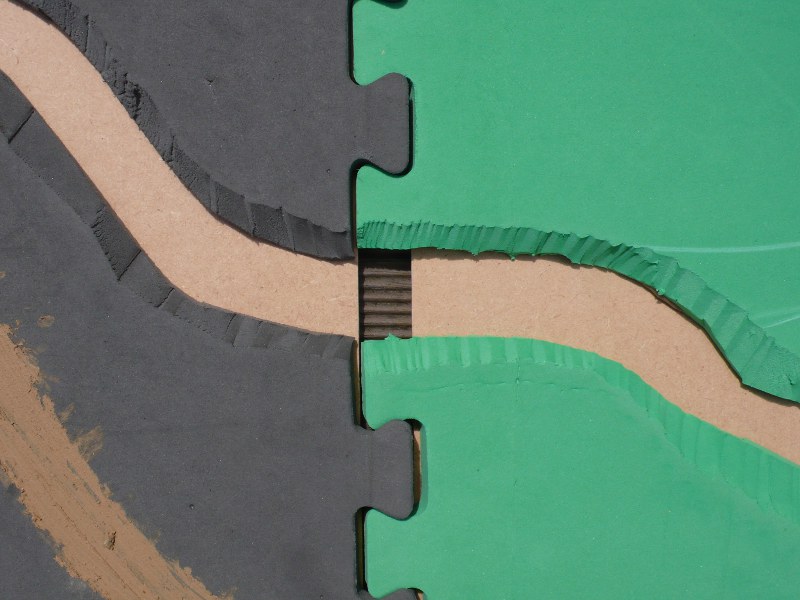
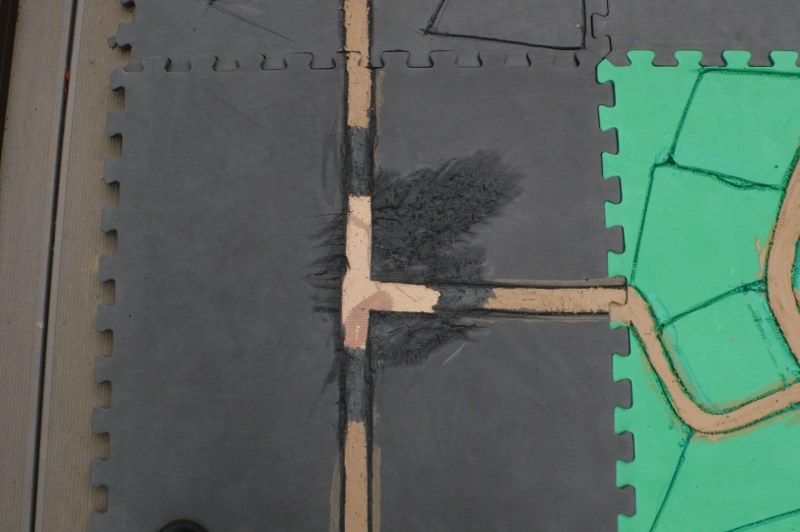
This was the first test cutting the foam, and it was easier than I had hoped for. I found that if I used a new blade in a knife cut it very easily and smoothly but once the blade started to get blunt, the cuts got rougher and harder to make. It was also easy to chage the direction of the blade to get the curves without too much effort.


Roads mapped out

Now with the main roads added to the tiles. I went for dirt roads to make them more adaptable for periods earlier than WW2 (well maybe not the roundabout or the airfield), and a lot of roads were still dirt in WW2 anyway. The roads all join up in the middle of the tiles which was the easiest option for matching them up. I would have prefer closer to the edges but that would have been too hard

I'll add smaller tracks and so on as I go and maybe some more roads. Also I have a motorway and a railway which I plan to run down the joints to hide some of them. I'll also have farms, extra fields, small hills and forests to put over the joints. Also I've designed my airfield so the buildings will go on the edge of the tile and overlap onto the next one, hiding the joins.

In the third picture you can see a slight stuff up where the rivers tiles join! I didn't notice this until they were all put together so I will need to fill it somehow before I pour the resin for the rivers into it.


Details added

Now I've added lots of details using a soldering iron and knife. The painting mask for the fumes which come from melting the foam and were pretty nasty, but the mask stops them (well most of them).

In the second photo you can see all the boards with details carved into them. I've carved ditches next to most of the roads. I might fill parts in as I go but it was easier to carve them out first and them decide later on. I will also have some more plain boards which will just be flocked green and I think there will be 20 boards in total once I've finished.

The last picture shows a sunken road - Just for something different. I need to add some cardboard to shape the road better before I reapply the caulk for the road. It reminds me of a Crossfire scenario called "Scottish Corridor" which is set in France in 1944.


More details added

Fields - Lots of fields with drainage ditches around them. Again I haven't decided if I will keep all the ditches and its easy enough to fill the in again later on. This board has the most dense feids compared to the others.

Gully - with a road running through it. I found the soldering iron created some great rocky texture when I dragged the point through the foam quickly and from different angles. And if I held it down longer it melted the foam more creating more rounded shapes.

Roundabout - This is something to give the table a more modern look if needed. I'll add a hill to this tile as well (you can just make out my markings).


Water added

Small lake - I'm planning a small lake in the middle of this with a jetty and maybe a boat. There was also a couple of practice holes with the soldering iron which I may turn into swamps or small rocky holes.

The second picture shows the river bank details - some of the shaping I've done on the river banks. I tried to vary the angle of the banks to create an irregular look.

Steeper river bank - There will be a large steep hill on the corner so I made the banks around that part more steep and rocky. You can also see the ford I have carved into the road which is flush with the river at the bottom.