6mm Wargaming

6mm buildings and terrain ideas

Introduction

This page has some reasonably simple terrain building ideas for 6mm games. There isn't a lot of specialist terrain out there, or the stuff that is available isn't always well suited to everyones requirements. Hopefully these ideas will help you with some ideas or inspire you to make your own.


Click on the thumbnails to see the full sized image

Fire Station

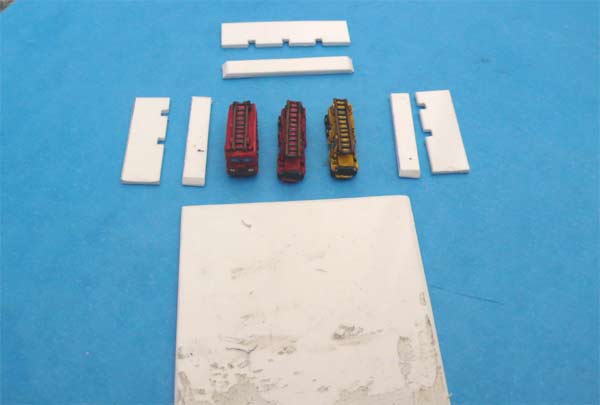
I had some fire engines from Irregular that I wanted to use so I decided to scratch build a fire station. I figured it would be a pretty basic shape to build, and I had some spare plastic card offcuts lying around. For the building I used 0.5, 1 and 2mm plastic with some cladding sheets for the roof. The building could also be used as a garage or a workshop.

Construction steps

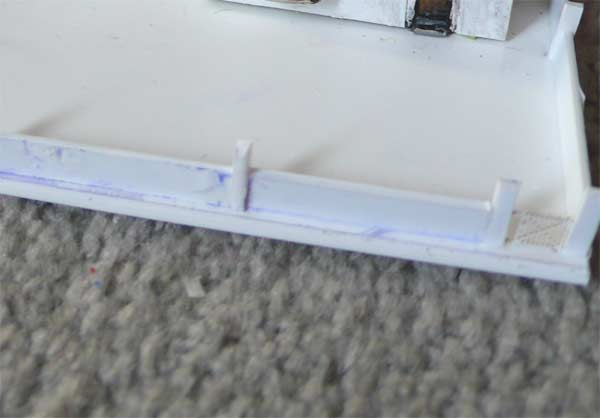
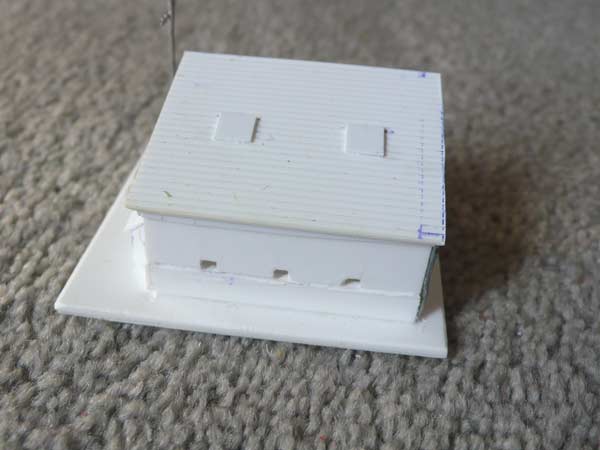
  • The sides. I measured how much space 3 vehicles would take up and then cut out the sides and back pieces. Then realised the building was too low so I added a thicker lower section, and before I glued it all together with plastic cement, I cut out some small windows.

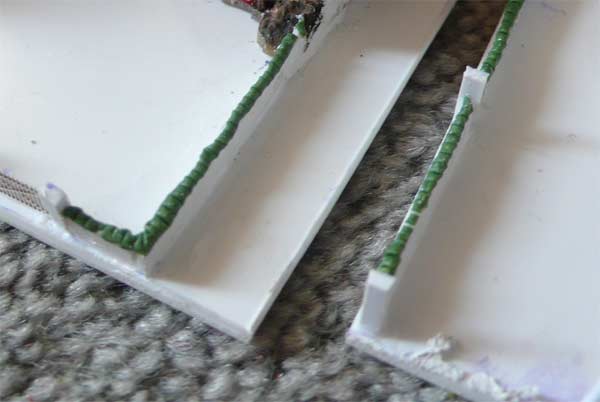
  • Next I used some 0.5mm offcuts to help reinforce the interior walls and a strip along the top to reinforce the front. The roof was made from some textured plasticard and a couple of square pieces were add (to represent skylights) and a piece of wire for a drainpipe. I wanted the fire engines to be removable so I drilled out the base and glued some rare earth magnets in there and made them flush with the floor(these match the magnets on my fire engines).

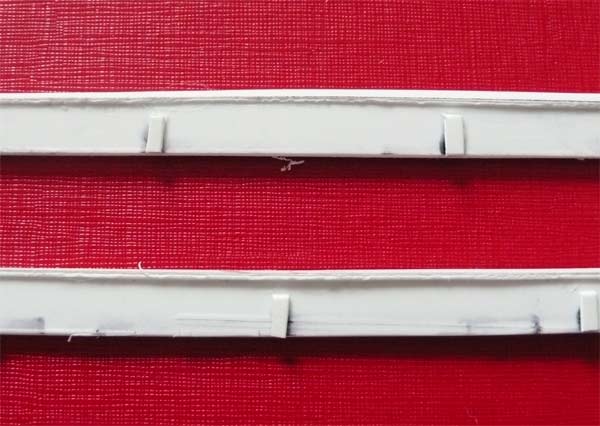
  • I added some detail to the base including a CNC lampost and a small side shed with some offcuts of plasticard around it. Next I used some modelling putty to fill any gaps and joins and to give the smooth plasticard some texture and then painted the building. It still looks a bit unfinished so I might add a couple of sliding doors to it.


Town Square

I usually have a town square in each of my town as I find them helpful to park vehicles in or to fill up space. This is a very simple scratchbuild and you could make it look better by using textured plastic card to represent cobbled roads.

Construction steps

  • The base was made from 2mm plasticard and the statue is from an old H&R Napoleonic Hussar figure which I glued it to a block of balsa.

  • Then the base of the statue was made from a piece of plasticard, which I scribed some stone work onto.

  • Next the base was textured with a very thin layer of Selleys no more gaps and the whole thing was painted. Another option is to scribe the base similar to the base of the statue or use textured square plastic card as cobblestones.


Gardens

This is another simple feature to make and adds a bit of colour to your towns and cities, or it could be part of a garden from a Chateau. I also used the same flock mixture around the base of some buildings to represent gardens.

Construction steps

  • I textured the based and painted it and them mixed some flock in with some of Woodlands scenics flower flock (white, yellow and red). Then I glued it to the base leaving some gaps for pathway.

  • The fountain in the middle was made from plasticard scribed to look like stones and the center part was from a roadwheel off a 1/72 Marder IFV.

  • It still looked bit plain so I added some hedges (made from pipe cleaners covered in flock) and brass etched gates.


Paddock and fields

This is another terrain feature which can be adapted to fit with your terrain. I made these to be used this on the outskirts of a village (to fill any gaps) or as part of a farm. Obviously these can be much larger or as a separate terrain feature.

Construction steps

  • The fields were made from a leftover piece of Noch field which I glued to the base and a scratch build shed. You can also use standard flock for fields.

  • The sheep on the paddock are from Irregular and so are the fences and gate. I filed down the bases a little (as they are pretty thick) and then glued them onto a piece of plasticard.

  • Then I used some filler to texture the bases and painted and flocked them.


Stone walls

While there is a good selection of walls available, I decided to make some walls as they don't always fit how I would like on my bases or around the buildings. I wanted a quick and reasonably easy method to make some nice looking walls en masse without reverting to casting.

Construction steps

  • These were made from 1mm thick plasticard which I cut into strips (each 5mm high) and glued to the bases. This is a bit higher than the wall should be, but by the time you add some flock they are only about 3-4mm higher than the ground, and it looks right next to based figures

  • I added some thin pieces along the sides of the walls as supporting columns. Then the walls were coated with a very thin layer of miliput putty. Next I rolled a very thin strip of green stuff out and stuck it along the top of the wall and shaped it to fit the wall.

  • Then I left the green stuff for a few minutes and then I pushed the knife blade into the green stuff at regular intervals (At right angles to the wall) to create the tiles (see the picture for more details).


More stone walls

The construction is very similar to the walls above but the design was altered slightly to create a different style of wall. These are in a European style but they can be used in other countries.

Construction steps

  • Using the same 5mm high strips, then bevel the top edge to create a slight angle (or if your like me you may cut it crooked and end up with a bevelled edge anyway) by scraping it with a sharp modelling knife.

  • Next I added some thin pieces along the sides of the walls as supporting columns. Then cut a strip of .5mm plastic about 2mm wide and glue it to the top of the wall. It should sit on a slight angle (see pictures for more details). Again the walls were coated with a very thin layer of miliput putty.

  • Then using a sharp knife, score the top of it at regular intervals to create the separate tiles. You can also cut small pieces out of the top piece to represent broken and chipped tiles.


Stone walls with Iron railings

I got some of the lovely brass etched fences from Scale Link a while back and I decided to see how they would look if I mounted on top of a stone wall as cast iron railings. I used both halves of the brass etched fence but this will create two different styles of fence railing.

Construction steps

  • I cut some 0.5mm plasticard into strips (2 strips 4mm high and 1 strip 2.5mm high) and glued one of the bigger sections to one of the lower sections.

  • Then I cut a fence sections in half and glued one half to my plasticard section with about a 1mm overlap onto the plastic card (this part was very fiddly).

  • Then I glued the other plasticard section (to form a U shape) onto the wall to sandwich the brass etched fence in the middle (see picture for more details).

  • For the end pieces and columns, I used 1.5mm square pieces of plastic. Finally I smeared the wall with a thin layer of Miliput putty to give it a rough texture.


Garden shed or Lean-to

This was a quick shed I knocked together to add some detail to the back garden of a house. I remember seeing somewhere on the web a similar idea but in a larger scale. It was made from plasticard rather than balsa to make it stronger.

Construction steps

  • I used a piece cladding plastic card which I cut to size of the roof of the shed. Then I cut the main corner beams and glued them onto the underneath of the roof.

  • Next I added some strips of plasticard as support pieces along the side and back, and some angled pieces on the front.

  • Finally I painted it and glued it onto the base, near a couple trees so hopefully it won't get damaged. To add more detail you could also score the plasticard beams to get a wood texture but I don't know if you would see it in this scale. Also you could add farm machinery and barrels etc inside it to bring it to life more.


Minefields

I created these minefields for a 1980s attack defense game set in the Fulda gap. I needed about 30 so I had to come up with a quick method for making these.

Construction steps

  • To begin with I cut some plasticard into sizes suitable for the WRG rules which I play. The I got some wire and bent it into a U shape and glued 3 sections on each piece of plastic.

  • Next I textured the base with Selleys no more gaps and painted it and drybrushed it. I was in a hurry so I glued some flock onto the bases. Next time I would create more bare earth patches to make it look like it had been dug up.

  • Lastly I used some cotton and tied it around the stakes and wrapped it around all the stakes a couple of times and painted it with a gunmetal colour. Then I printed out the sign using about a 6 or 8pt font (the skull and crossbones is a wingding symbol I think).