I was kindly sent this model by The Baggage Train for a review and a construction guide, but for a lot of reasons it sat in a box for many years. At the time I was at the beginning
stages of making my terrain boards at the time and didn't really know how I would incorporate the bridge into the boards as the work was already under way. So it languished in a box for
a few more years while I completed my boards and wondered how I could add large rivers onto my boards. Once all the other boards were finished I was concerned with the weight and storage
of my boards and another 4-6 river/coast boards would be too much. Also I wanted to have a coastline and thought that I could use 2 coastline pieces opposite each other to create a wide
enough river for this bridge. However when I changed my boards a year or so later, by removing the interlocking teeth and using aluminum edging, this meant that I could make different
sized boards, and this has made it easier to have boards for unique pieces like this bridge, but without creating too much extra storage and transport hassles. Not long after the boards were
refurbished with the new edging, I sold them off.
Eventually a desire to finish new projects before starting any new ones, meant a new focus on this piece, even without supporting terrain boards. So future plans for this bridge are to
make 2 custom river bank board sections with two large bases for the bridge ramps. The extension pieces of the bridge will be used as ramps and I will create a new motorway and road
sections to join onto it (probably in a second part).
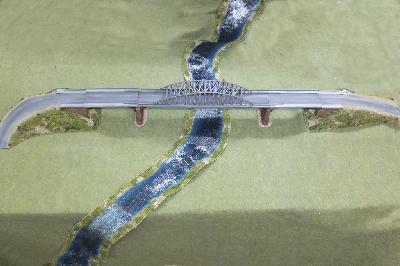
Onto the model itself, which is very large and impressive and would make a great center piece especially for a display games. While I don't intend to use it for Arnhem at this time, it will be
very useful as an impressive generic large bridge (and I think 6mm games/tables need impressive terrain features to show off the scale well).
Click on the thumbnails to see the full sized image

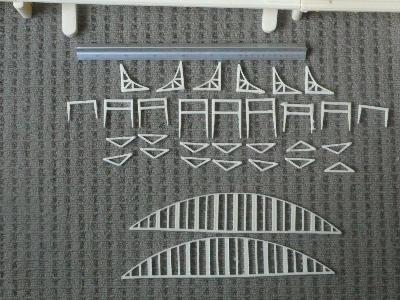
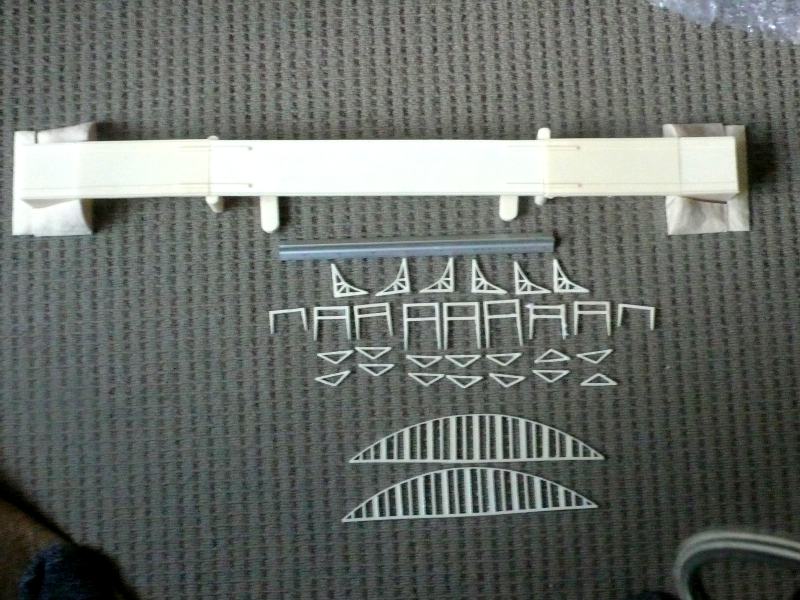
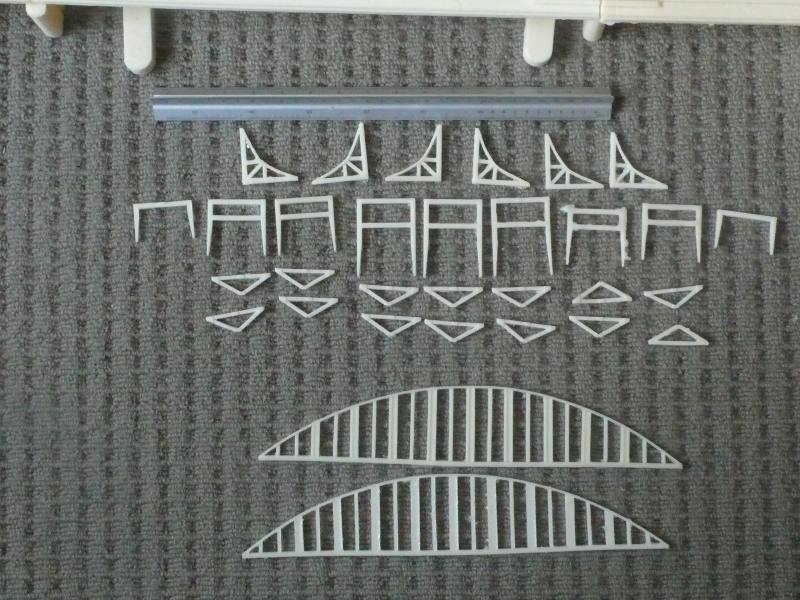
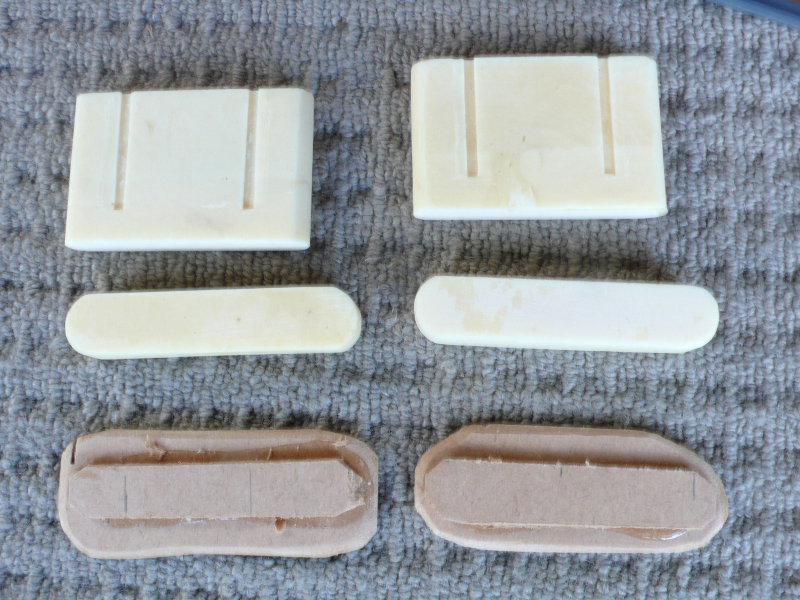
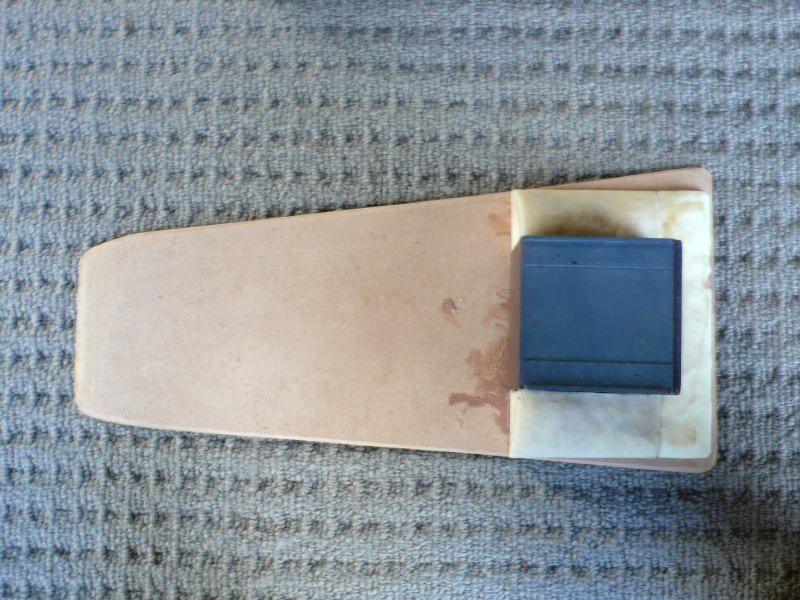
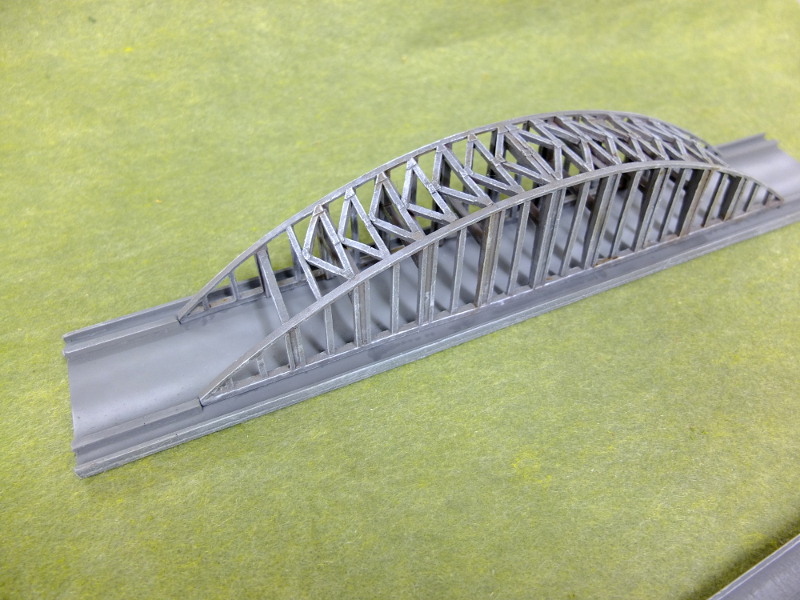
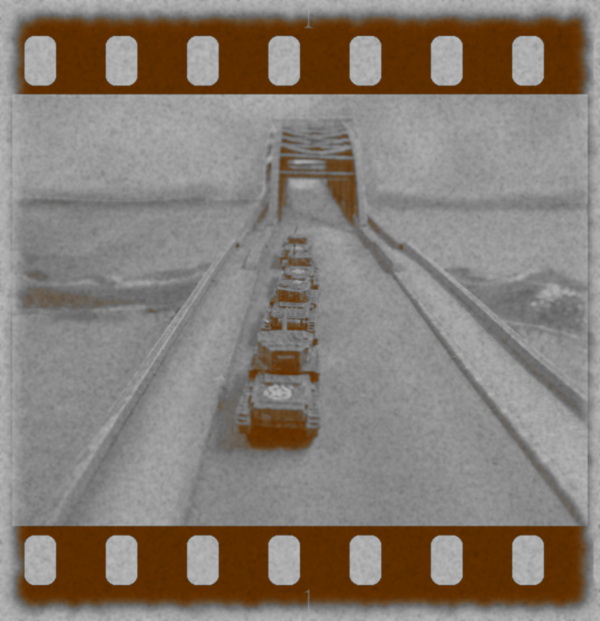
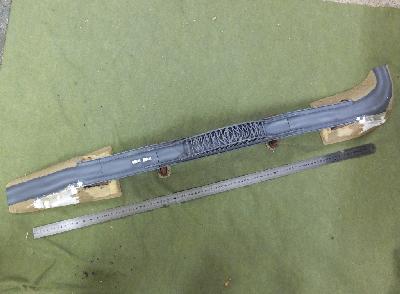
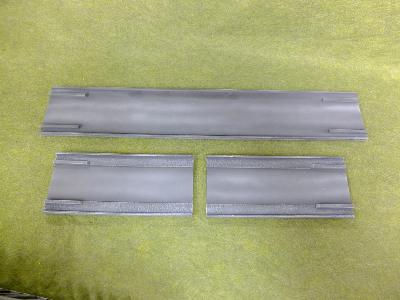
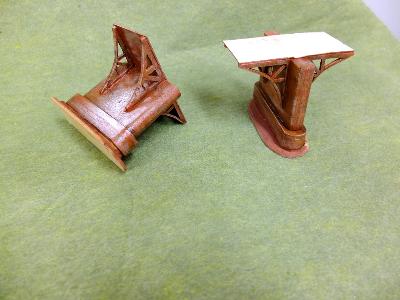
The bridge pieces from The Baggage Train. Its hard to gauge the size of it from these photos but I would say that it is about the same width as a
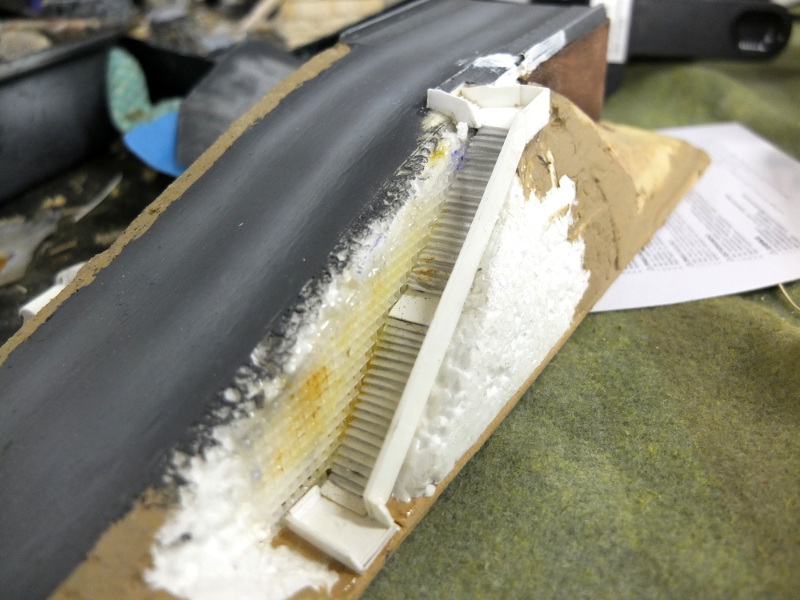
1/76 Airfix bridge I have, but that is about twice the length of this! Note a couple of the under bridge supports were missing (or I lost them over time) so I made some replacements
out of thick card. In the photos there are some 6mm vehicles on the bridge and a 30cm rule to help show the size of this model.
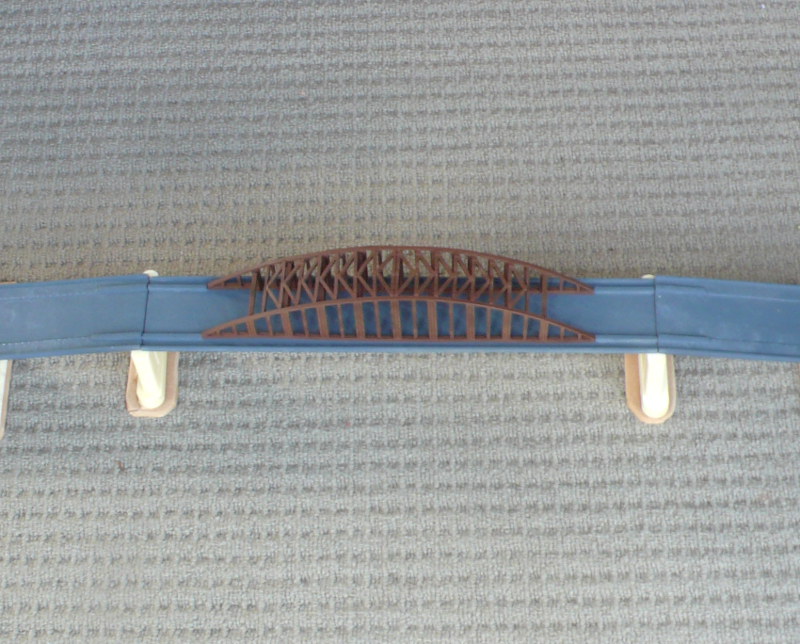
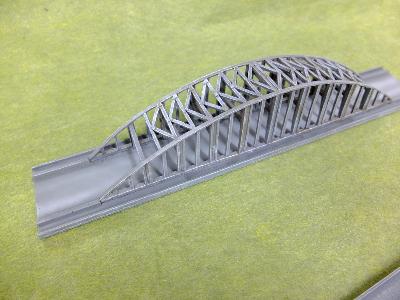
Assembled and base coated

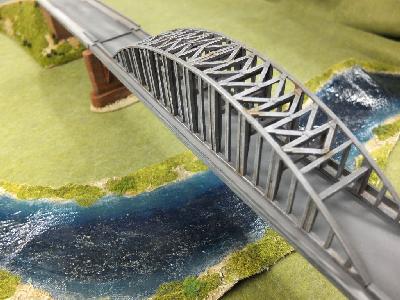
The bridge was basecoated with some cheap spray cans with grey for the bridge and supports and a red/brown for the brick supports. This will help
speed up the painting later on. I added a few extra supports across the span to make the arch part stronger as I want to keep it removeable. Note these pictures show the griders
red brown but later it was repainted grey, which seemed more accurate.
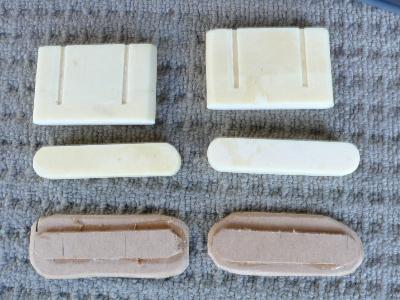
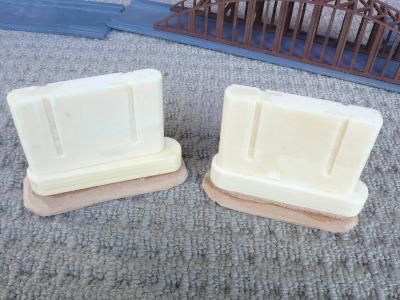
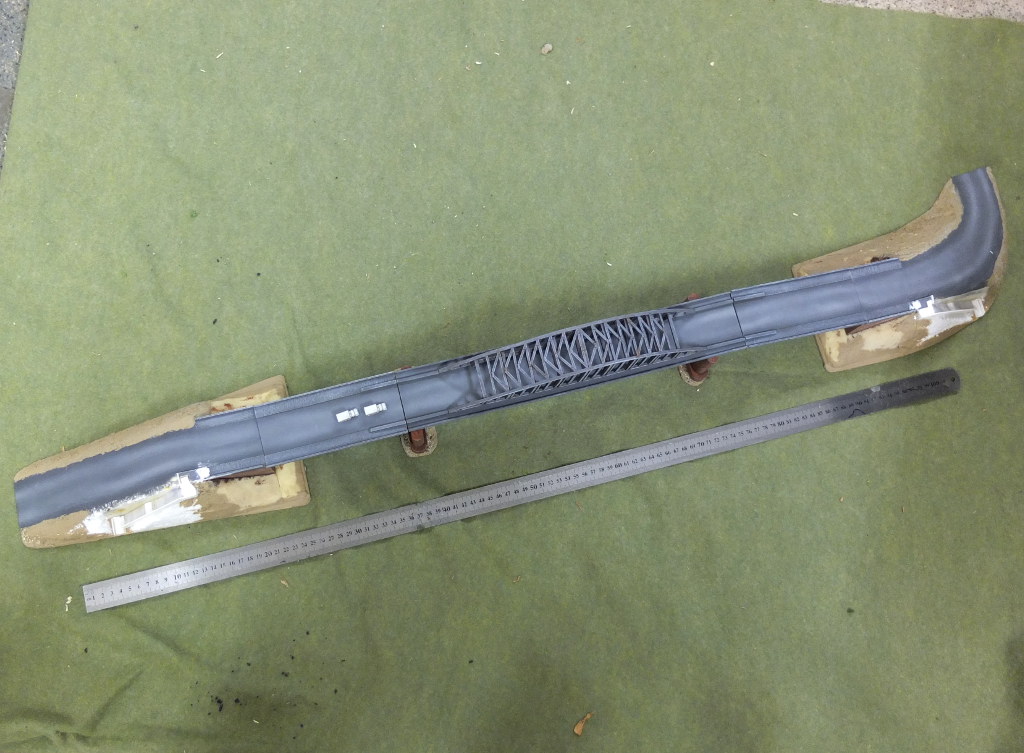
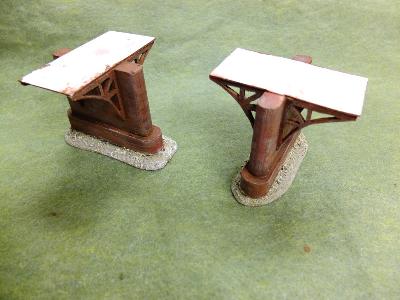
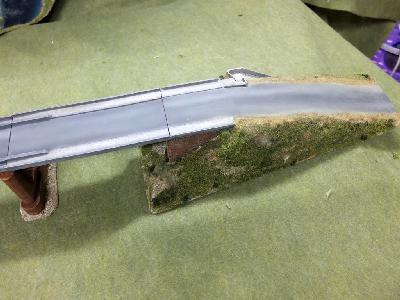
The bridge supports were mounted on 3mm MDF and had an extra layer to raise them up a bit, to make them taller them the ramps. This is because
when I make some river boards, the river will be lower than the ground level.
The resin base for the bridge is very large and the bridge sits very high above the table. I tried to keep the bases for these as small as feasible and I edned up mounting
the ramps on 3mm mdf and then gluing down the resin bases and banks. I also chamfered the base edges so the banks will blend into the edges.
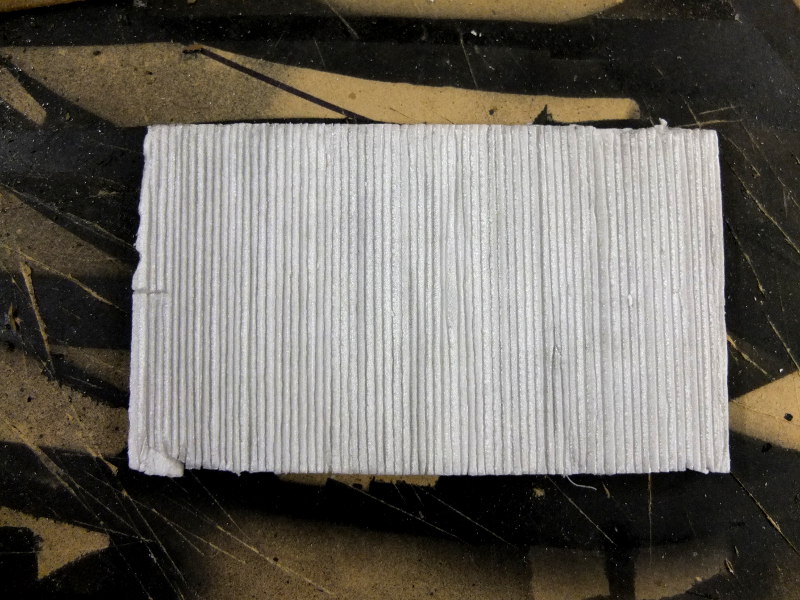
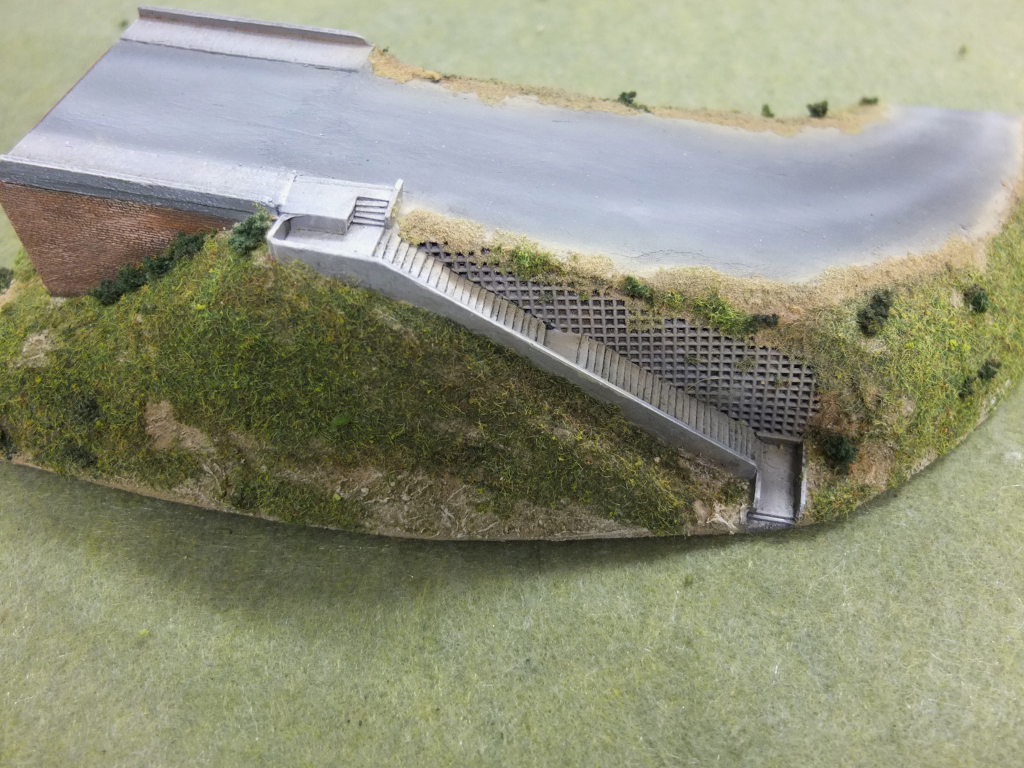
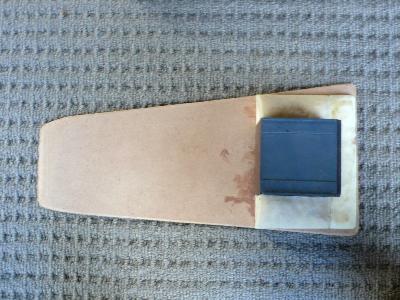
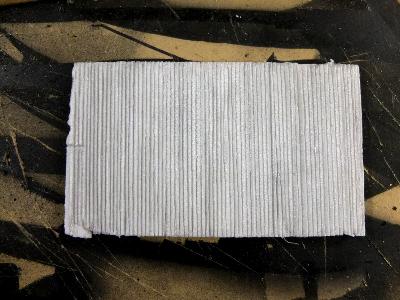
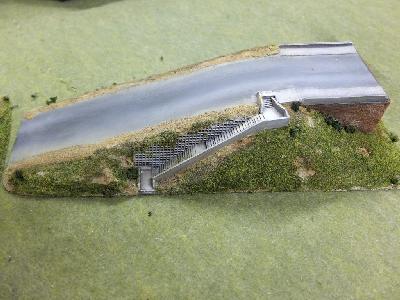
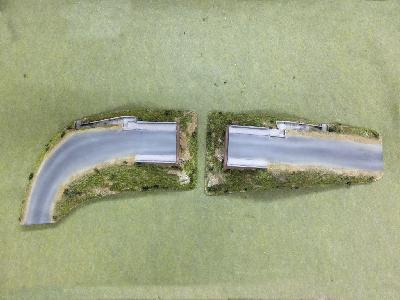
The staircase sections were made separately out of high density foam. I used a piece of foam wide enough to make 4 staircases worth and got a metal ruler and a sharp pencil, and drew
lines across the piece for each step. This was quite tricky and you have to be careful to keep the lines parallel. To further emphasis the steps I ran the edge of a steel ruler across
each step (the ruler is a good quality one and about 3mm thick). Then I cut strips off for each of the staircase sections.
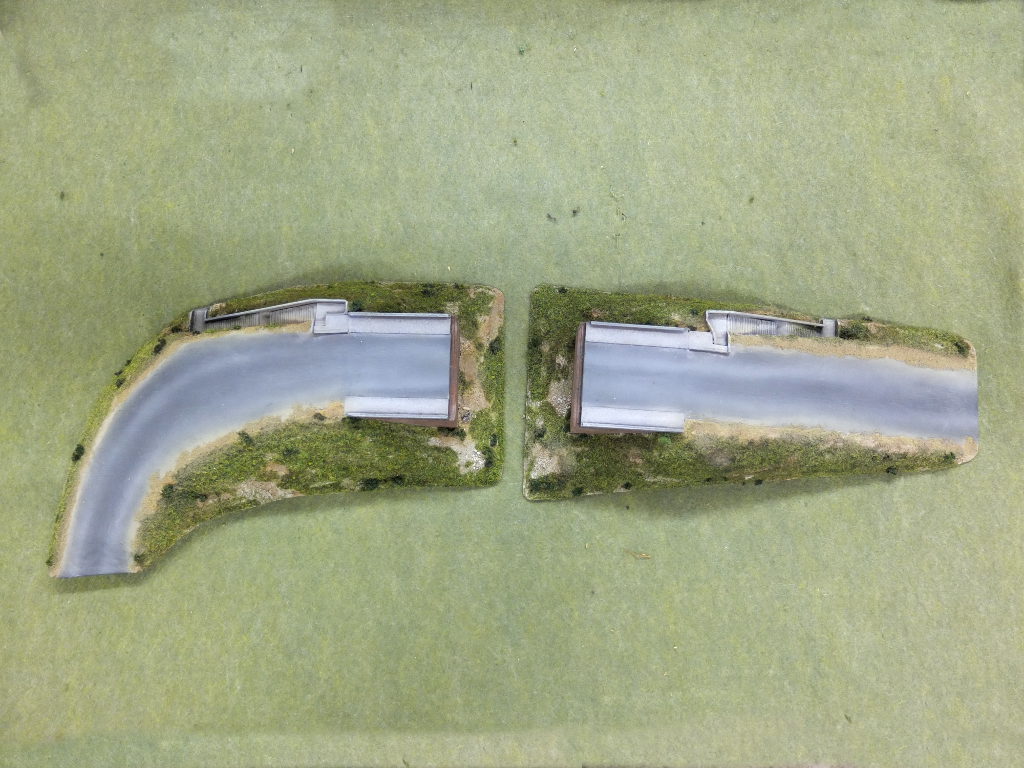
Work in progress on the ramp bases
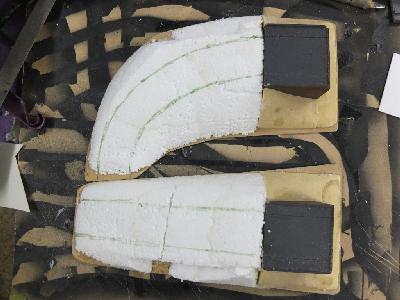
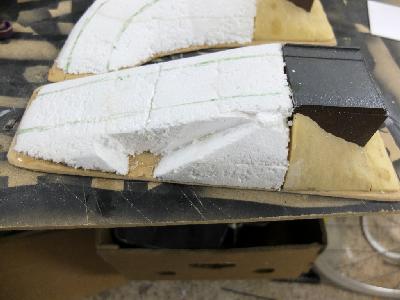
The polystrene bases were shaped with a sharp knife and sandpaper, while the staircases were cut out of the side of the ramp from where the
pedestrian section of the bridge finishes. I sanded the ramp part to make it flat and smooth out any uneven parts of the ramp. Next some 50mm wide masking tape (used by painters) was stuck
down for the main road section The ramps were extended to the edge of the base for a smooth transition.
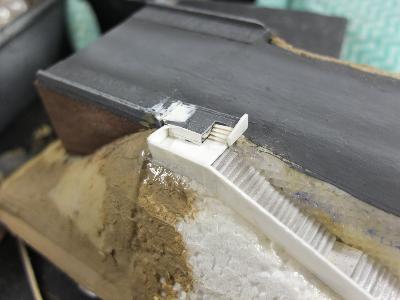

Some plasticard sections and thin strips were added to the wall where the stairs go down the side of the ramp and the staircases glued on. I added a couple of wider sections
on the stairs and a platform at the top. After that I added an outside sections of plastic and added extra PVA to make the sections stronger. On the wall of the staircase I
added some cross stitch material to represent a retaining wall.
The bridge itself is relatively easy to paint, it just takes a while with all those girders. As I mentioned earlier I went with a red/brown colour for the
girders and I have no idea what colour the original was, as I intend to use this as a generic bridge, but it was changed to grey. Because of the large size it is good to add some shading and
highlighting to the model. I used some burnt umber and green washes and highlighted the edges of the girders with different shades of grey and white.
Onto the bridge part I used the same grey as the ramp sections (which is a different shade to the girders) and applied some simply highlights to the kerb and edges, by lightening the grey with a buff
colour. Instead of trying to lighten the road with drybrushing, I used an airbrush and sprayed a lighter grey shade in two strips along the entire length of the road and ramps. Finally I finished
it off with a very light spray of Tamiya buff. This is great to represent dust and a quick wipe with a cloth can be done if I spray it on too heavy in some areas.
The supports were assembled into one piece and thin piece of plastic was glued to top of them the make them more sturdy. Once all the parts were glued in place the supports
were painted a brick red colour. I painted the bottom of the supports a kind of rocky colour (close to the ground colour) so that they will look good when placed in water or
on land.
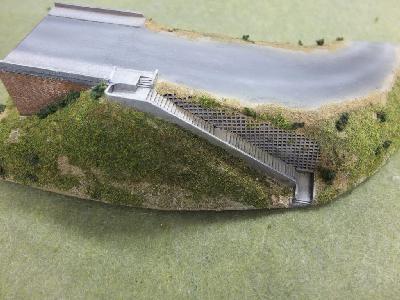
After all the details were completed, I moved onto the groundwork. First I painted any areas an earthy brown colour where the ground will meet the other
parts of the bridge (this helps blending the ground work into the base and in case I miss any parts with the caulk). Next the ground coloured caulk was added and some fine sand and grit
mixed into the caulk.
Once the caulk had dried, I drybrushed it with a creamy colour followed by a lighter drybrush of a whiter shade and then flocked over parts of the caulk. Next I glued on some bushes and tufts. The
final step was to use an airbrush and spray some patches (mostly where the grass meets the edge of the road) with a dark yellow color to represent dead or dry grass, and enough is sprayed
on so that it soaks into the green flock. Then it was finished off with a lighter shade of dark yellow mixed with cream (or it could be carefully drybrushed on).
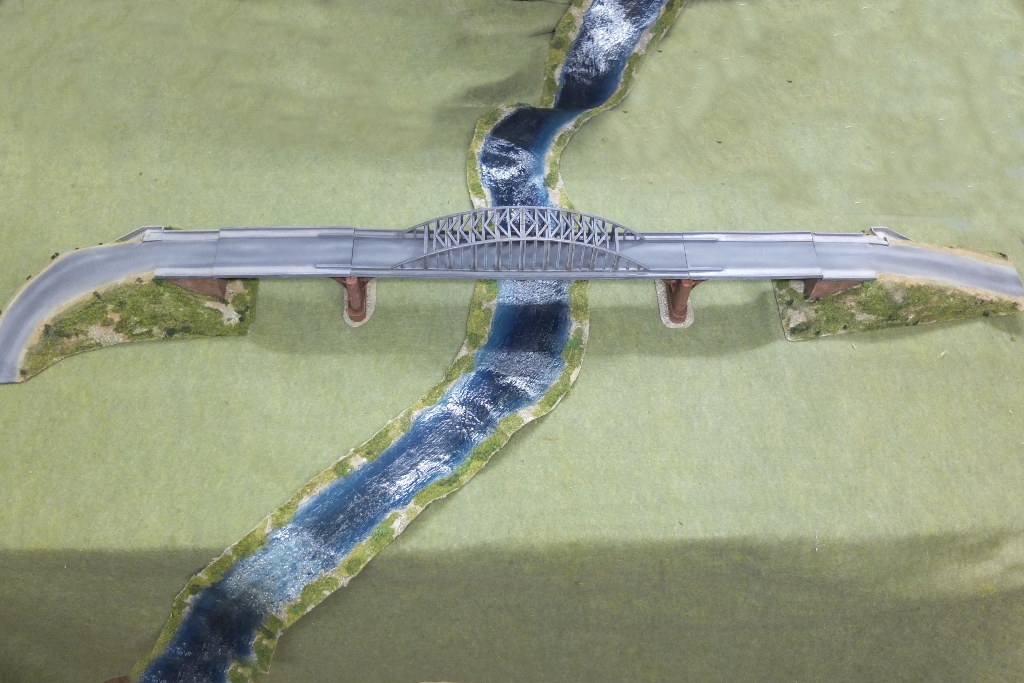
This is an impressive piece now it is finished, and it will become a centre piece of any game that it is used in. The model is quite simple to assemble
and store and I think the main effort is figuring out how to incorporate it on to the table. I can see it being useful as an Arnhem bridge, or later Rhine crossings, or for fictional
cold war games and even in a sci-fi game.
Some more picture of this model. it is quite hard to photograph due to the size of it and and show off the details. As I mentioned in the introduction, I dont have a river
section for the river yet so I had to improvise.