Step by step instructions for basing 6mm buildings
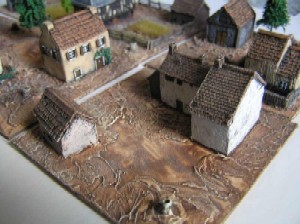
This page is my step by step guide for basing 6mm (1/300th) buildings. I use the Spearhead sized
basing scheme (which is 90x90mm square) which I think works well. Usually you can get 2-3 buildings
onto a base along with a few trees and foliage. My roads are separate because I found there wasn't
much room on the bases if there were roads as well.
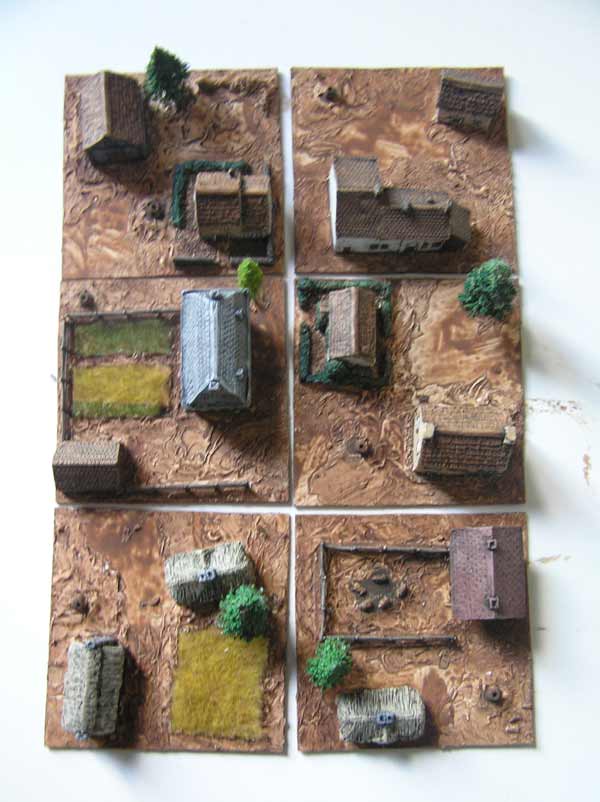
These can be made in batches of 6-10 bases at a time, which is much quicker than individually.
For double sized bases, you can use the same techniques.
The materials I used for this project are:
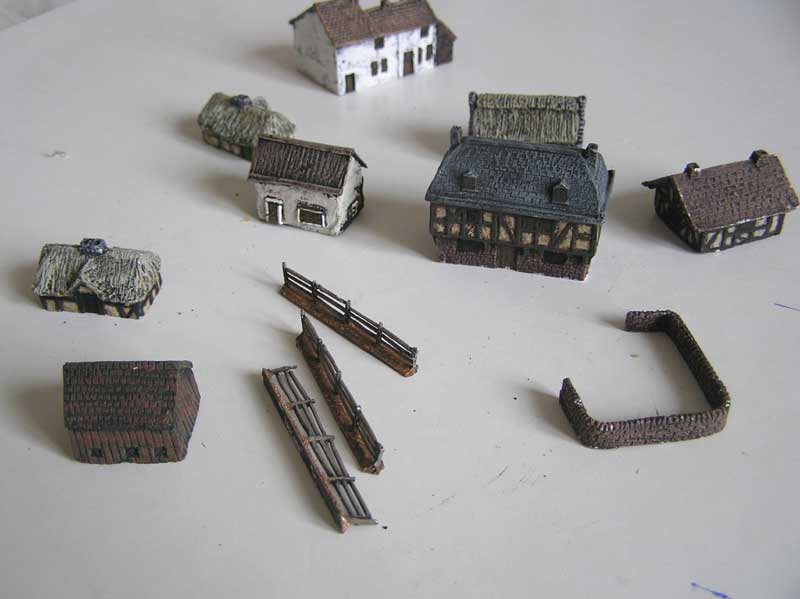
1/300th Buildings
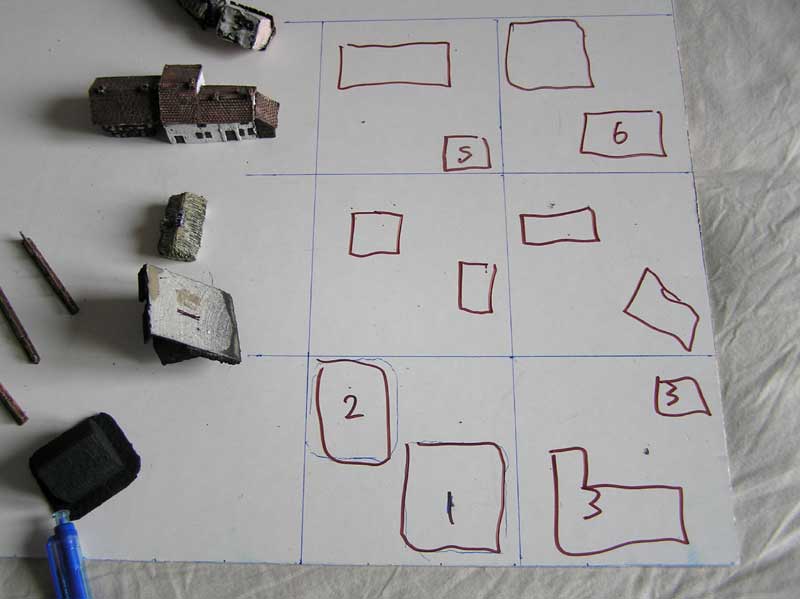
Cardboard bases cut into 90x90mm squares.
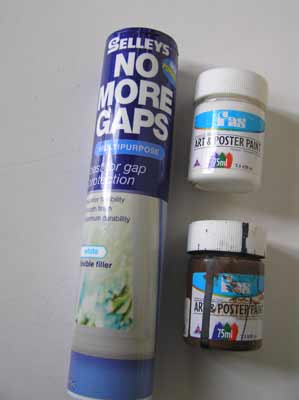
A tube of Selley's No More Gaps (which is a rubbery sealer use by home decorators)
Cheap brown (Umber) poster paint for the bases
Cream paint (I mixed some white and yellow paint together) for drybrushing the bases
Flock (I use a mix of static grass and woodlands scenics)
Trees. A mix of Woodlands scenics trees, K and M, and other brands
Different coloured foilage from Woodlands scenics clump foliage
Pipe cleaners covered in flock(used for hedges)
PVA Glue
Miscellaneous scenic items such as fences, walls, gates, animals, crops etc
This is one of my orignial articles and I have changed my basing style a lot in the last 15 years!. I'll leave this here but it will be replaced in the future with
more up to date techniques.
Click on the thumbnails to see the full sized image


The buildings used for these examples came mainly from Irregular and a local company called Military Miniatures
(now Battlefront). Unfortunately Battlefront do not sell these building anymore which is a pity because they
are very nice.
For the basing I prefer to use Cardboard but you could also use thin MDF, Plywood, Plastic or metal. I like
using cardboard because it is cheap and readly available, but the downside is that it is not as strong as
other materials and prone to warping.
The Woodlands scenic trees are made from their packs where you get separate armatures and flock. This
is very time consuming and I wouldn't do this again but their premade trees tend to fall apart, and need to be
soaked them in watered down PVA, to seal them properly. The hedges are made from dark green pipe cleaners which have been flocked. They
are nice and easy to make and quite effective.

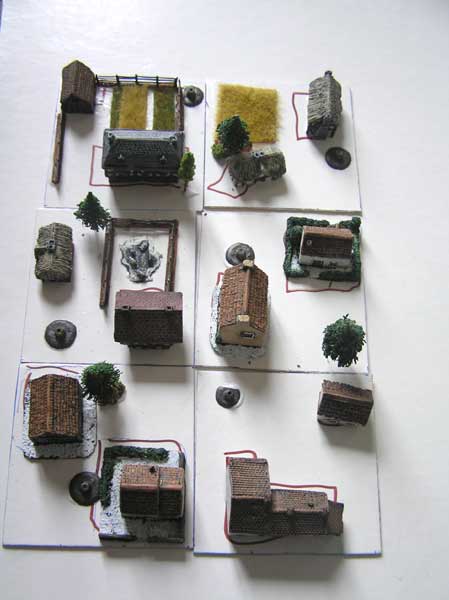
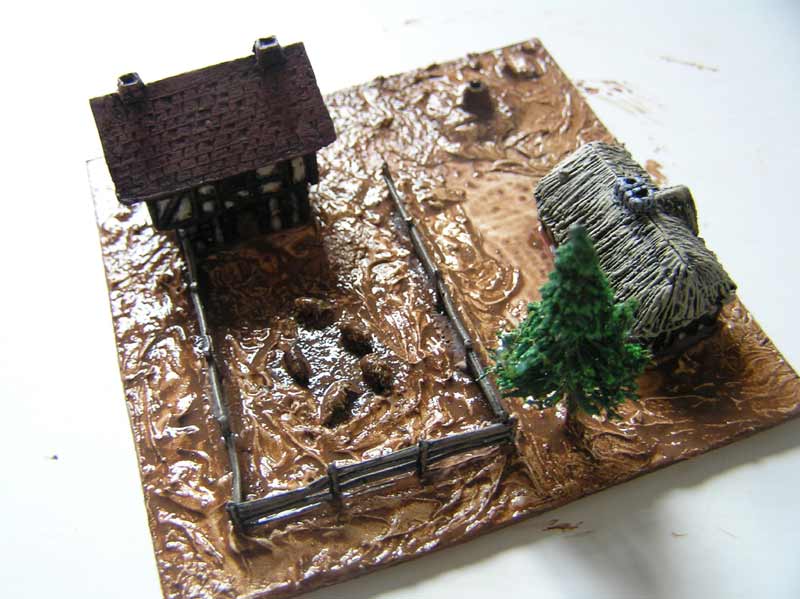
Once the buildings have been painted, they are glued onto the cardboard along with any additional
pieces like woodlands tree bases, fences/walls and any other raised parts. This is so I can use the filler to
build up any edges or gaps around the buildings etc.
For the tree bases I paint them white, so that it is the same colour as the filler, for when I paint the bases.

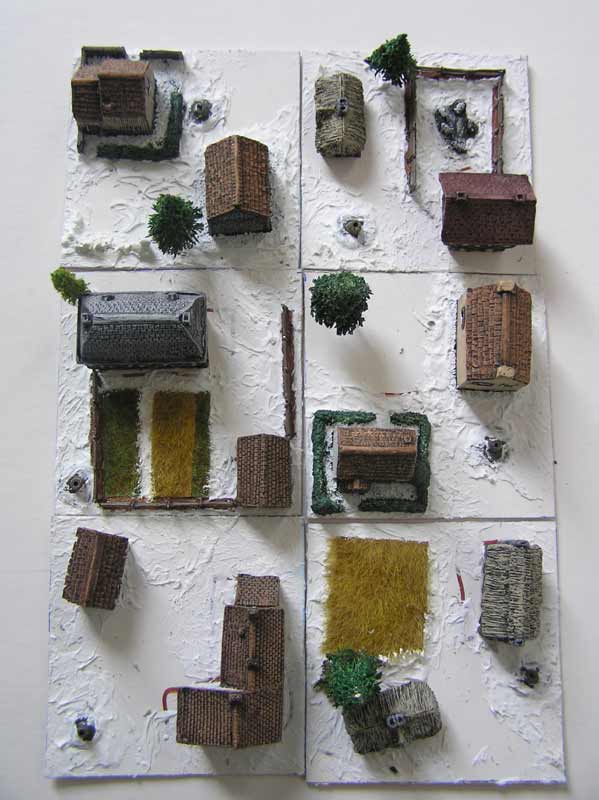
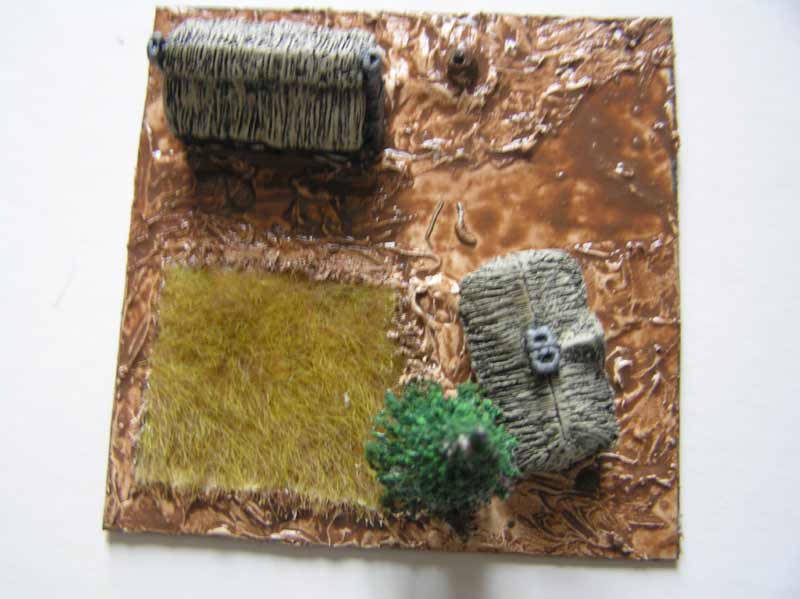
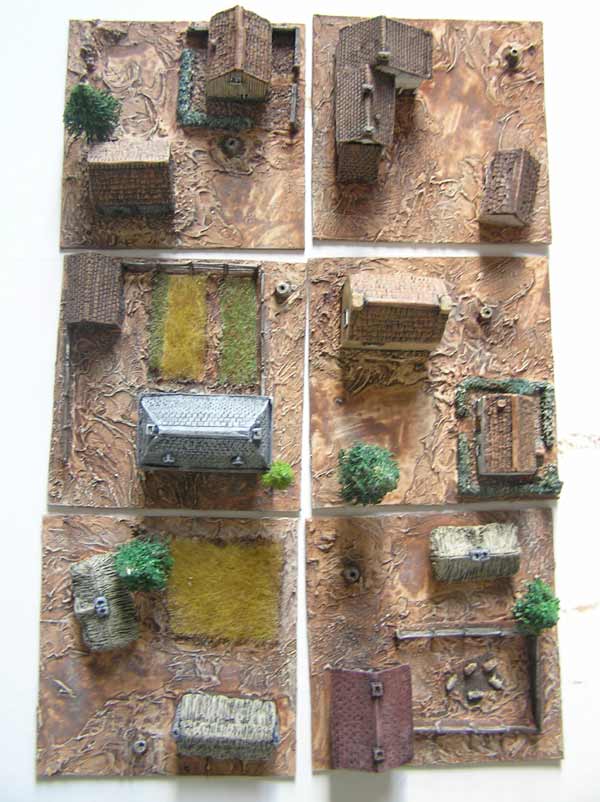
The next part is to apply the No more Gaps to the bases and texture them. You don't need apply it on the whole base, but only in areas where your planning to leave some of the ground showing
through. It can also be used to fill any gaps around the base and help build up the base around the buildings and trees, to reduce any visible lines.

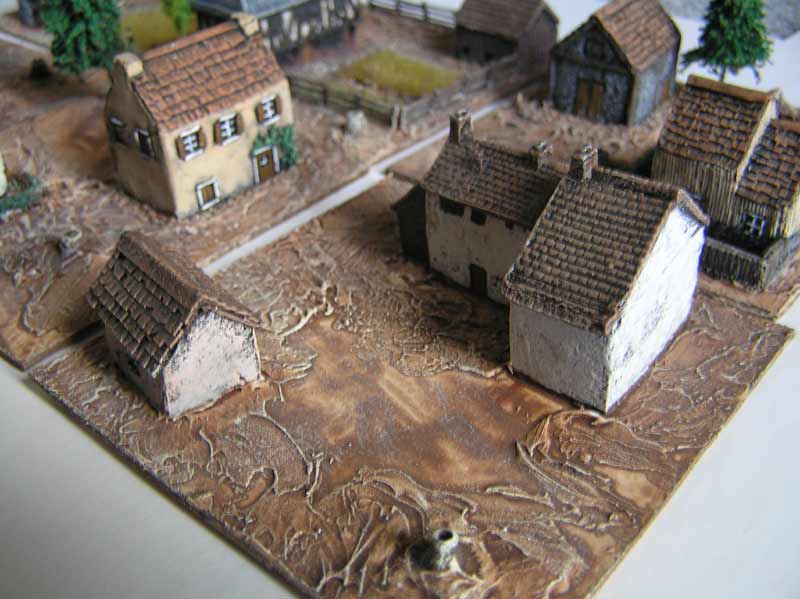
For this step, you can use the cheap paint from a craft store which is watered
down slightly so it flows into the cracks better and only covers the base with a thin coat. This also helps to highlight the texture of the filler. This
may take some experimenting to get the right consistency and also you may want to try different shades of brown depending on the climatic region.
I used to use expensive modelling paint and inks for the bases, but I found that craft or poster paint is fine and about 1/10th of the price.
In this step take some cheap cream paint and use a large old brush to lightly drybrush the base. This helps
to highlight the texturing and and different shading to the base. I find that cream is better than white for
drybrushing, as white is a bit too stark. Alternatively you could use a much lighter shade of your base colour.

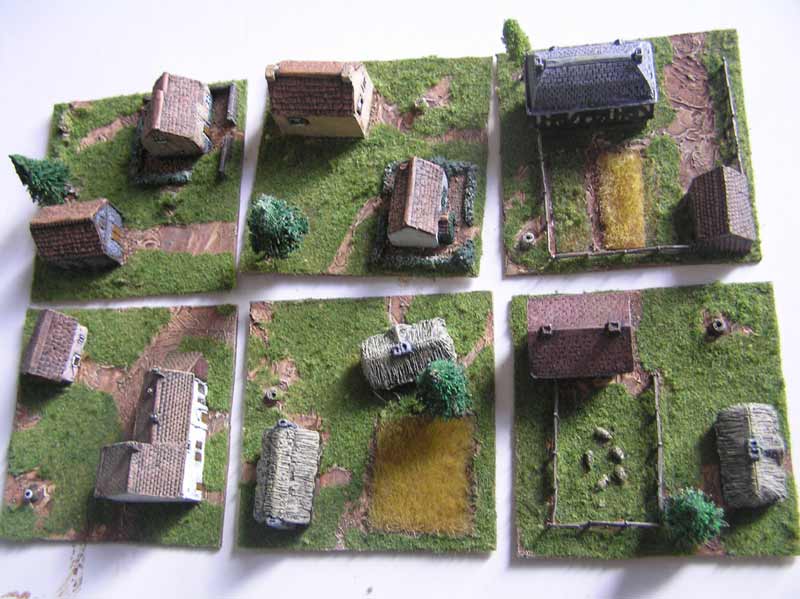
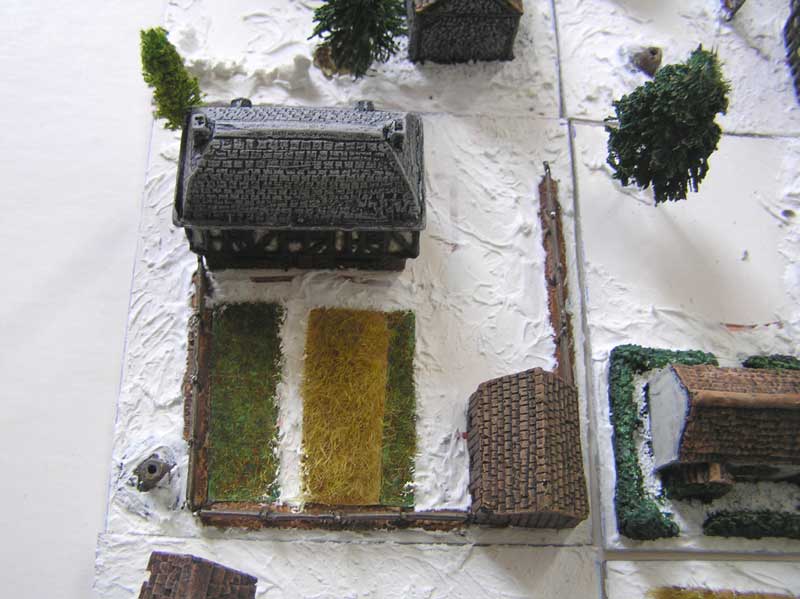
For the flock, use a mixture of static grass and Woodlands Scenics fine flock. You can mix together a number of
different shades, and then use PVA to glue the flock on.
You may want to leave some patches where there might be paths, or under trees to allow some of the ground to be
visible.

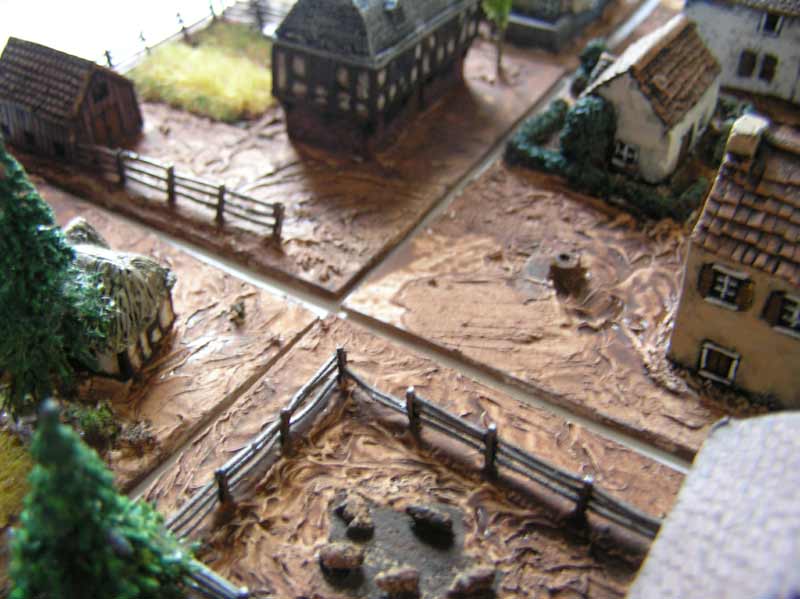
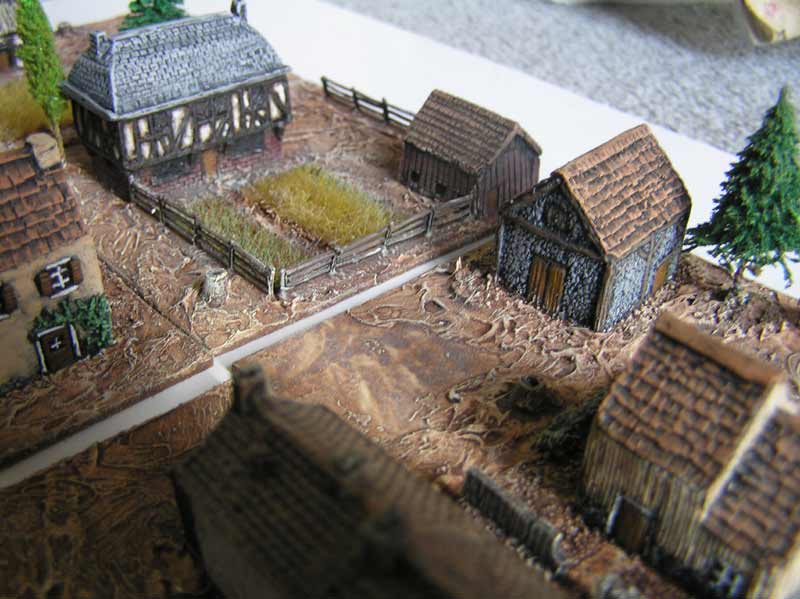
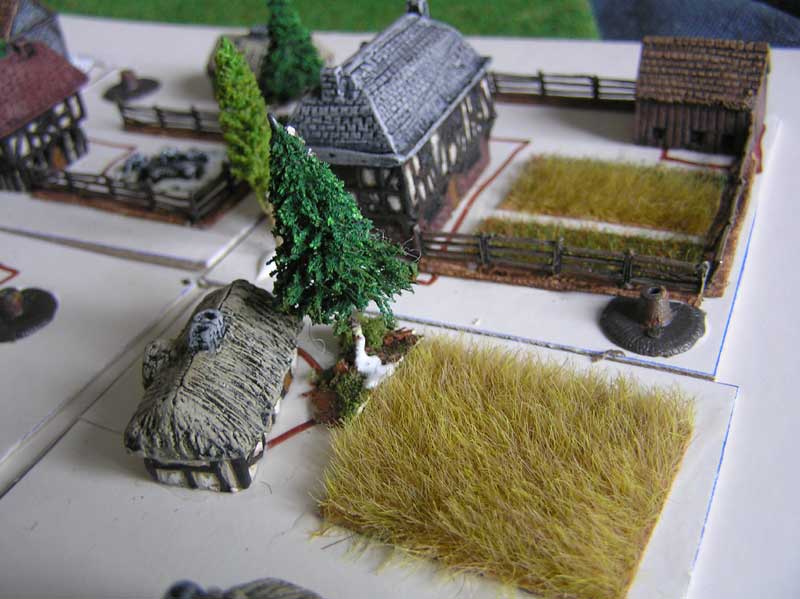
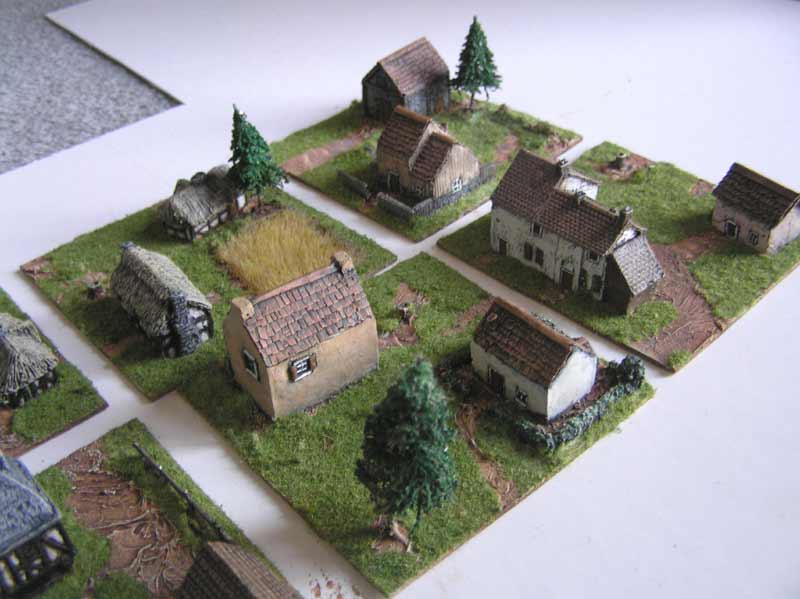
Now glue the trees on to the bases and cut up the hedges and glue them on. I also glue any extra
foilage onto the bases to represent bushes or hedges. This is also useful to help hide any defects like
bad joins or a poor paint job.
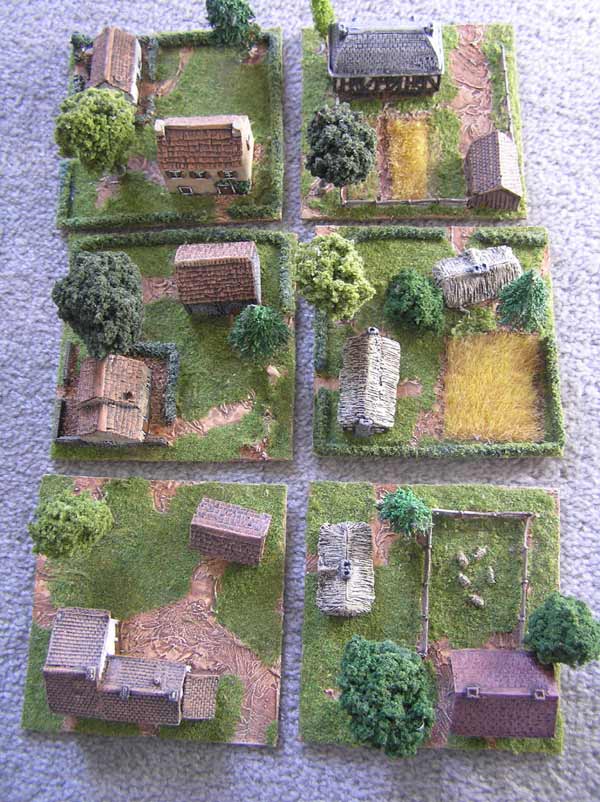
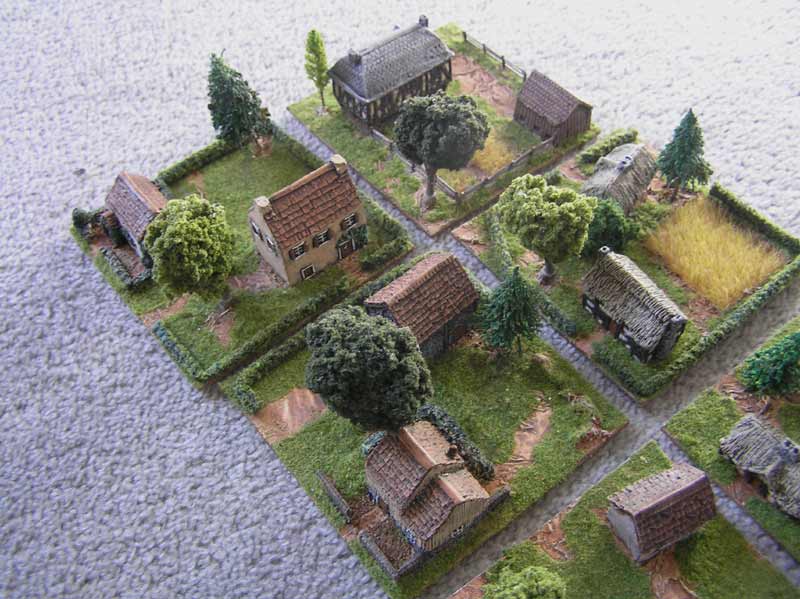
I usually put 2-3 trees on per base (although it can make it difficult to fit vehicles and figures on) and I also
put hedges and foilage on 2-3 base edges. This depends on whether or not I plan to use the bases in a town or standalone,
such as a farm.


Now I touch up any mistakes and paint the edges of the bases black. This helps to hide the edges but you could paint them green or brown. Some people also paint the underneath of their
base to help prevent warping but I have not had much success with this.
Lastly I spray varnish the base and building with a couple of thick coats. This helps to protect the paint work on the building and also to seal the flock onto the base.
More pictures during the different stages of construction