6mm Wargaming

My Greek Odyssey

Introduction

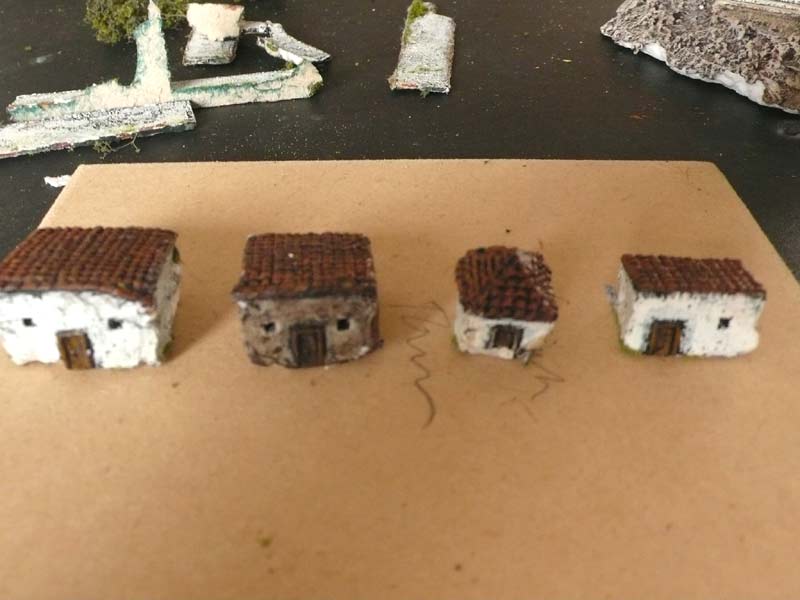
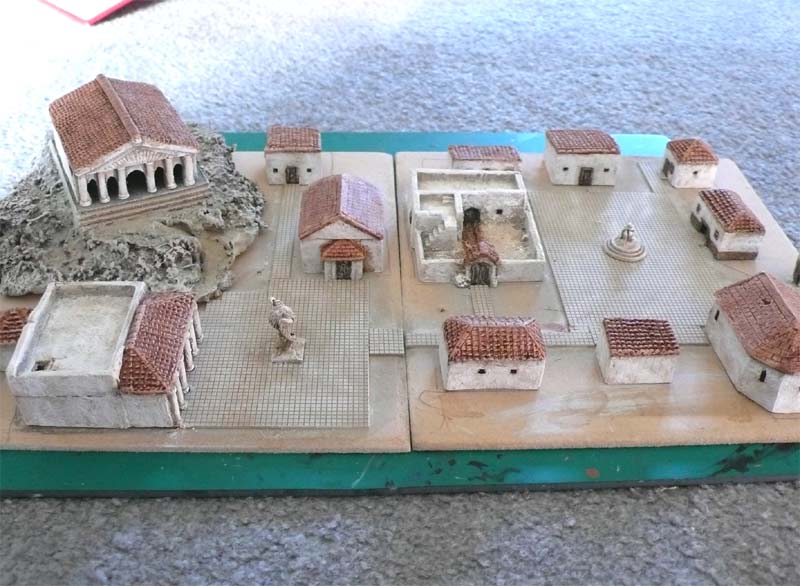
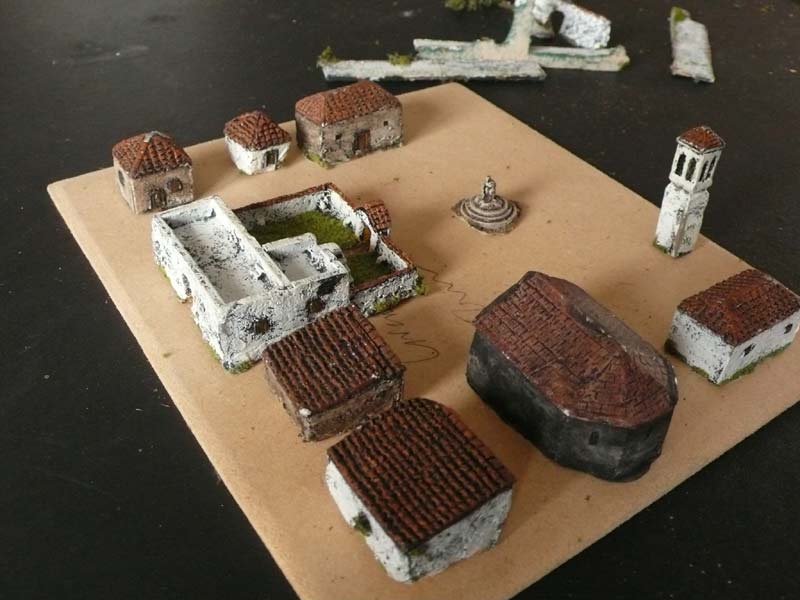
These buildings are the Irregular Classical building set I brought the buildings from Irregular a few years ago with the idea of using them for Lord of the Rings gaming to represent Gondor. But I realised they looked too "Greek" and wouldn't do as Gondor buildings.

Undeterred I painted them up and scratchbuilt a few more basic buildings to make the town bigger and then based them up. I used them in some fantasy games but over the years the cardboard bases warped and they began to look a bit tired.

A few years later when I had some spare time, I decided to give them a makeover because they always appealed to me and it seemed a pity to have such nice buildings like these sitting in a box. Also my modelling skills have improved and I wanted to see how well they could turn out. I am very happy with the end result but now I need to find an excuse to get them on the table...


Click this link to go to the gallery of the completed town


Click on the thumbnails to see the full sized image


The buildings in need of repair

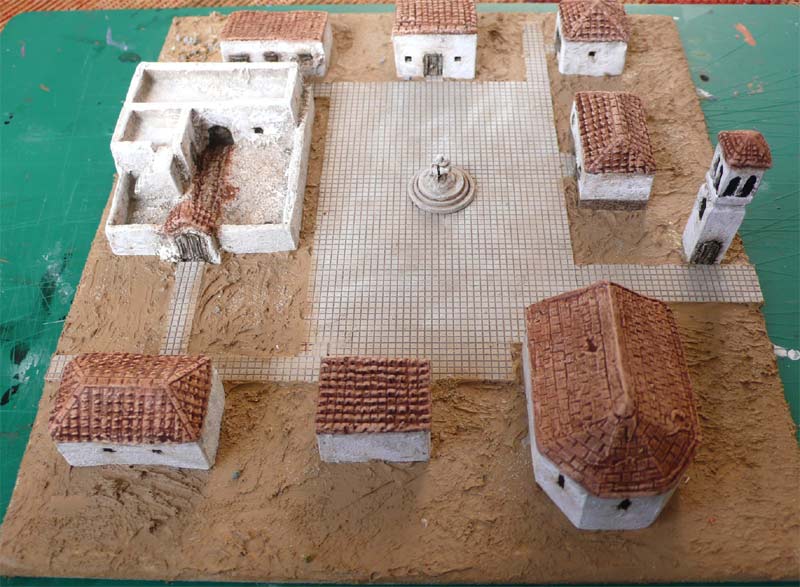
Here are all the buildings after I pulled them off their bases from a previuos system. Some of the buildings wich were made from polystrene have been damaged over the years and were a bit squashed! All the buildings have been given a thin black paint wash ready for repainting.

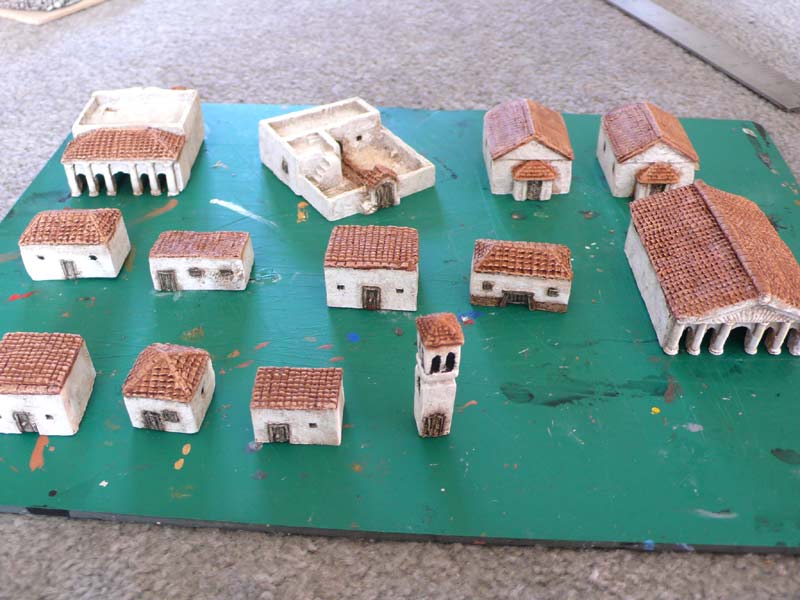
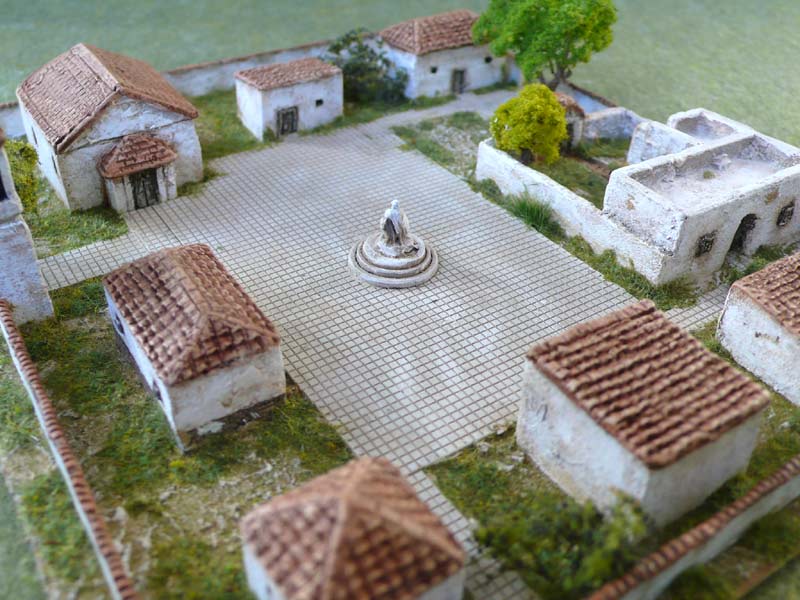
I managed to salvage a few other pieces from the old town including the statues and bushes.


Planning the layout

The bases are 15mm DBM/FOG camp sized and two were needed for tall the buildings, otherwise it would look too crowded all on one base. I decided to have one part of the town dominated by the temple while the other half was mostly dwellings with the main entrance. I also decided to enclose each base completely by walls so they could be used as separate towns

Fixing up the buildings

My homemade buildings didn't survive very well over the years, but thats no surprise as there were made from Polystrene (white bead packaging) and DAS. To fix them up I removed all the doors and windows and then covered the walls with pieces of sheet plastic card, and then I glued the doors and windows back on. Next I smeared them with Tamiya modelling putty to fill the joins and create a slight texture. They should be a lot sturdier now and are much better looking models.

Cleaning up the Irregular buildings

Most of the buildings were painted before but some of them still needed cleaning up and filling. The temple sides are joined in the middle and they don't fit together well, so I covered the side joins with plasticard. The walled Arab style building was badly cast and even after attacking it with a big file, it still needed a lot of filling. I ended up having to cover some of the walls with plasticard and making new windows from modelling putty at the back where it was really bad!

The rest of the buildings were in a better shape and just needed minor fixups and filling. Unfortunately this photo isn't the best example but its the only photo I could find of this stage.

Making some walls

The original walls were made from cardboard with modelling putty on top. The still look good but cardboard isn't strong enough so I replaced it with plasticard. I tried to match the style of the walls on the metal buildings as well as the tile roofs.

If you look back on the main terrain page you will see a page on constructing terrain pieces including walls from plasticard and modelling putty using the same method.

Painting the buildings

The buildings were painted mostly using Folkart craft paints. I started with a dark sand colour and drybrushed lighter colours until the models were almost a white colour. The tiled roofs were painted in a terracotta colour with about 4 progressively lighter layers of colour. Next I washed the buildings with a thin wash of burnt umber oil paint. This created a nice shading effect and made the buildings look slightly dirty (I don't like my buildings on the wargaming table looking too clean or new!).

Laying the ground work

The paving tiles are textured plasticard which I brought for another project and they realised that it would look good as paving stones. Since the buildings don't have bases I put some plasticard under the base area to raise they up closer to the height of the paving stones.

The Temple

I decided to mount the temple on small hill over looking the rest of the town to make it look more imposing. The rocky hill was made from polystrene and cork from a model railway shop. The hill was then covered with bathroom caulk and different sized sand and small stones. The pathway was built using a few small pieces of plasticard for the steps up the pathway. The base of the temple was made from 4 layers of cardboard glued together to represent stairs.

Town squares

The two squares were there to create some open space to put figures in. The larger statue was a 6mm Irregular Minotaur which I filed down the base and then covered with modelling putty to try and match the plasticard paving. The figure in the other square is an Irregular ancients figure (not sure which one) and it is mounted on a couple of GW shields. I was planning to put a market place in the square but that would have been too difficult to get the figure's bases to match the paving stones.

Adding the base materials

The basing material I used is is a coloured caulk called "Selleys no more Gaps" and the colour is called Coffee. I used this on most of my basing now days as it is a nice neutral colour and seems to work well in different climatic regions. It is also quite thick so it fils any gaps well.

I smear it on in small sections and them sprinkle fine sand and stones over the top. Then I mix this in with the caulk and it creates a nice gritty texture. Once the caulk is hard I drybrush a couple layers of Folkart paints on it (Camel colour followed by Parchment).

>Finishing touches

The final touches was to add trees and bushes to the bases to help hide gaps or imperfections. The bushes were Silfor tufts which work with 6mm figures it you use the smaller sized ones. The flock used on the bases was Woodland scenics Burnt Umber fine flock.