Dirtside II Scifi Game Report
This was our second game of Dirstide II and the previous game was almost a year ago, so we felt like we we relearning the rules. We reduced the number of points to 8000pts and both of us had altered our armies somewhat. I forgot to buy artillery observers for my artillery in the first game, and my opponent had gone crazy with some of his tank designs, with some super heavy tanks maxing out at almost a 1000pts each!
For this game we stuck to a standard Encounter battle on a 6x4ft table, with both forces driving on and engaging. We wanted to keep it simple and not let the scenario get in the way of learning the rules. For our next game we would fight long ways to allow a bit more manoeuvre and help differentiate weapons systems. In the future I would certainly like to play more scenario driven games and there as some good resources for DS and other Scifi rules which we can use.
The terrain for the battle was primarily mine and you can see how it was made on this site. In addition I used some Woodlands Scenics autumn clump foilage for forests, but I
am still looking for a better way to model alien plant life. Also I would like to expand my scifi terrain so that we are not fighting over the same terrain each time.
Click on the thumbnails to see the full sized image

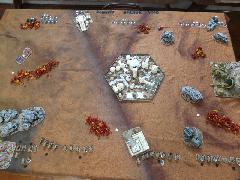
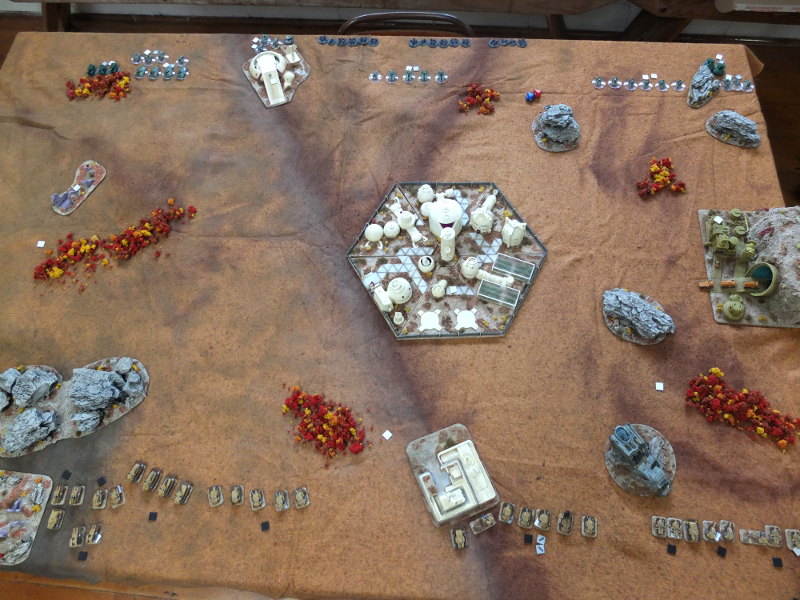
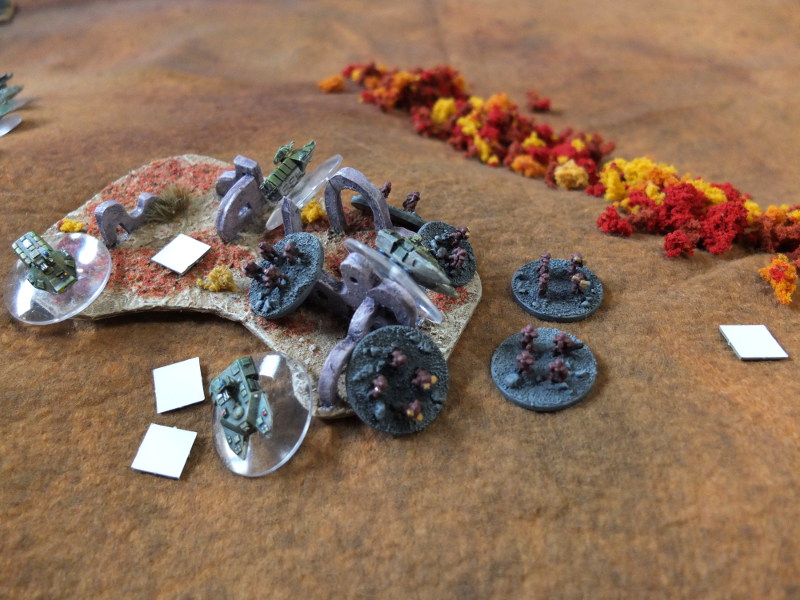
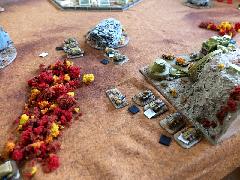
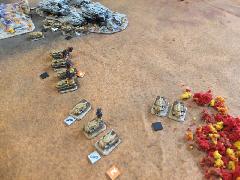
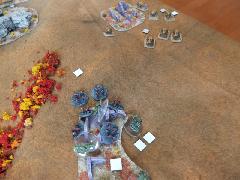
The table layout
The main feature of the table was the large settlement in the middle with a Mine nearby and some rocky ground. The rocky ground is Pine tree bark glued to bases and it is very effective in a desert world.
The mat is an old speckly tan coloured felt mat which you can see I had a going at with some spray cans. The effect isn't great but it is less noticeable once the terrain is down.

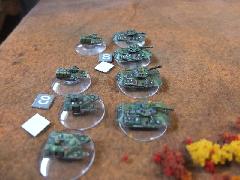
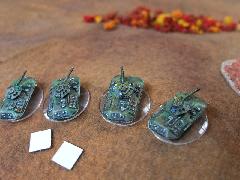
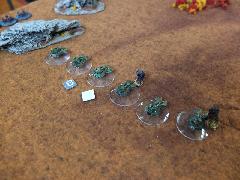
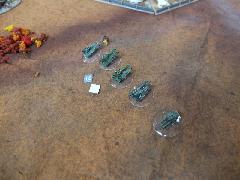
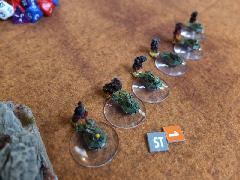
Inital deployment and armies
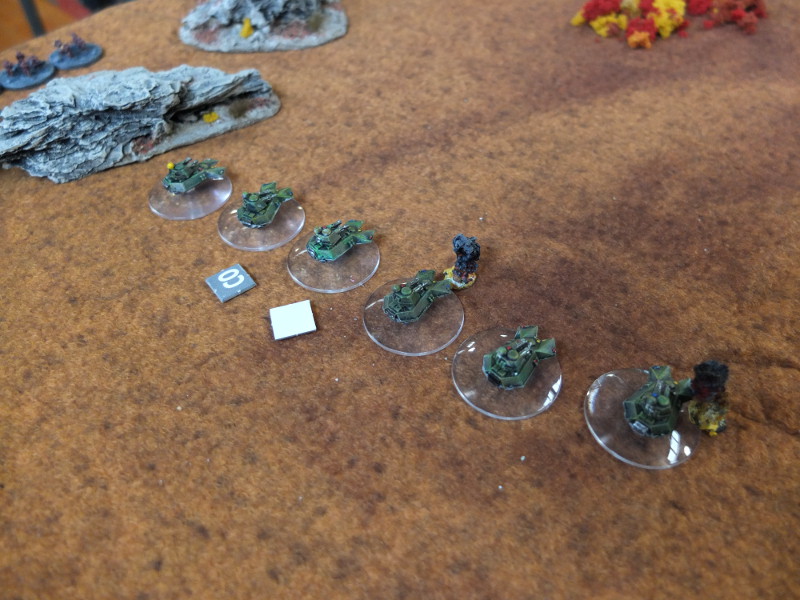
Deployment in DS2 is platoon by platoon and I had more, so I ended up deploying a bunch at the end. Not really knowing each others vehicles (apart from the big tanks!) we deployed so that the lighter stuff would be near cover. DS2 is a pretty "gritty" system and the weapon ranges are pretty long and accurate. This means that generally if you can see something then you can shoot and destroy it.
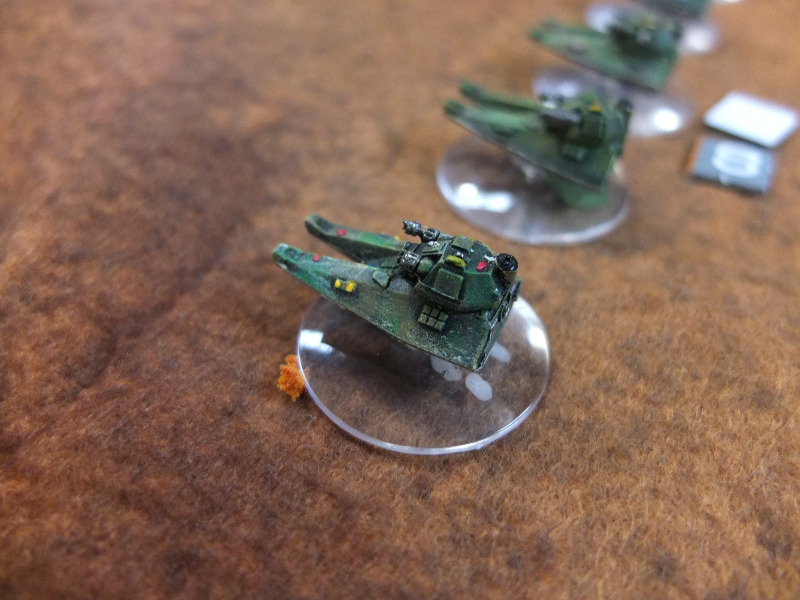
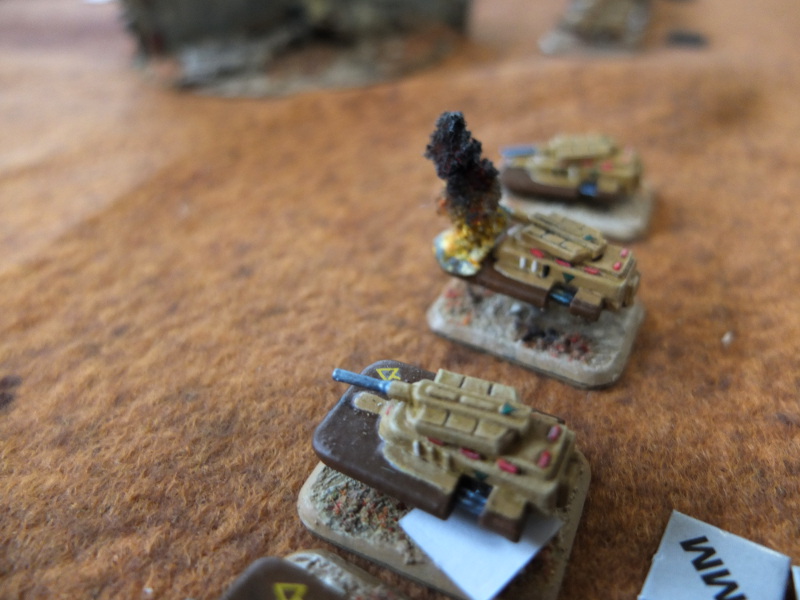
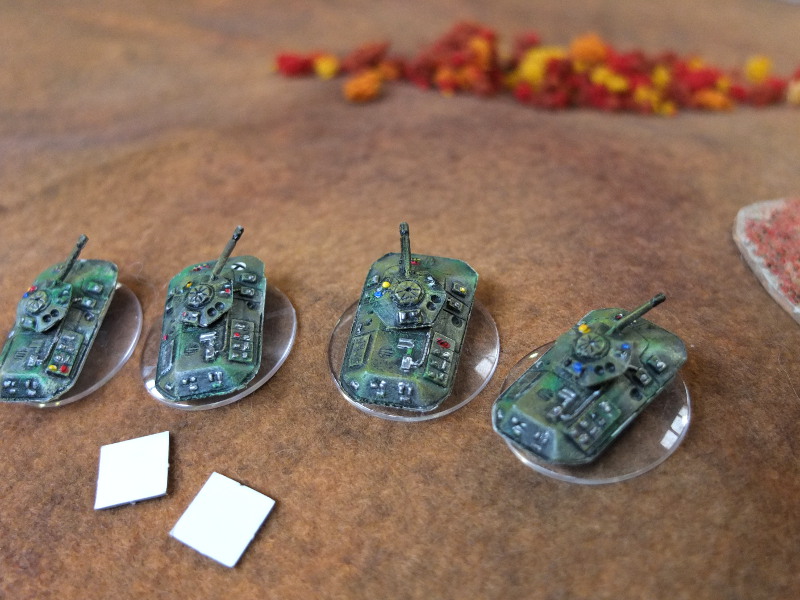
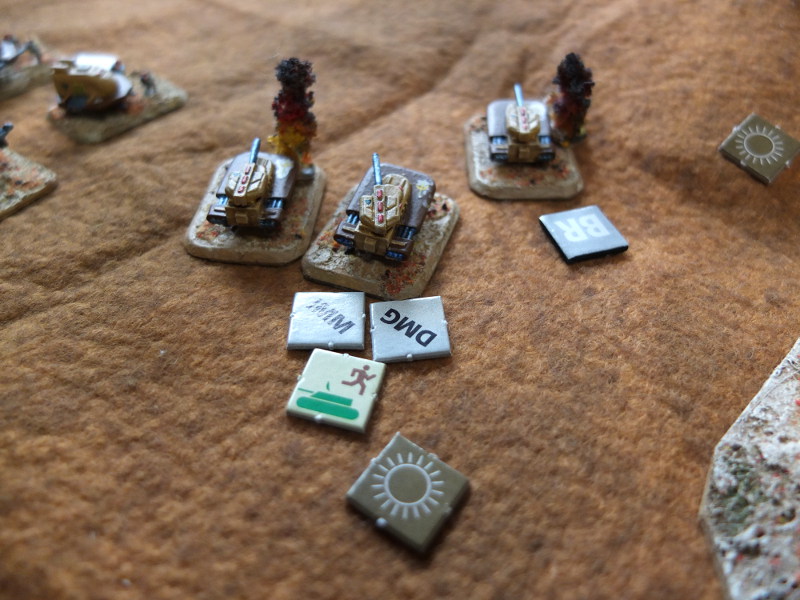
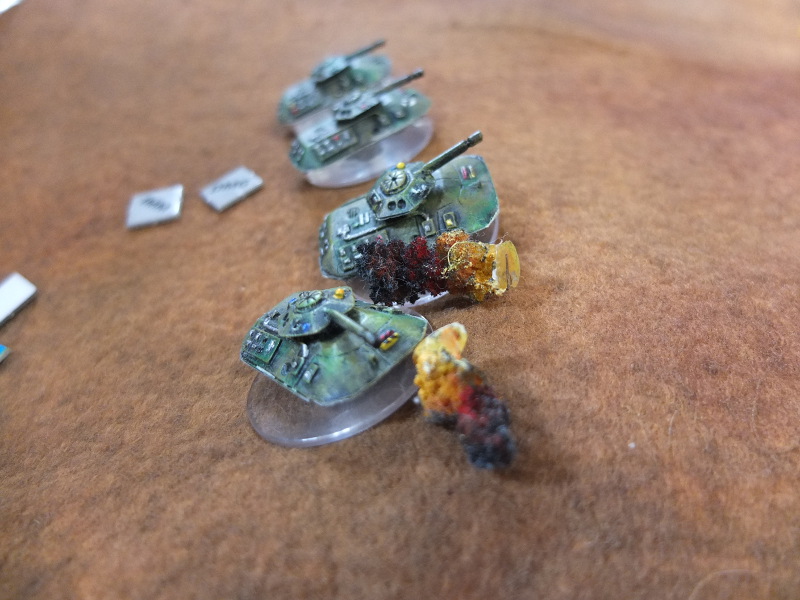
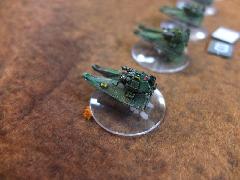
My forces were all from Brigade Models who make a great range of 6mm Scifi vehicles, and these are from the PacFed range. Richards were mostly GZG from what we could tell (he brought them secondhand and already painted) and the
painting is superb.
The second round
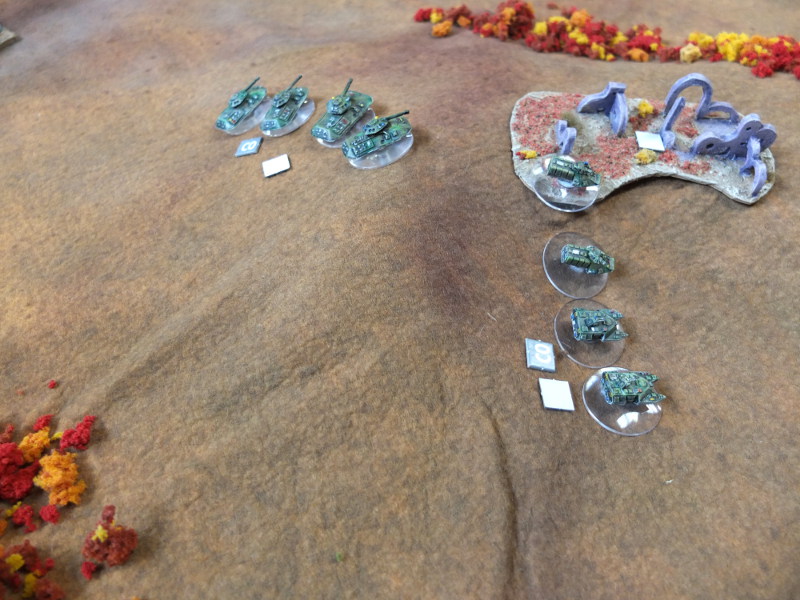
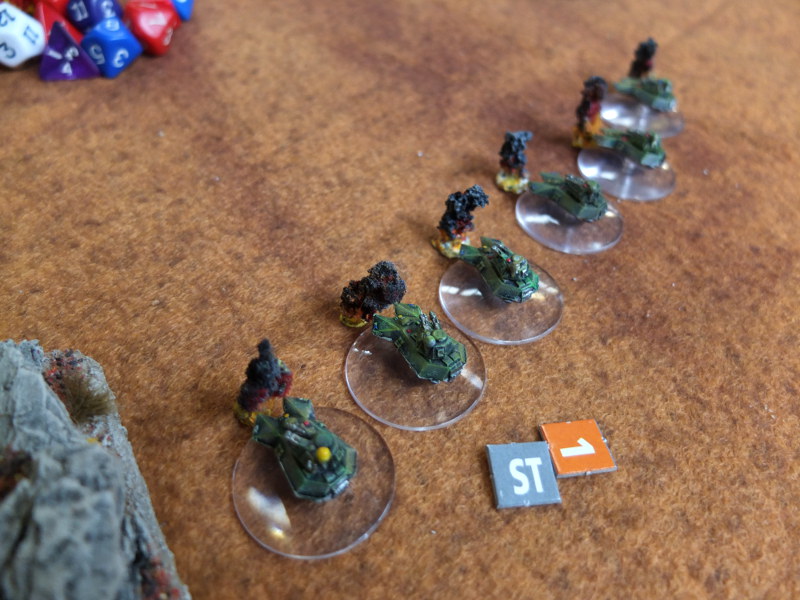
After the first round of shooting I had already lost quite a few of my tanks. It was apparent that Richards vehicle changes were a big improvement and we remembered how deadly shooting was in this system!
I was able to return the favour and destroy a couple of his light tanks but the balance was in my opponents favour.
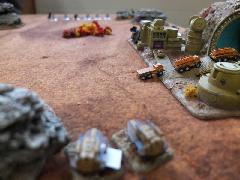
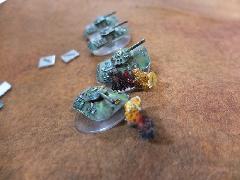
More carnage
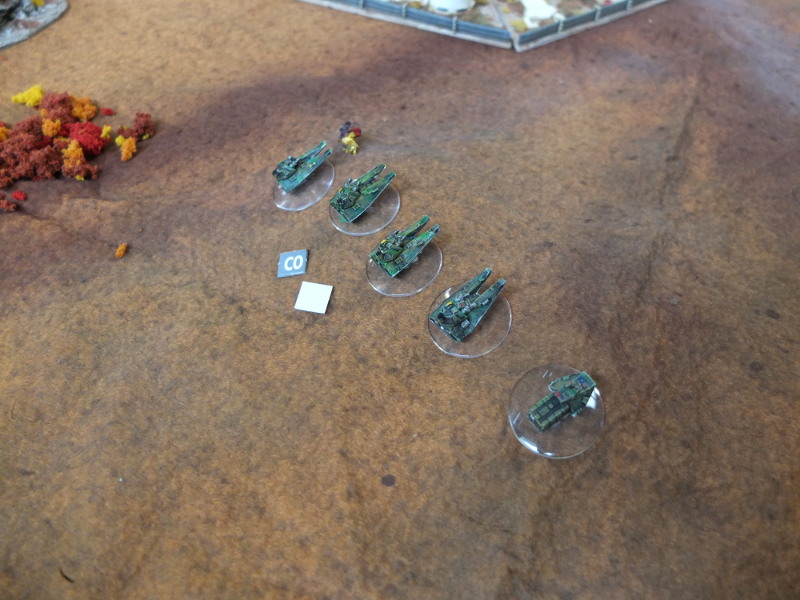
Richards heavier tanks firepower was being to be a major problem for the PacFeds. His heavier tanks were twice as many points and very difficult to kill, and his medium tanks were slightly more points than
my Heaviest tanks. It became apparent that I had brought a lot of light stuff that wasnt going to be useful in the battle apart from target practice for his tanks.
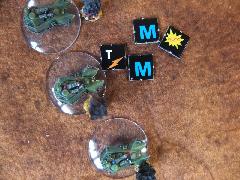
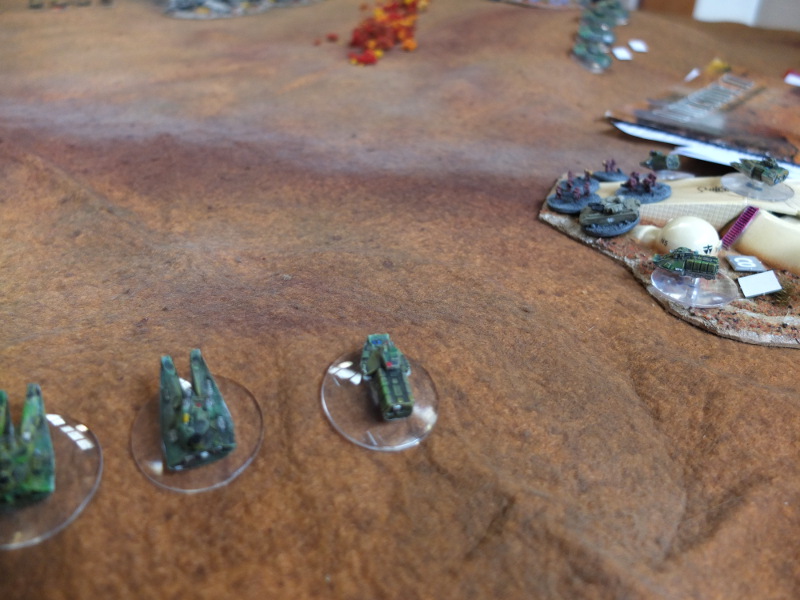
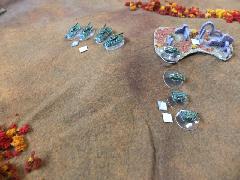
Mid game
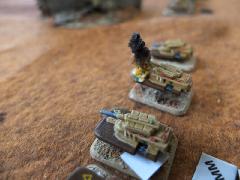
We both managed to manoeuvre with our APCs and get the infantry into cover. Meanwhile there was more carnage with heavy tank losses on the Pacfed side.
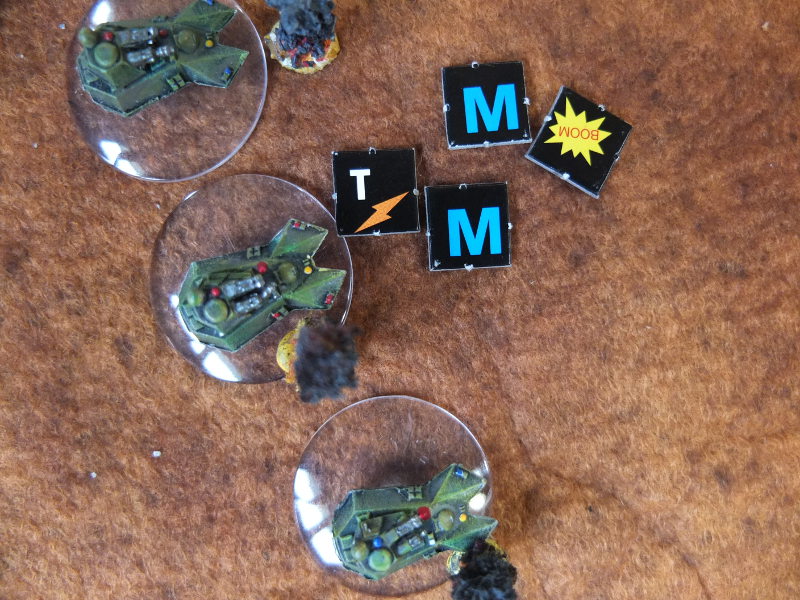
However the Pacfed forces called on some heavy artillery (first attempt while my opponent failed a couple of times) and fired some MAK rounds at the light tank platoon which had taken a few losses already. The artillery was
devastating and it wiped out the rest of the platoon. My immediate thoughts were how quiickly can I land it on his super heavy tanks!

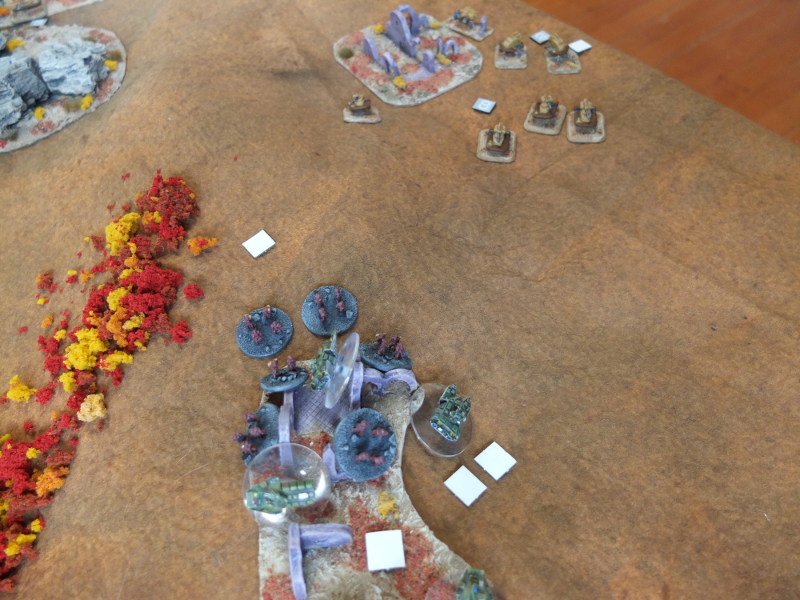
Towards the end
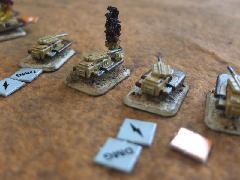
With most of the Pacfed tanks burning, it was looking pretty grim for me. An attack on the Pacfeds left flank towards and the enemy infantry platoon seemed like a good idea at the time, but the Pacfed came under heavy fire from the Infantry AT weapons, the guns on the APCs and one of the super
heavy tanks. The Pacfed dice rolling didn't help and the attack was repulsed with heavy losses.

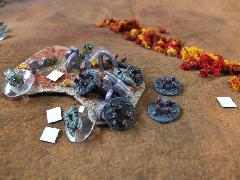
The final stages
While the GZG forces continued to knock out my remaining tanks, the Pacfed artillery was once again working well. A fire mission of MAK ammo landed on the GZG Super heavy tanks, knocking out 2 and disabling a third vehicle. However the GZG forces had also managed to get their artillery to land on my light forces attacking their infantry, causing heavy losses. What the artillery didn't kill, the defending infantry finshed off.
At this point I conceded as I had 2 tanks remaining and both were damaged and/or immoblised. I had hung on for a round longer than I should have, just to see the effect of the artillery. The GZG forces were in good shape with
only about 1/3rd tank losses.
After thoughts
The game was enjoyable and the rules played well. After a couple of turns the mechanics were easy to remember. The weaponery can be very devastating and it is interesting to see that even heavy tanks (Class 5) can be destroyed relatively easily by artillery, which helps with game balance I think.
My Pacfed forces need some reorganising and upgrades. I used the vehicle stats which someone had posted on the Brigade website but I was outgunned by quite a margin in this game. Also having lots of small light platoons were not very effective or useful. With the way the vehicle design works, I am paying a lot of points for each small vehicle, with their Grav mobility and Fusionpower plants.
One minor criticism of the rules we found was that the morale rules have virtually no impact on the game, and armoured platoons tend to get wiped out before they retreat. We would need to play some more to ensure we got it
right, before looking to see there are any other options. Otherwise it seems like a slugfest to the death.